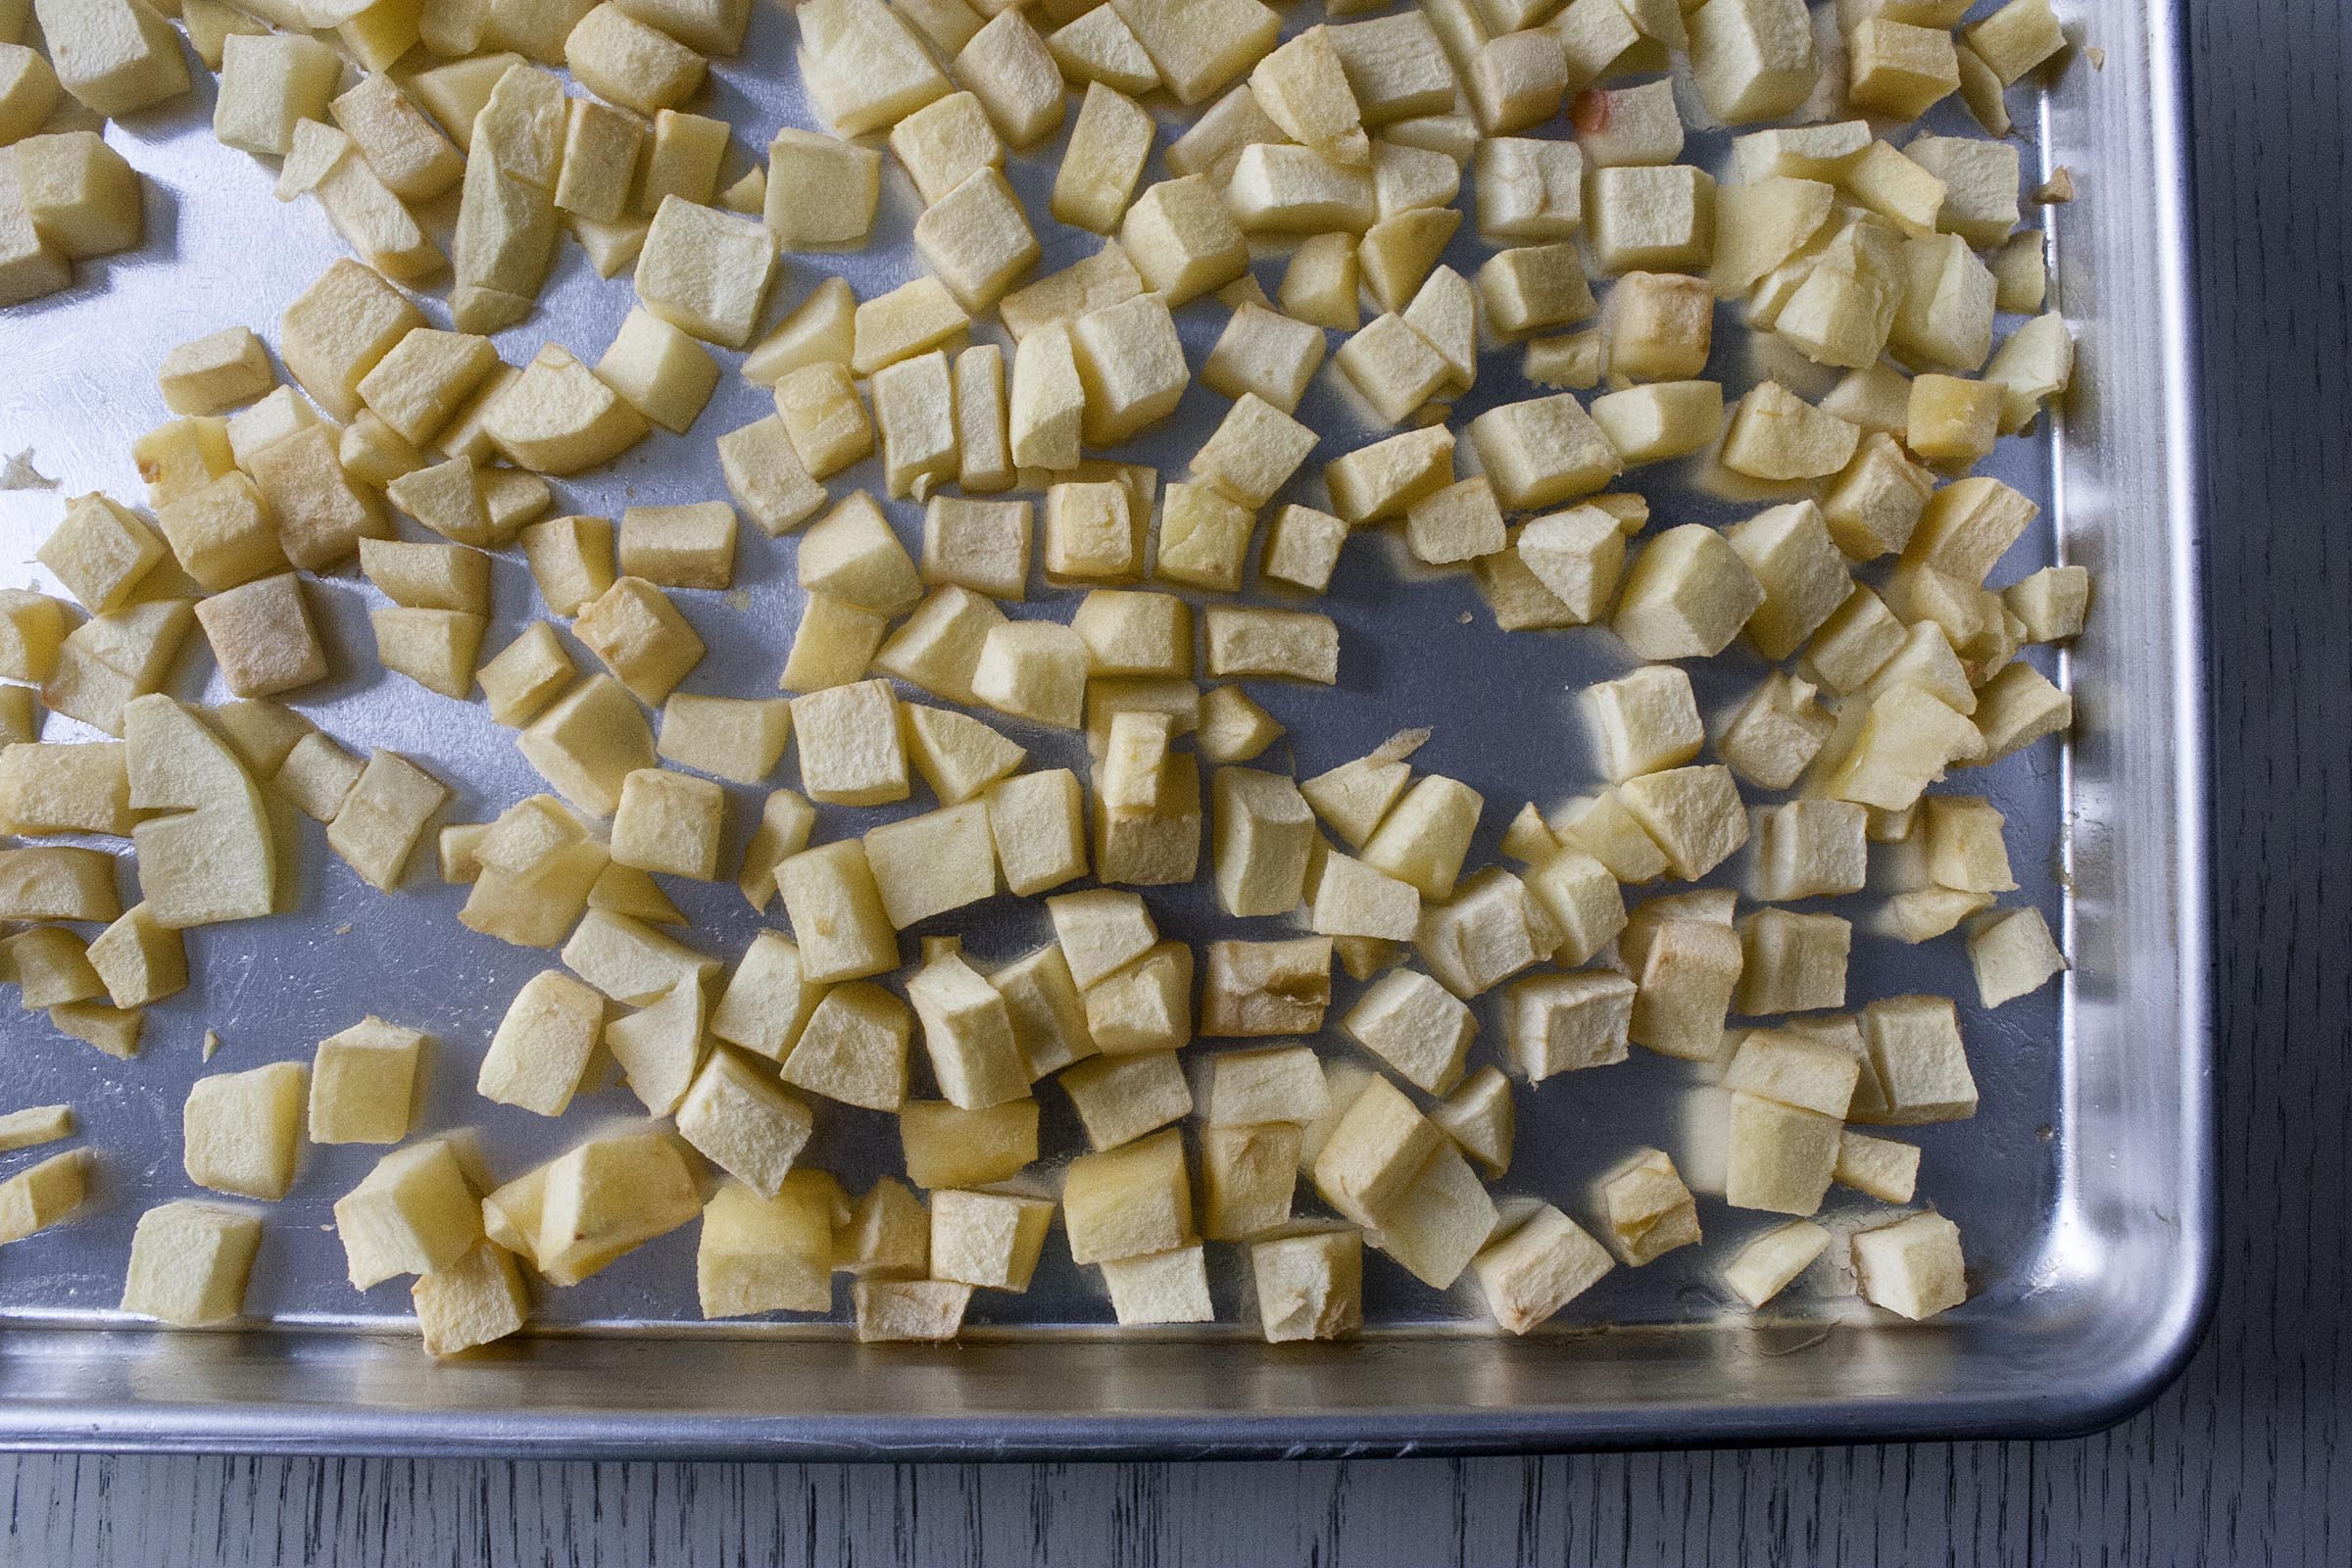
 Roasting apples is not the most revolutionary thing out there. But, it’s been enough of a game changer for me, and enough of a surprise for others, that I thought it was worth it to write about them.
A couple years ago, I made a batch of baked oatmeal using raisins and raw apples. It wasn’t a disaster, but the apples were definitely firmer than I was OK with, especially considering that it was made for Easton, who was only 18 months. The next time, I roasted them first, and while it took a bit longer to make that oatmeal, the results were well worth it.
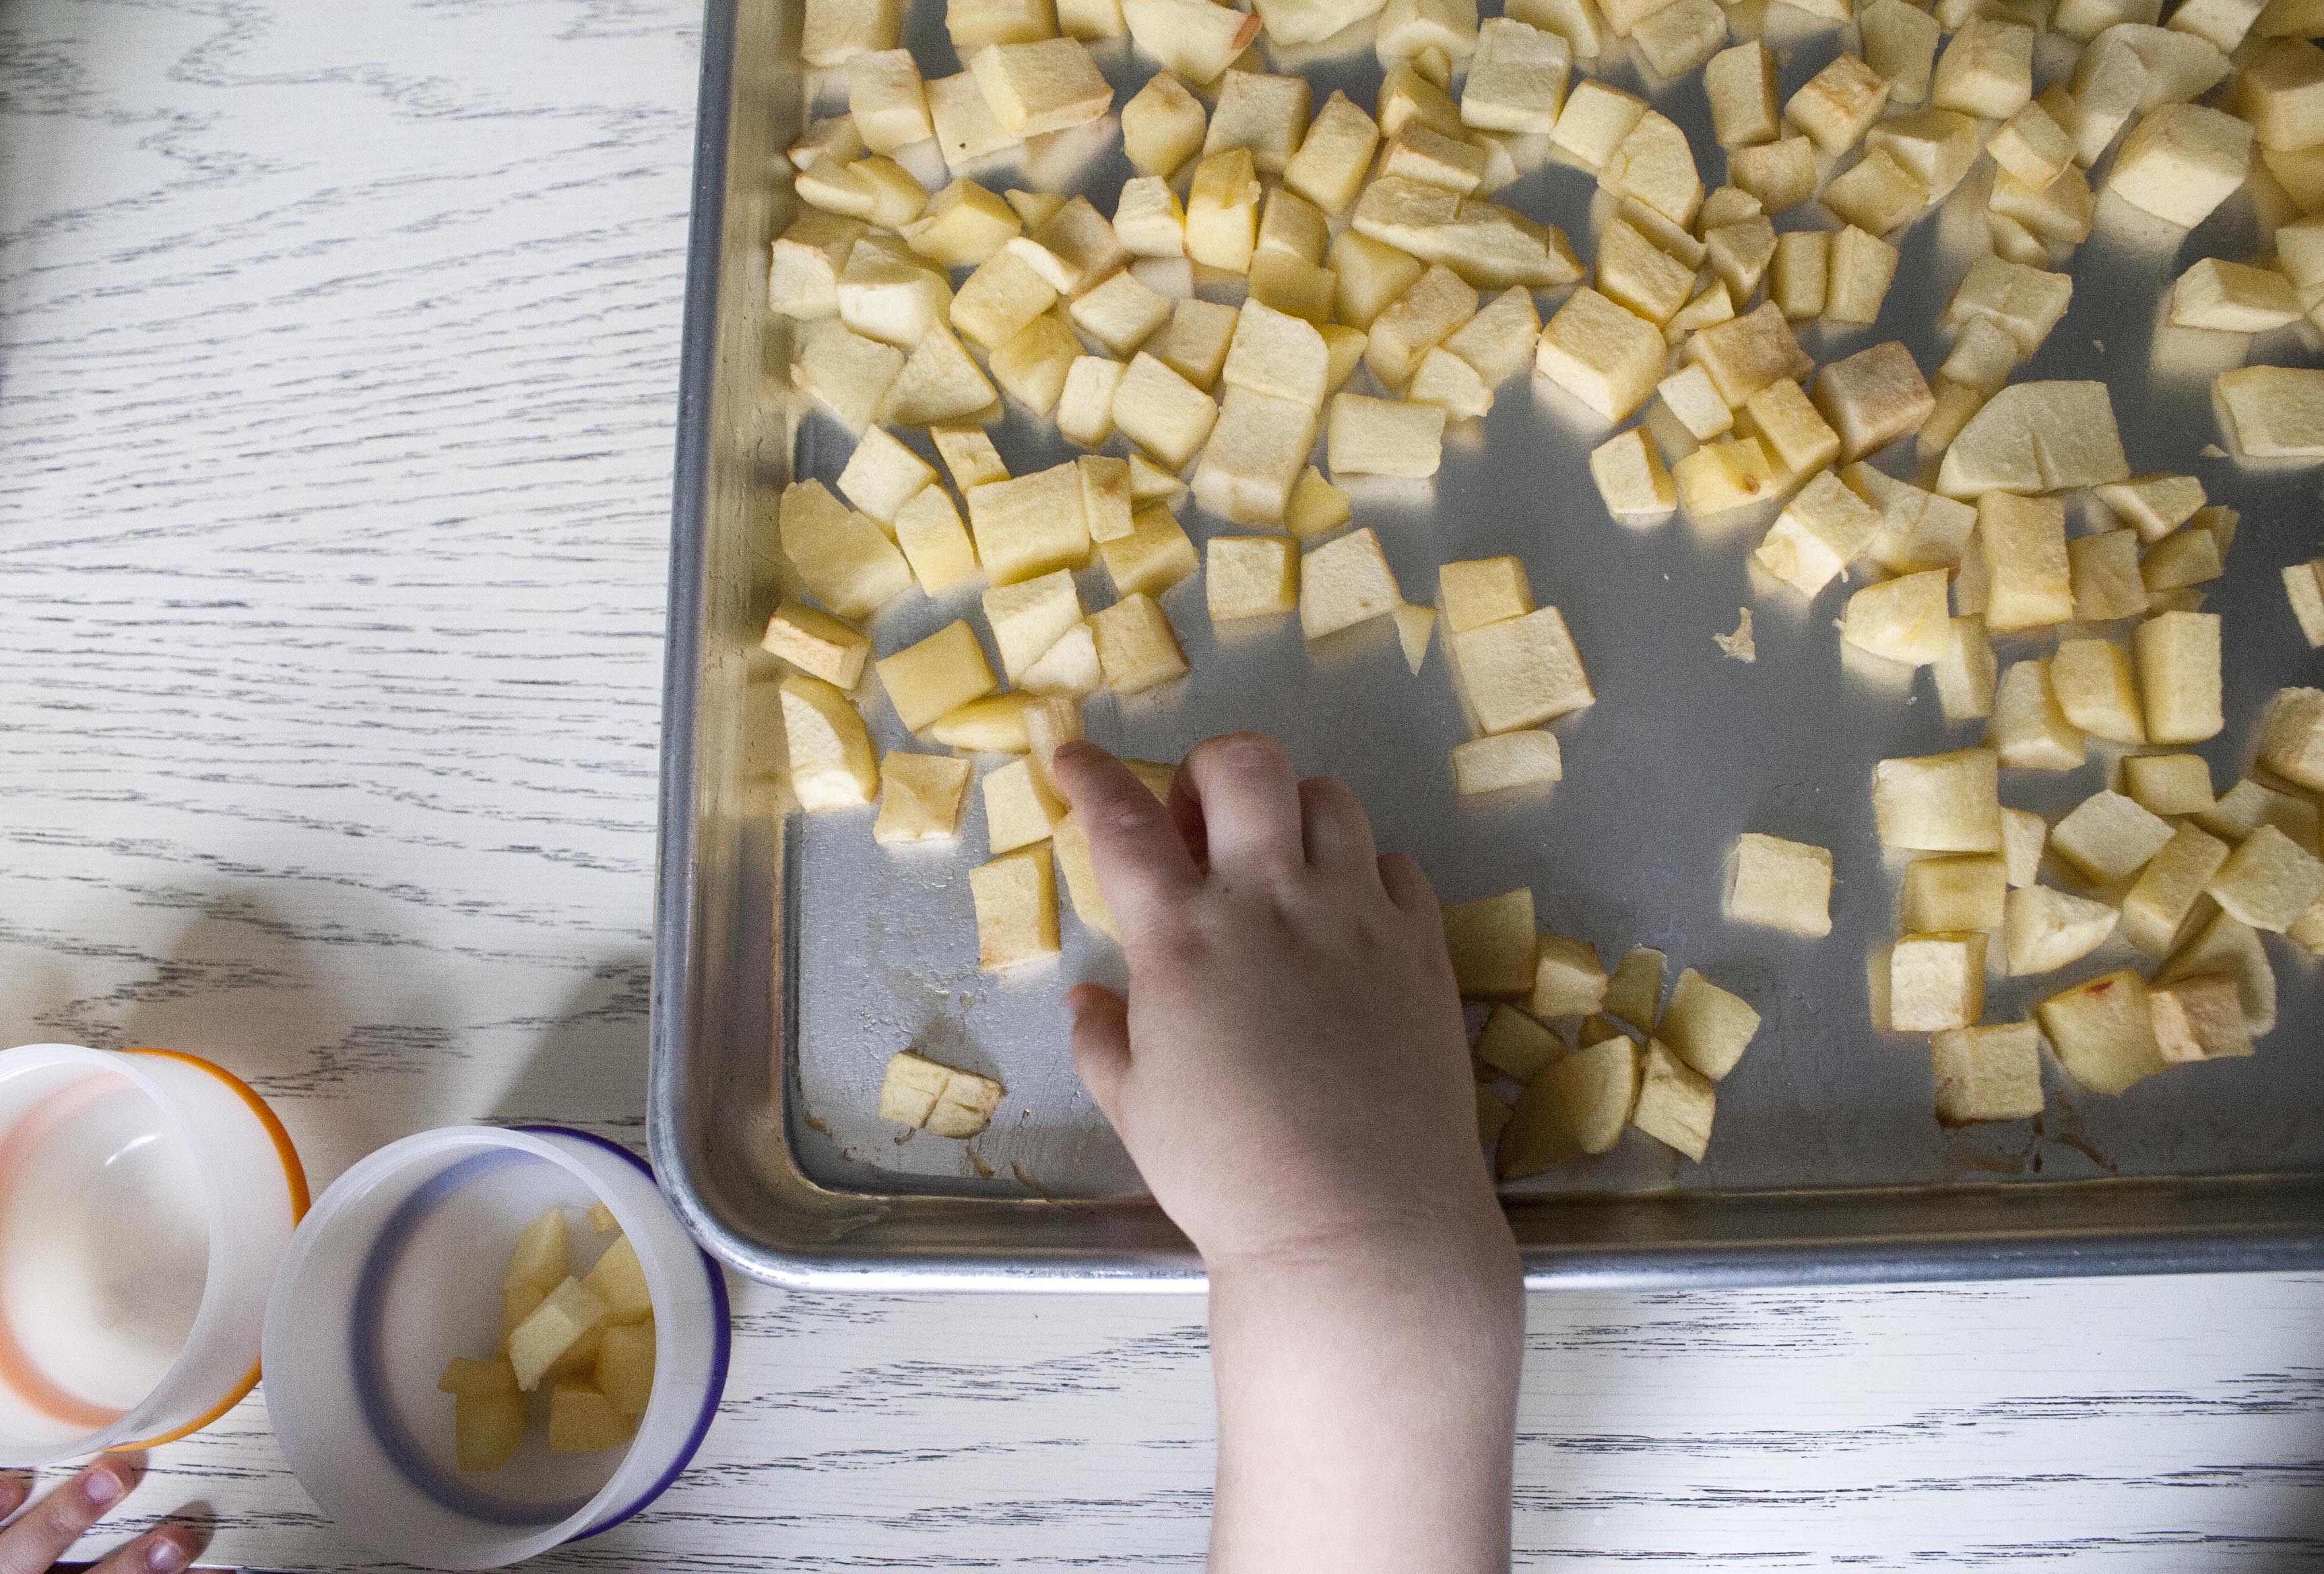
 But, then, I realized something: roasted apple cubes were also the perfect snack. During the summer, snacks are easy: she could live on blueberries and grapes, two foods that require nothing more that washing and halving, or a melon cut up on Sunday. But in the fall, I always struggle with what to send in that she’ll enjoy. These apples, tender and easy for small kids to eat, eliminate the worry of browning and oxidizing that come from raw apples and one tray-full is enough to send in snack all week long. Plus, they’re delicious.
 In the past year, Easton has developed allergies to several fruits and traditional fruit platters have become a bit daunting for me. I’ve been so happy to have these to fall back on, during the week, and when we are entertaining. Recently, I surprised my family by offering to bring the fruit to a brunch we were having (typically, they’re rolling their eyes as I say that I want to make the bagels, or something just as ridiculous). This time, I was more worried about the fruit plate than anything else, and to be honest, I knew this way, I could control the situation. But, then I stressed about it for a few weeks – wintertime fruit is tough.
I’m not embarrassed at all to admit that I’ve eaten my share of these over the years: grabbing a few extra from the tray before dividing them up, adding them to salads and oatmeal and even putting them on toast with melted cheddar. In the past few weeks, as Reeve has started to navigate foods with texture, I’ve started to give her small pieces on her tray and she cannot get them into her mouth fast enough. Roasted apples have mass appeal.
So when I was thinking about what to bring to brunch, I knew everyone would be happy to have these on their plate. But we’re adults and we don’t need little squares, right? So, Larry peeled the apples, cut wedges and roasted them until firm, but still holding their shape. I roasted grapes, sliced up dates and tossed everything together. We sprinkled on pomegranate seeds and sat back to admire our personal allergy-free winter fruit salad. Let me tell you, I could eat a bowl of that every day.
These roasted apples are certainly not going to break the internet (nor are they anything more than, well, apples) but if they can help you in some way – lunch boxes, fruit platters, make-ahead green salads, oatmeal – then it’s worth it to share. 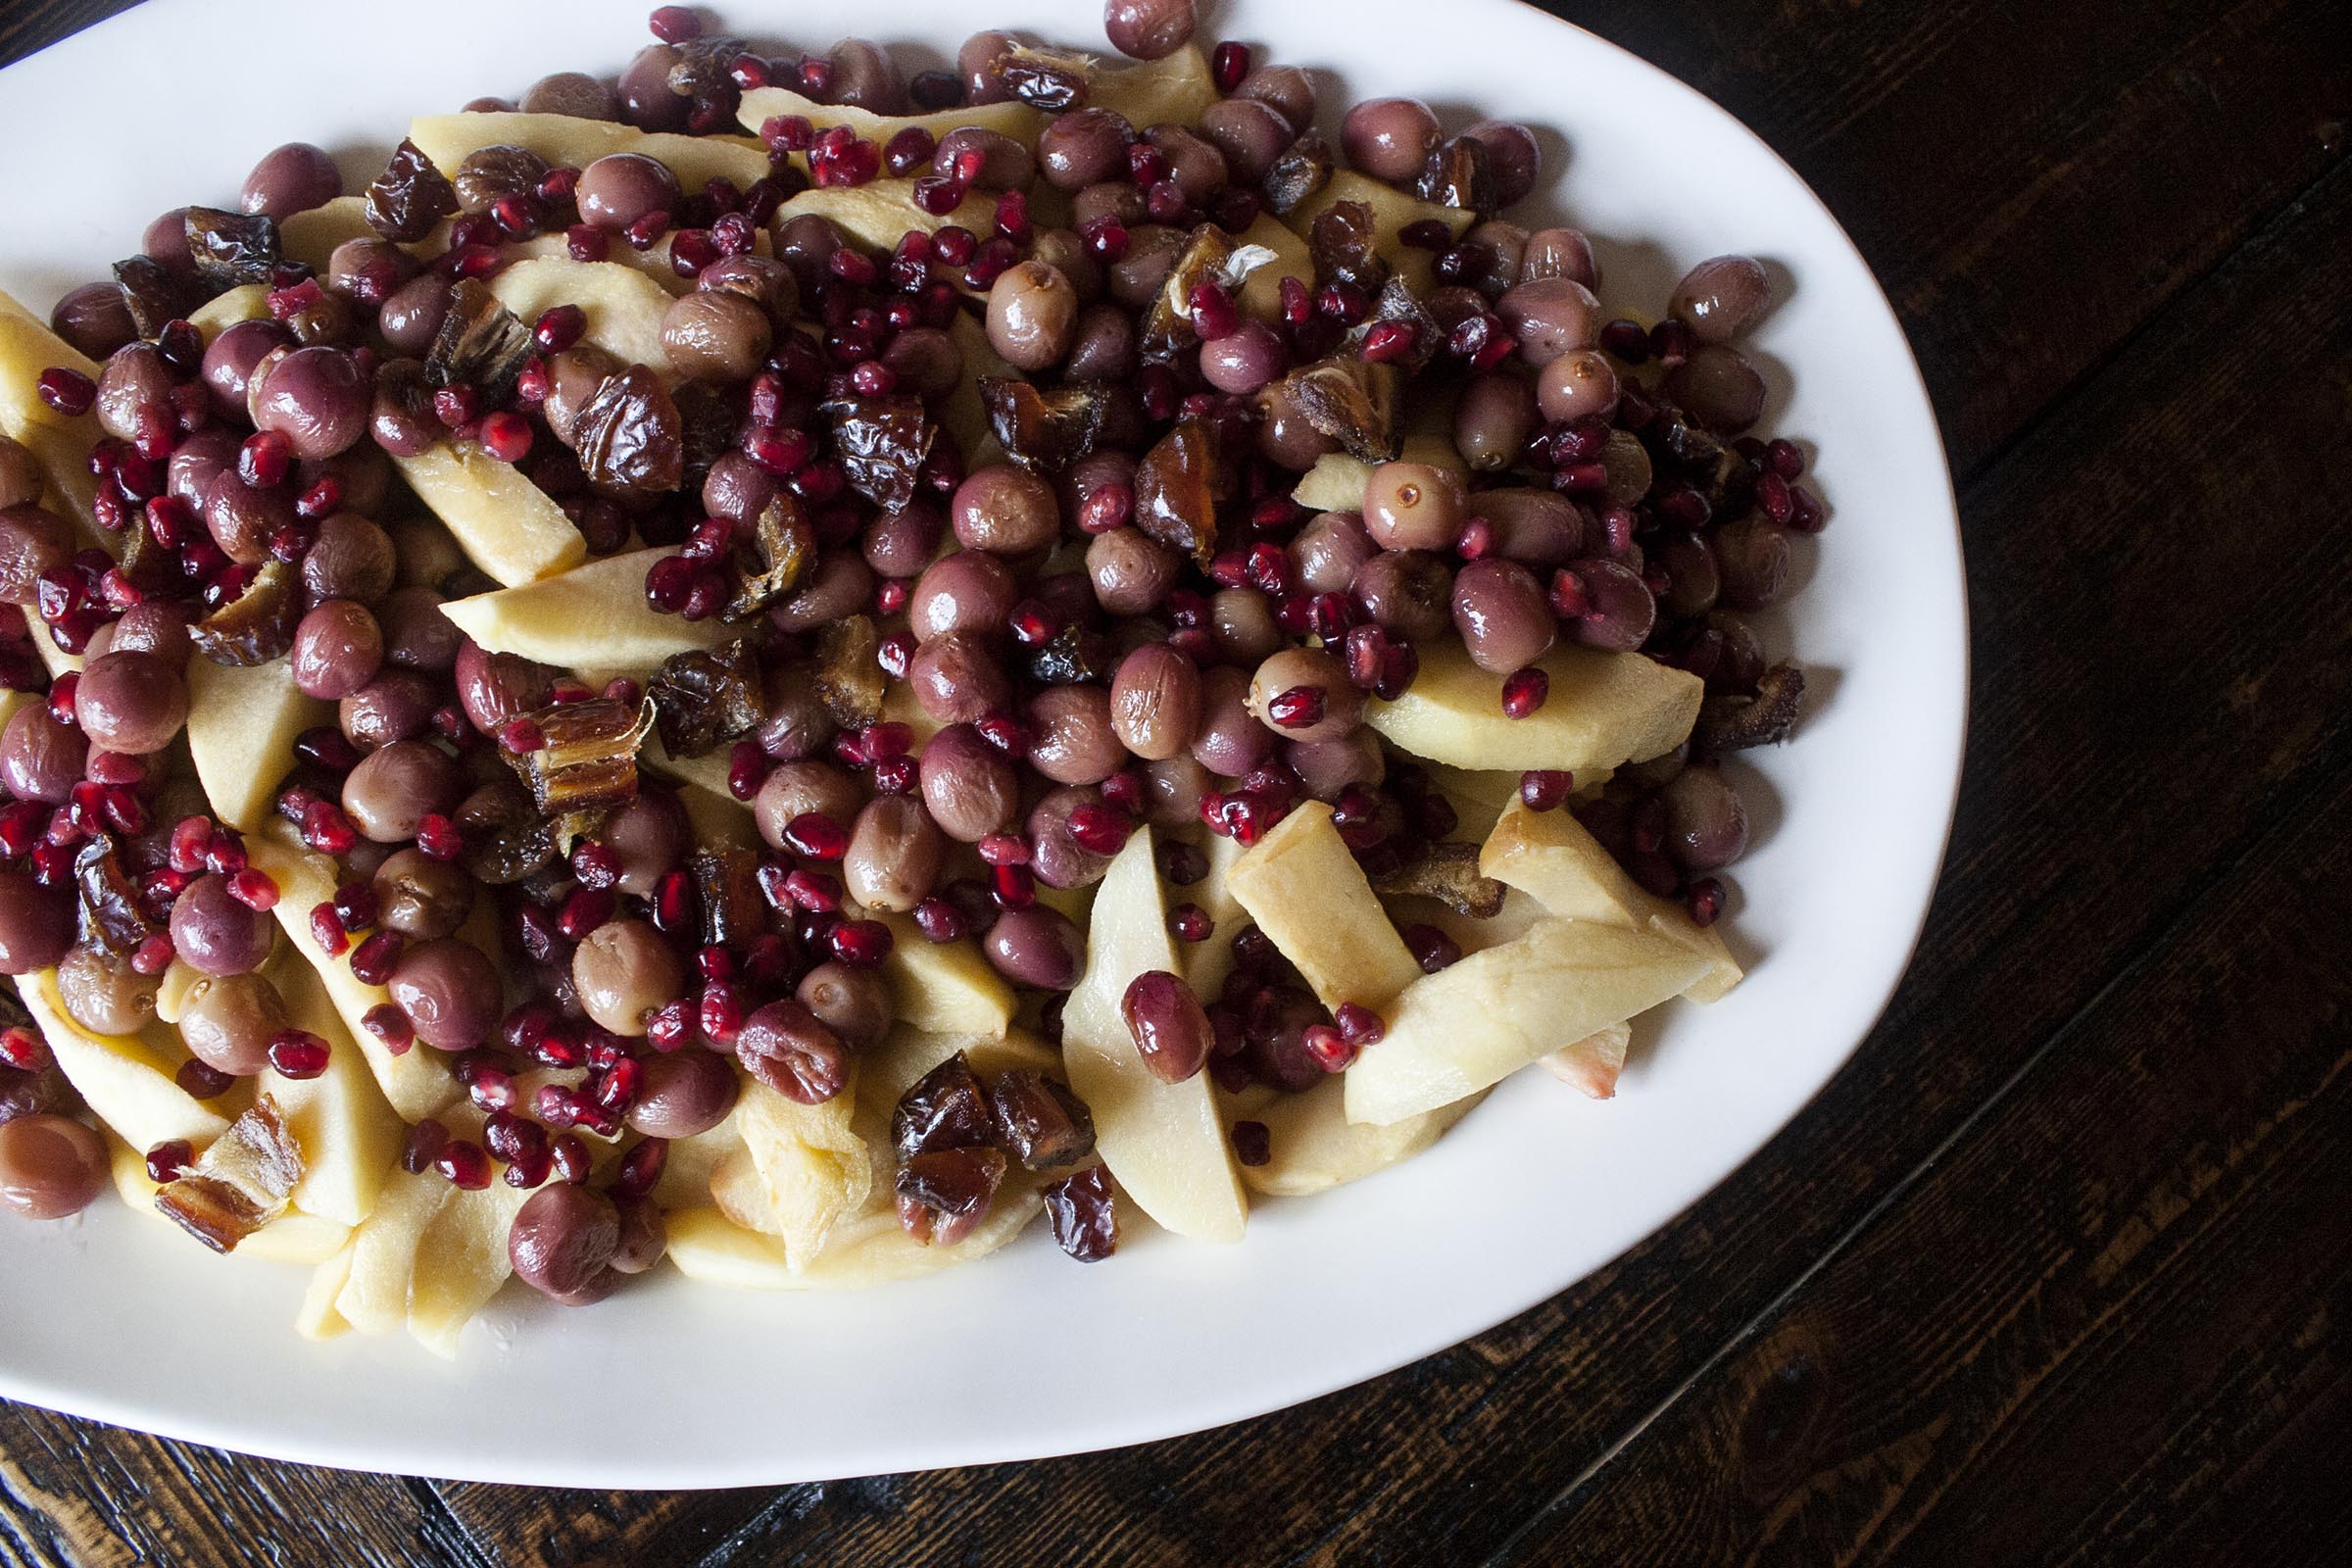
My favorite apple to use for this is Pink Lady. But, any firm apple that can keep its shape while baking, will work for this. Avoid apples that turn to mush in heat.
I always peel the apples. I used to always leave the peels on. But, when Easton was small, it was one of the foods that she seemed to struggle with chewing/swallowing easily and, after a few nervous moments, I decided that my heart couldn't take it anymore, and I started peeling. I do think the texture is nicer without them, but if you are OK with it, leave them on.
- 4-6 large apples
- Grapeseed oil, olive oil or cooking spray
- If you're using one sheet pan, keep the rack in the center of the oven. If you're using two, arrange racks in the top and bottom third. Heat oven to 375°F.
- Prepare baking sheet(s), by coating light with cooking spray or a very thin coating of oil (picture how much would be on the pan, if you use the spray).
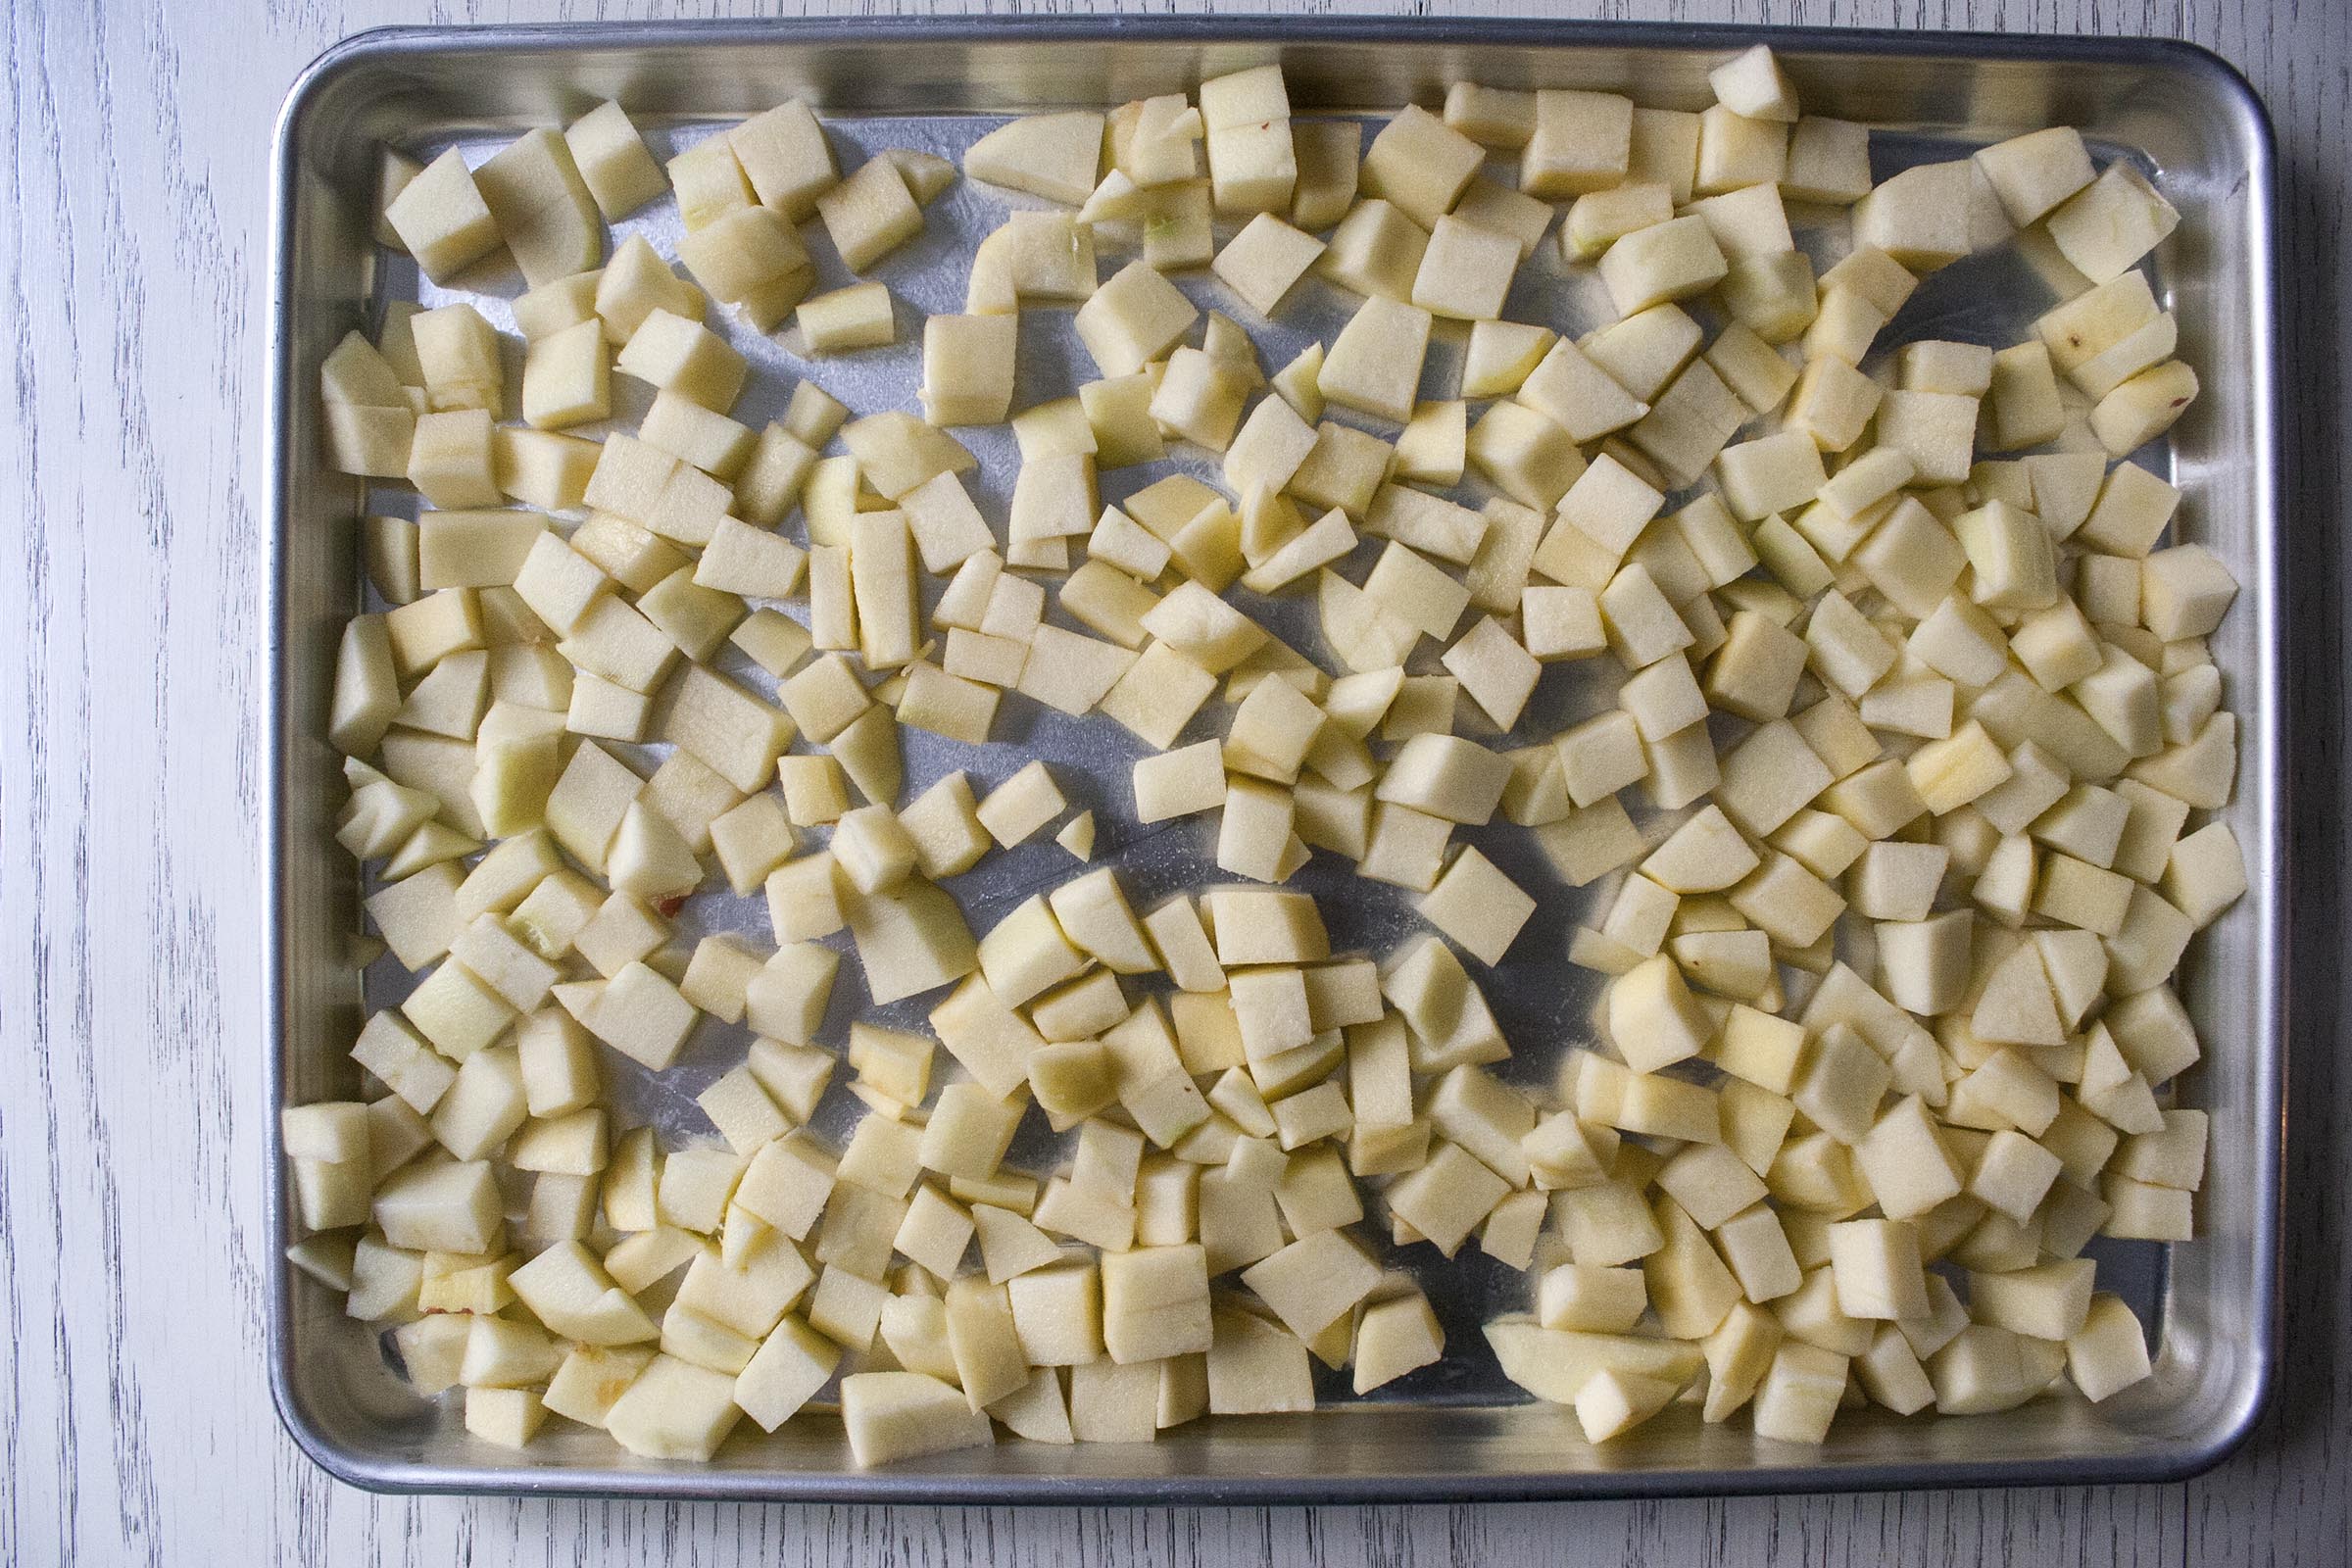
- Peel apples. If you have a corer, this is a great time to use it. Otherwise, cut the fruit away from the core and either dice into ½-inch pieces or into ½ to ¾-inch wedges.
- If you're using oil: transfer apples to the sheet pan. Drizzle with the tiniest amount of oil and toss to coat. Arrange apples in a single layer, not touching.
- If you're using cooking spray: place apples on the pan, in a single layer. Coat with cooking spray.
- Bake 15 minutes; flip apples. If you're using two baking sheets, switch the bottom to the top. Bake 10-15 minutes, more or until desired tenderness is reached (keep an eye on the pan in the bottom, which tends to get a bit darker, faster).
- Let cool. Divide amongst containers; store in the fridge for 5 days.
Leave a Reply