The guy at the nail salon who laughed about how tense my hands were last month. The masseuse that I visited a couple weeks ago, almost two years after my last massage, who told me it would be more beneficial if I could let my shoulders down. A nurse, in October, when I was unexpectedly at the doctor for myself and forcing a smile for Reeve to let her know things were OK. The lactation consultant after Easton was born, who followed it up by telling me to have a glass of wine. Our wedding videographer, who then seemed shocked to find out that I was actually, pretty chill that day.
But here’s my question? Does telling someone to relax ever actually work? Because it doesn’t for me. It makes me self-conscious. It makes me more nervous. It makes me aware of my hands, my shoulders, my words. What I need to calm down, is time. Time to acclimate, time to unwind from whatever I just ran from, and time to gain awareness of the situation. (Why after 20 years of getting my car inspected, and standing in that little box, freezing my butt off, off to the side, am I now in the car with you? Why aren’t you talking to me? What should I be doing with my hands? Was I supposed to put my seat belt on?)
Have you ever been with someone in the kitchen who isn’t comfortable cooking? Are you the person who is not comfortable cooking? Has anyone ever told you to calm down? It probably didn’t work. I remember in culinary school when I was the last one in my class able to successfully cut a perfect 1/2-inch cube (and I had to go to extra help to work on it), my chef just kept telling me to relax, that I was thinking about it too much. Surprisingly, that didn’t work.
What worked for me and what works, in the kitchen, is confidence: a knowledge of your ingredients, steps that meet or just slightly push your skill level, a clear plan. What works, when the idea of cooking a recipe from start to finish causes more worry than joy, are recipes that let you cook at your own pace.
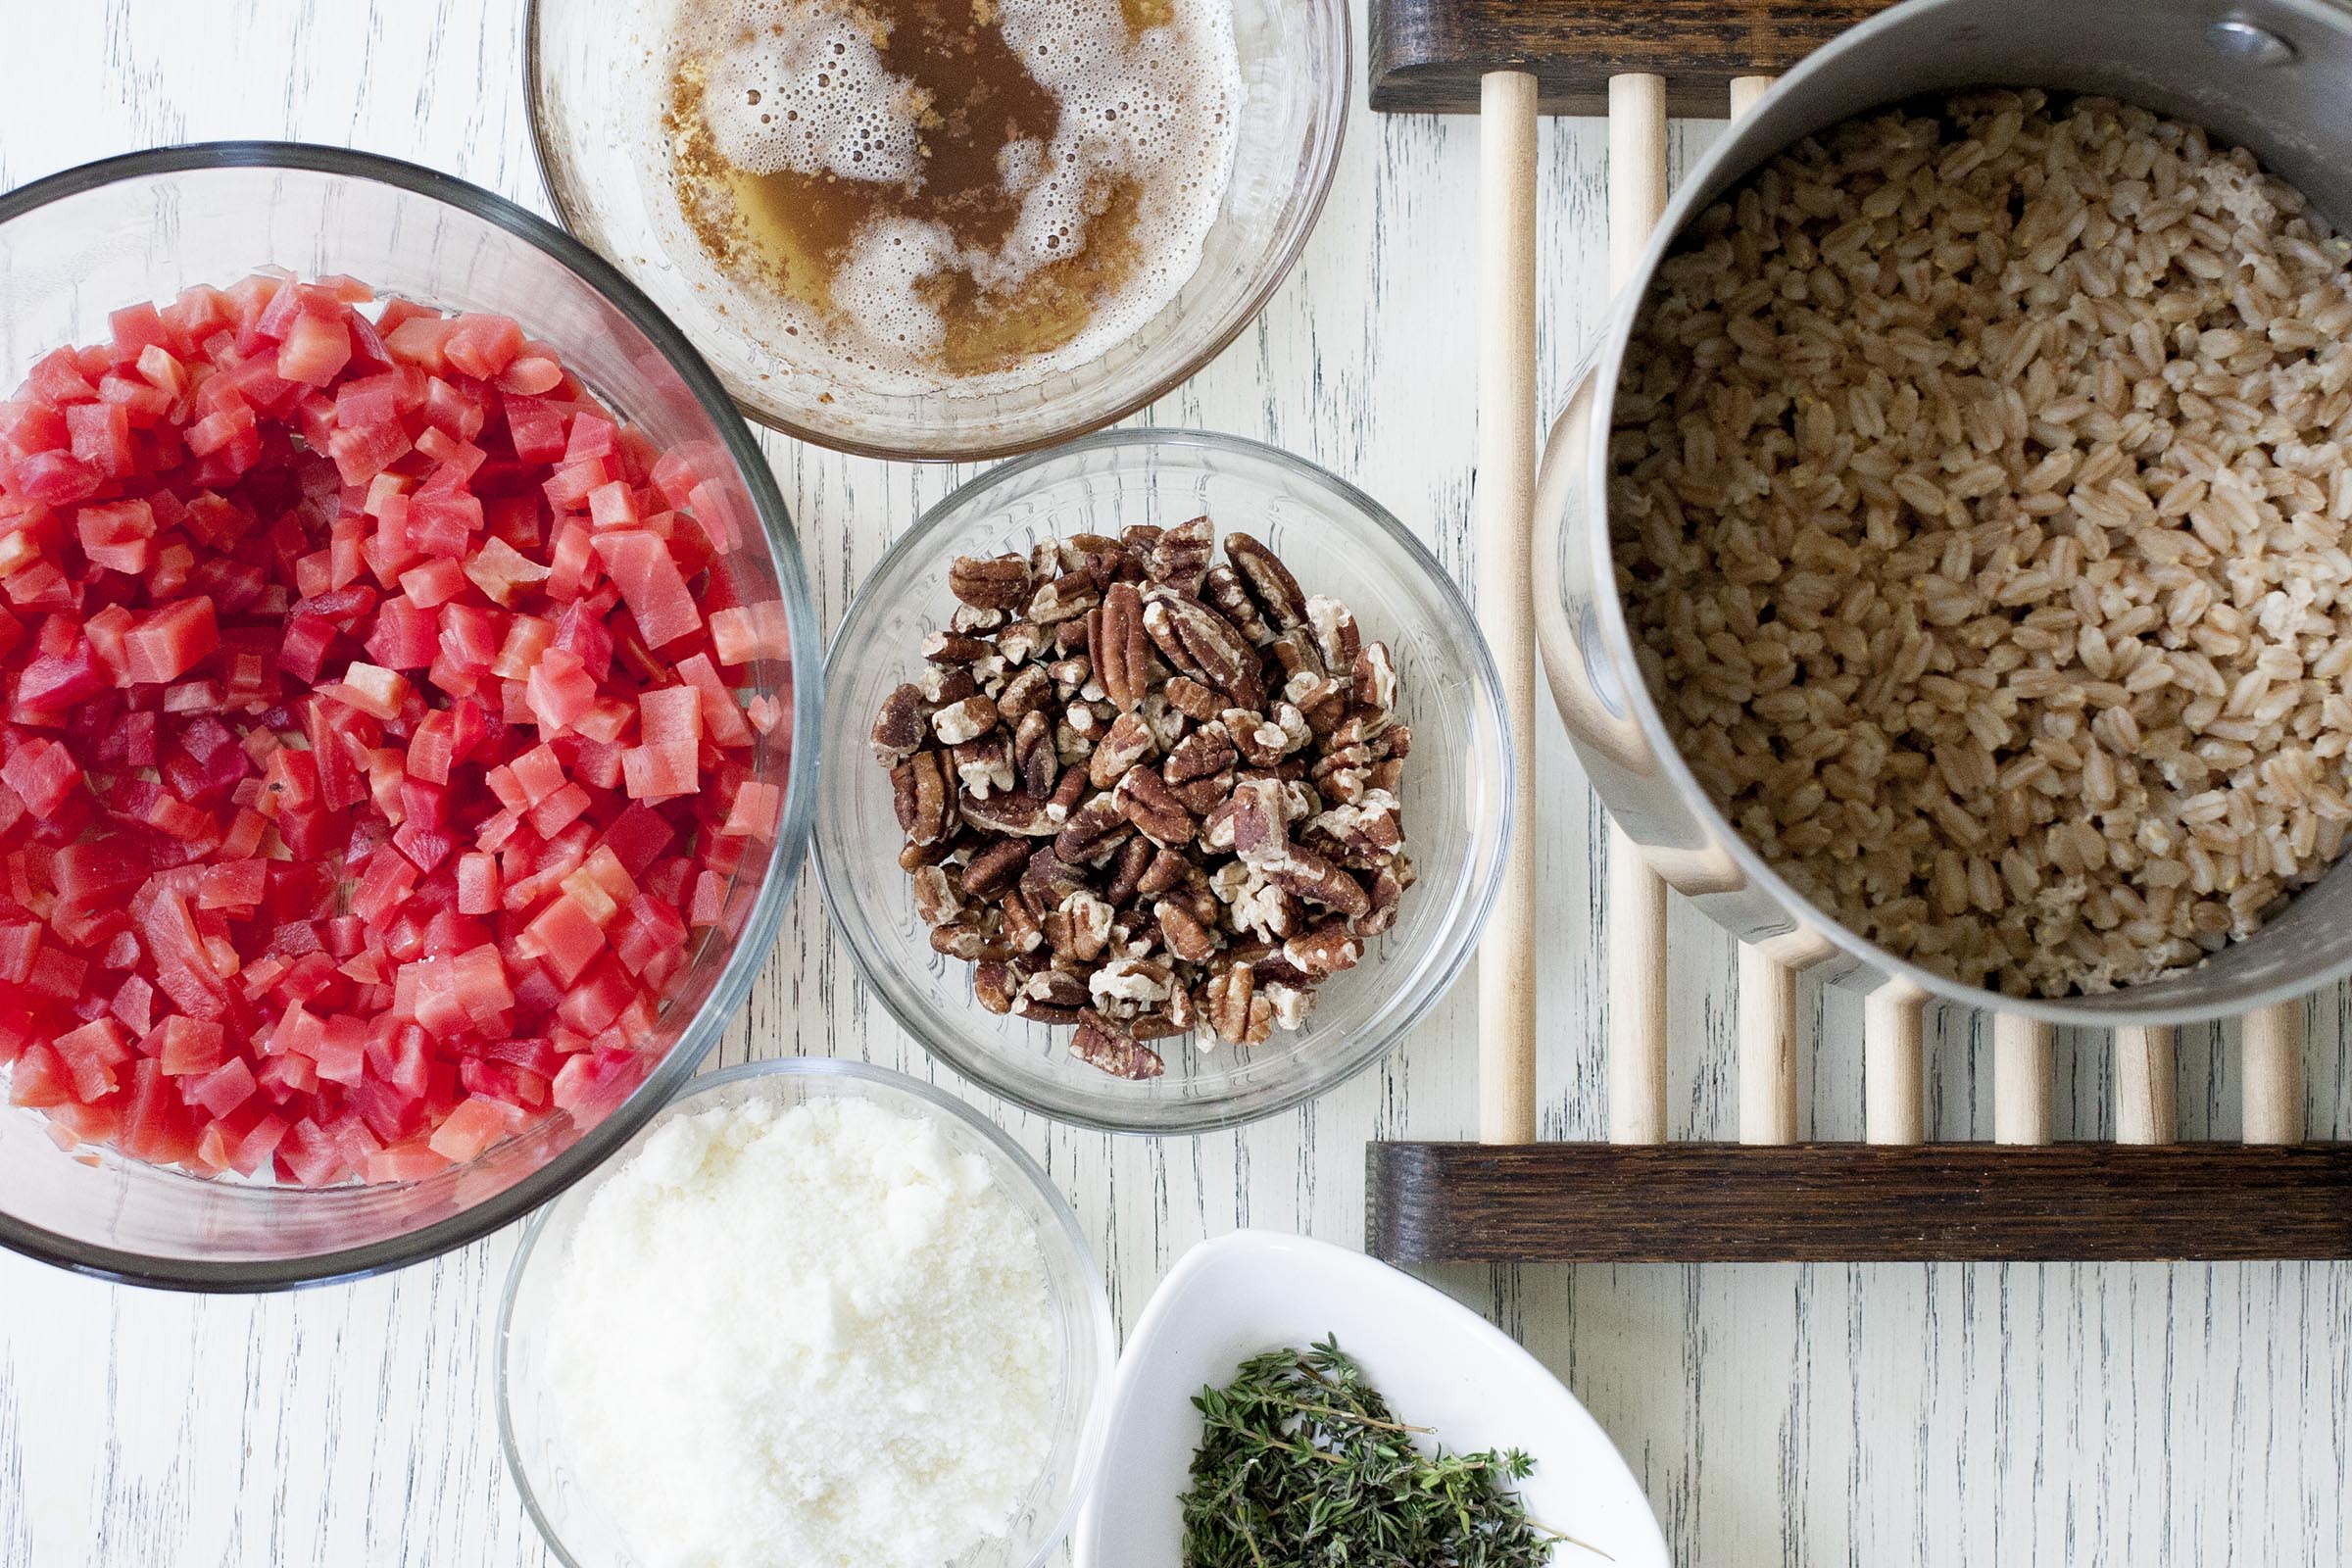 Farro with Browned Butter Beets lets you be you. There are a couple things to do, but almost all of them can be completed when you have a minute. In fact, that’s how I made it. One morning, when I realized that we would be home for the next hour, I wrapped beets with foil and put them in the oven. A couple hours later, after getting home from the park, I peeled and chopped them. At another point, I toasted pecans (tip: toast an entire batch at once and store them in the freezer). And, when Easton needed an activity, she plucked the thyme leaves, one by one, as I cooked the farro and took care of the cheese.
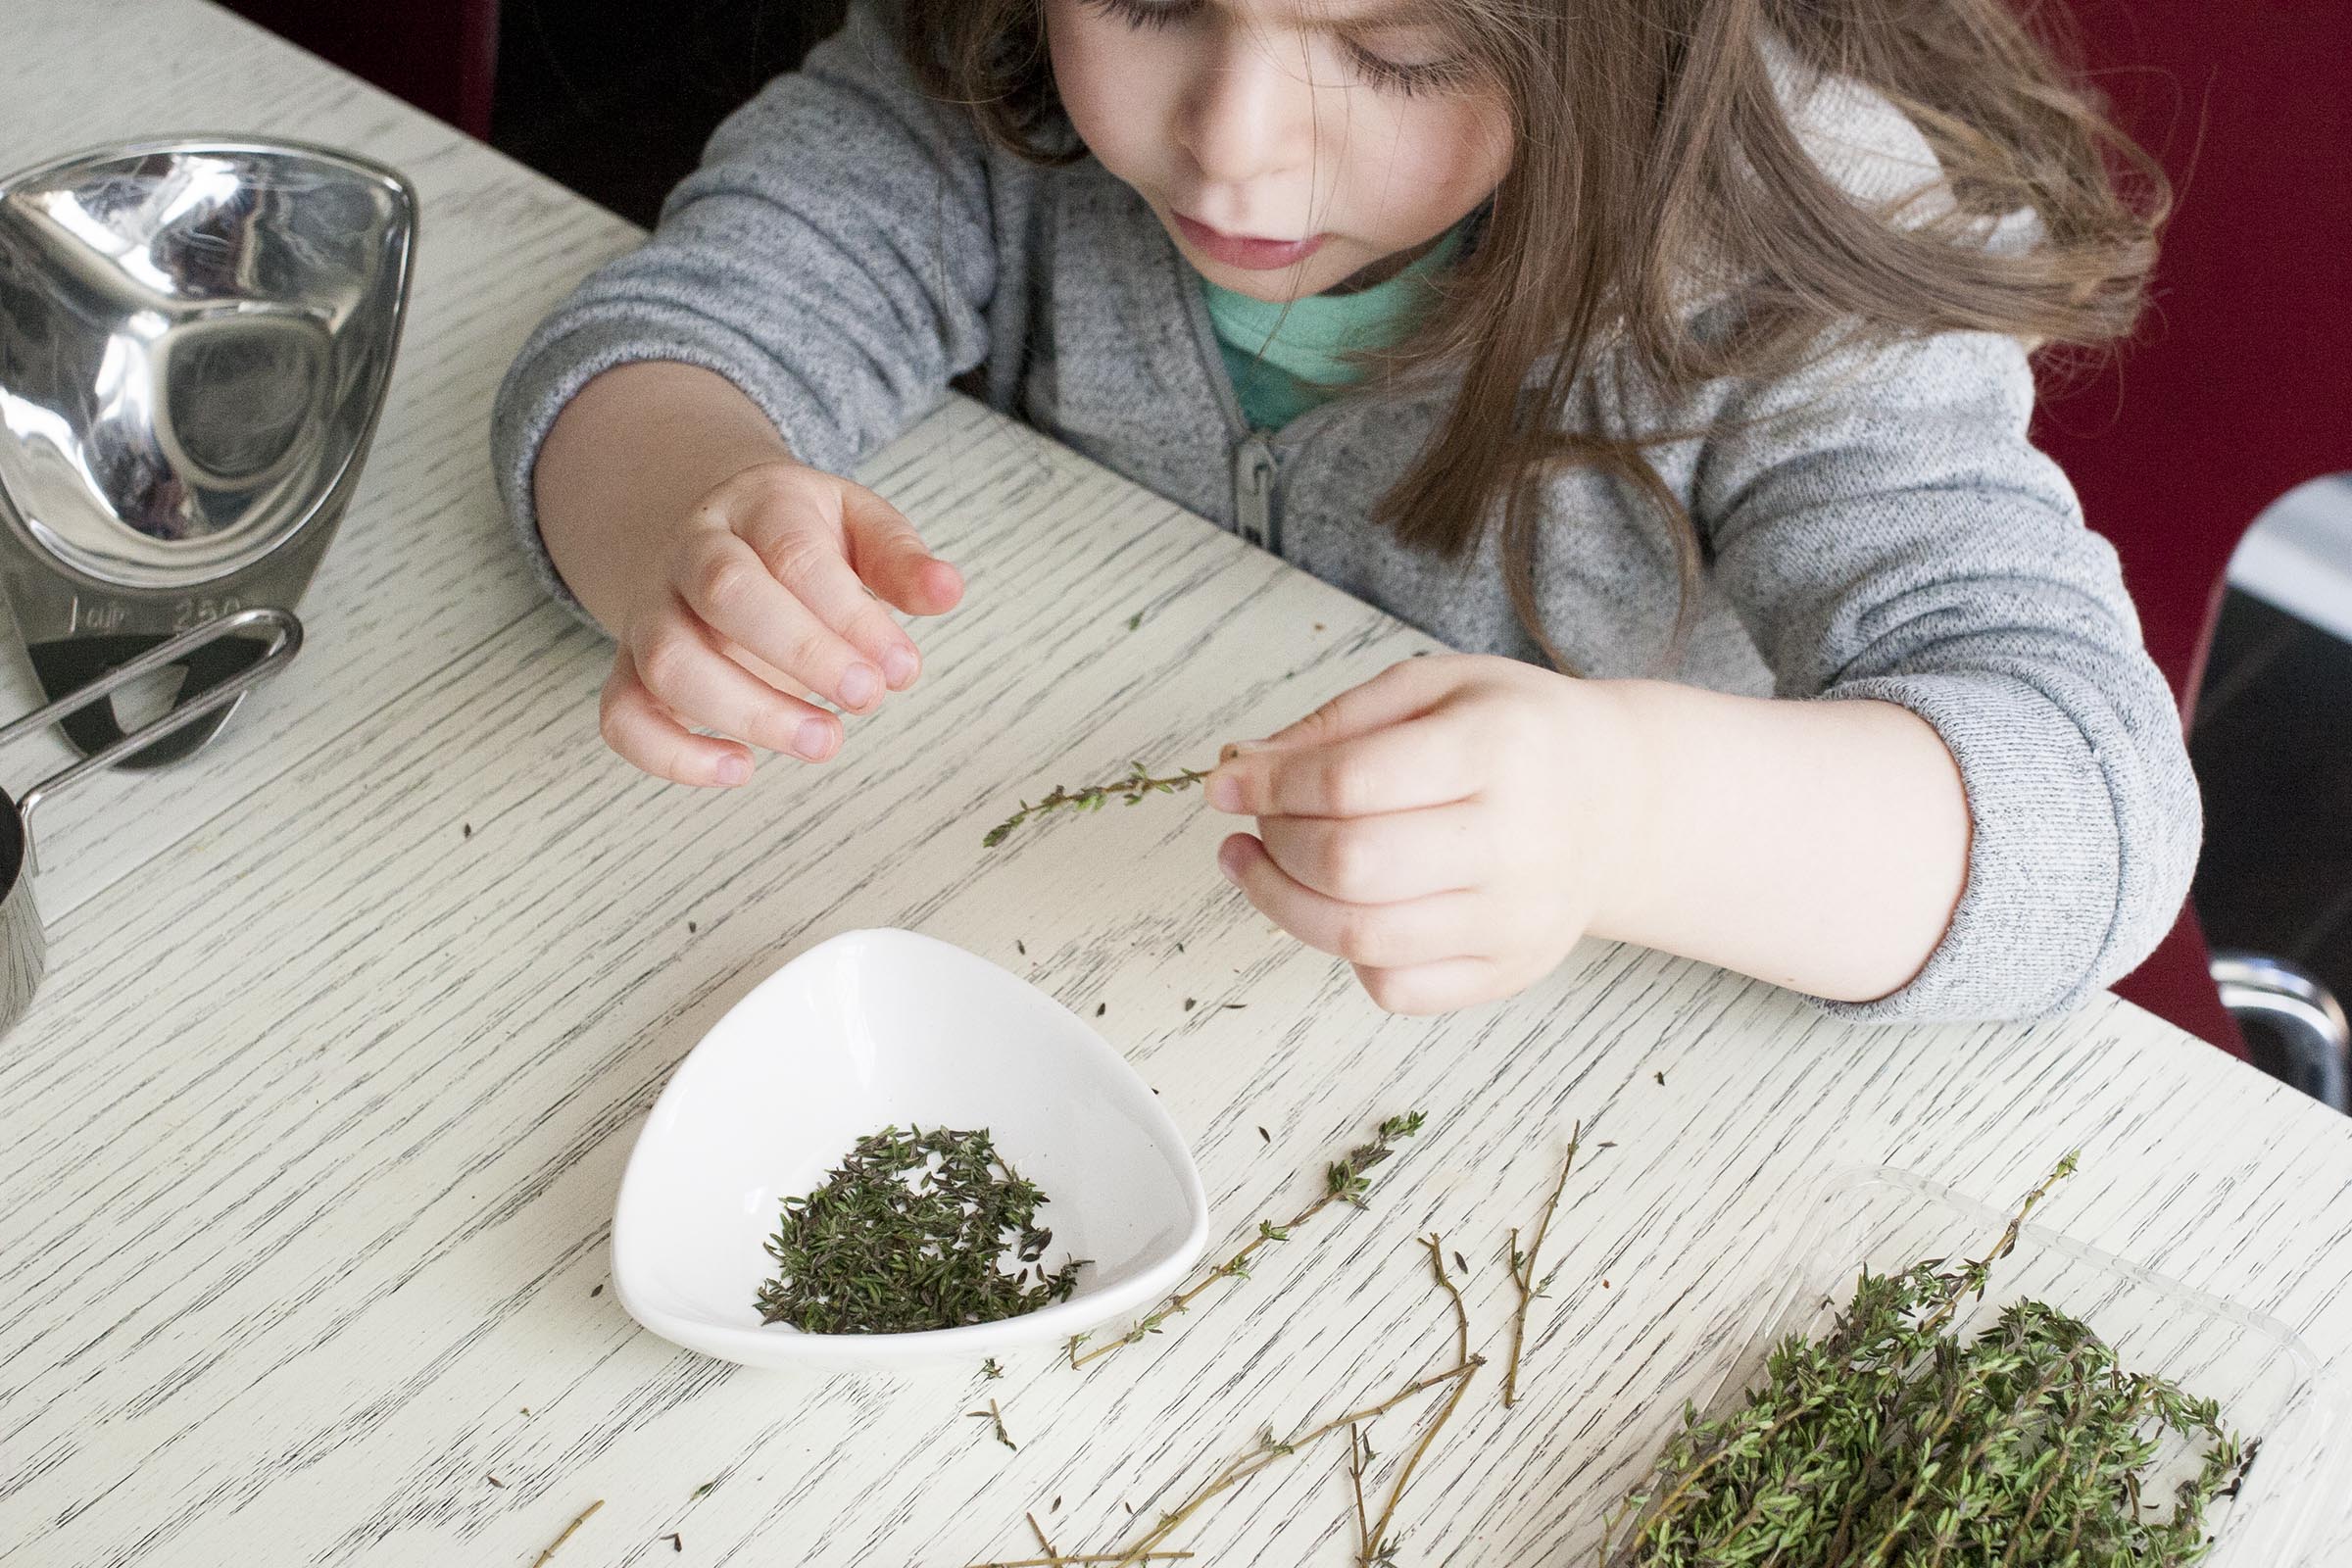
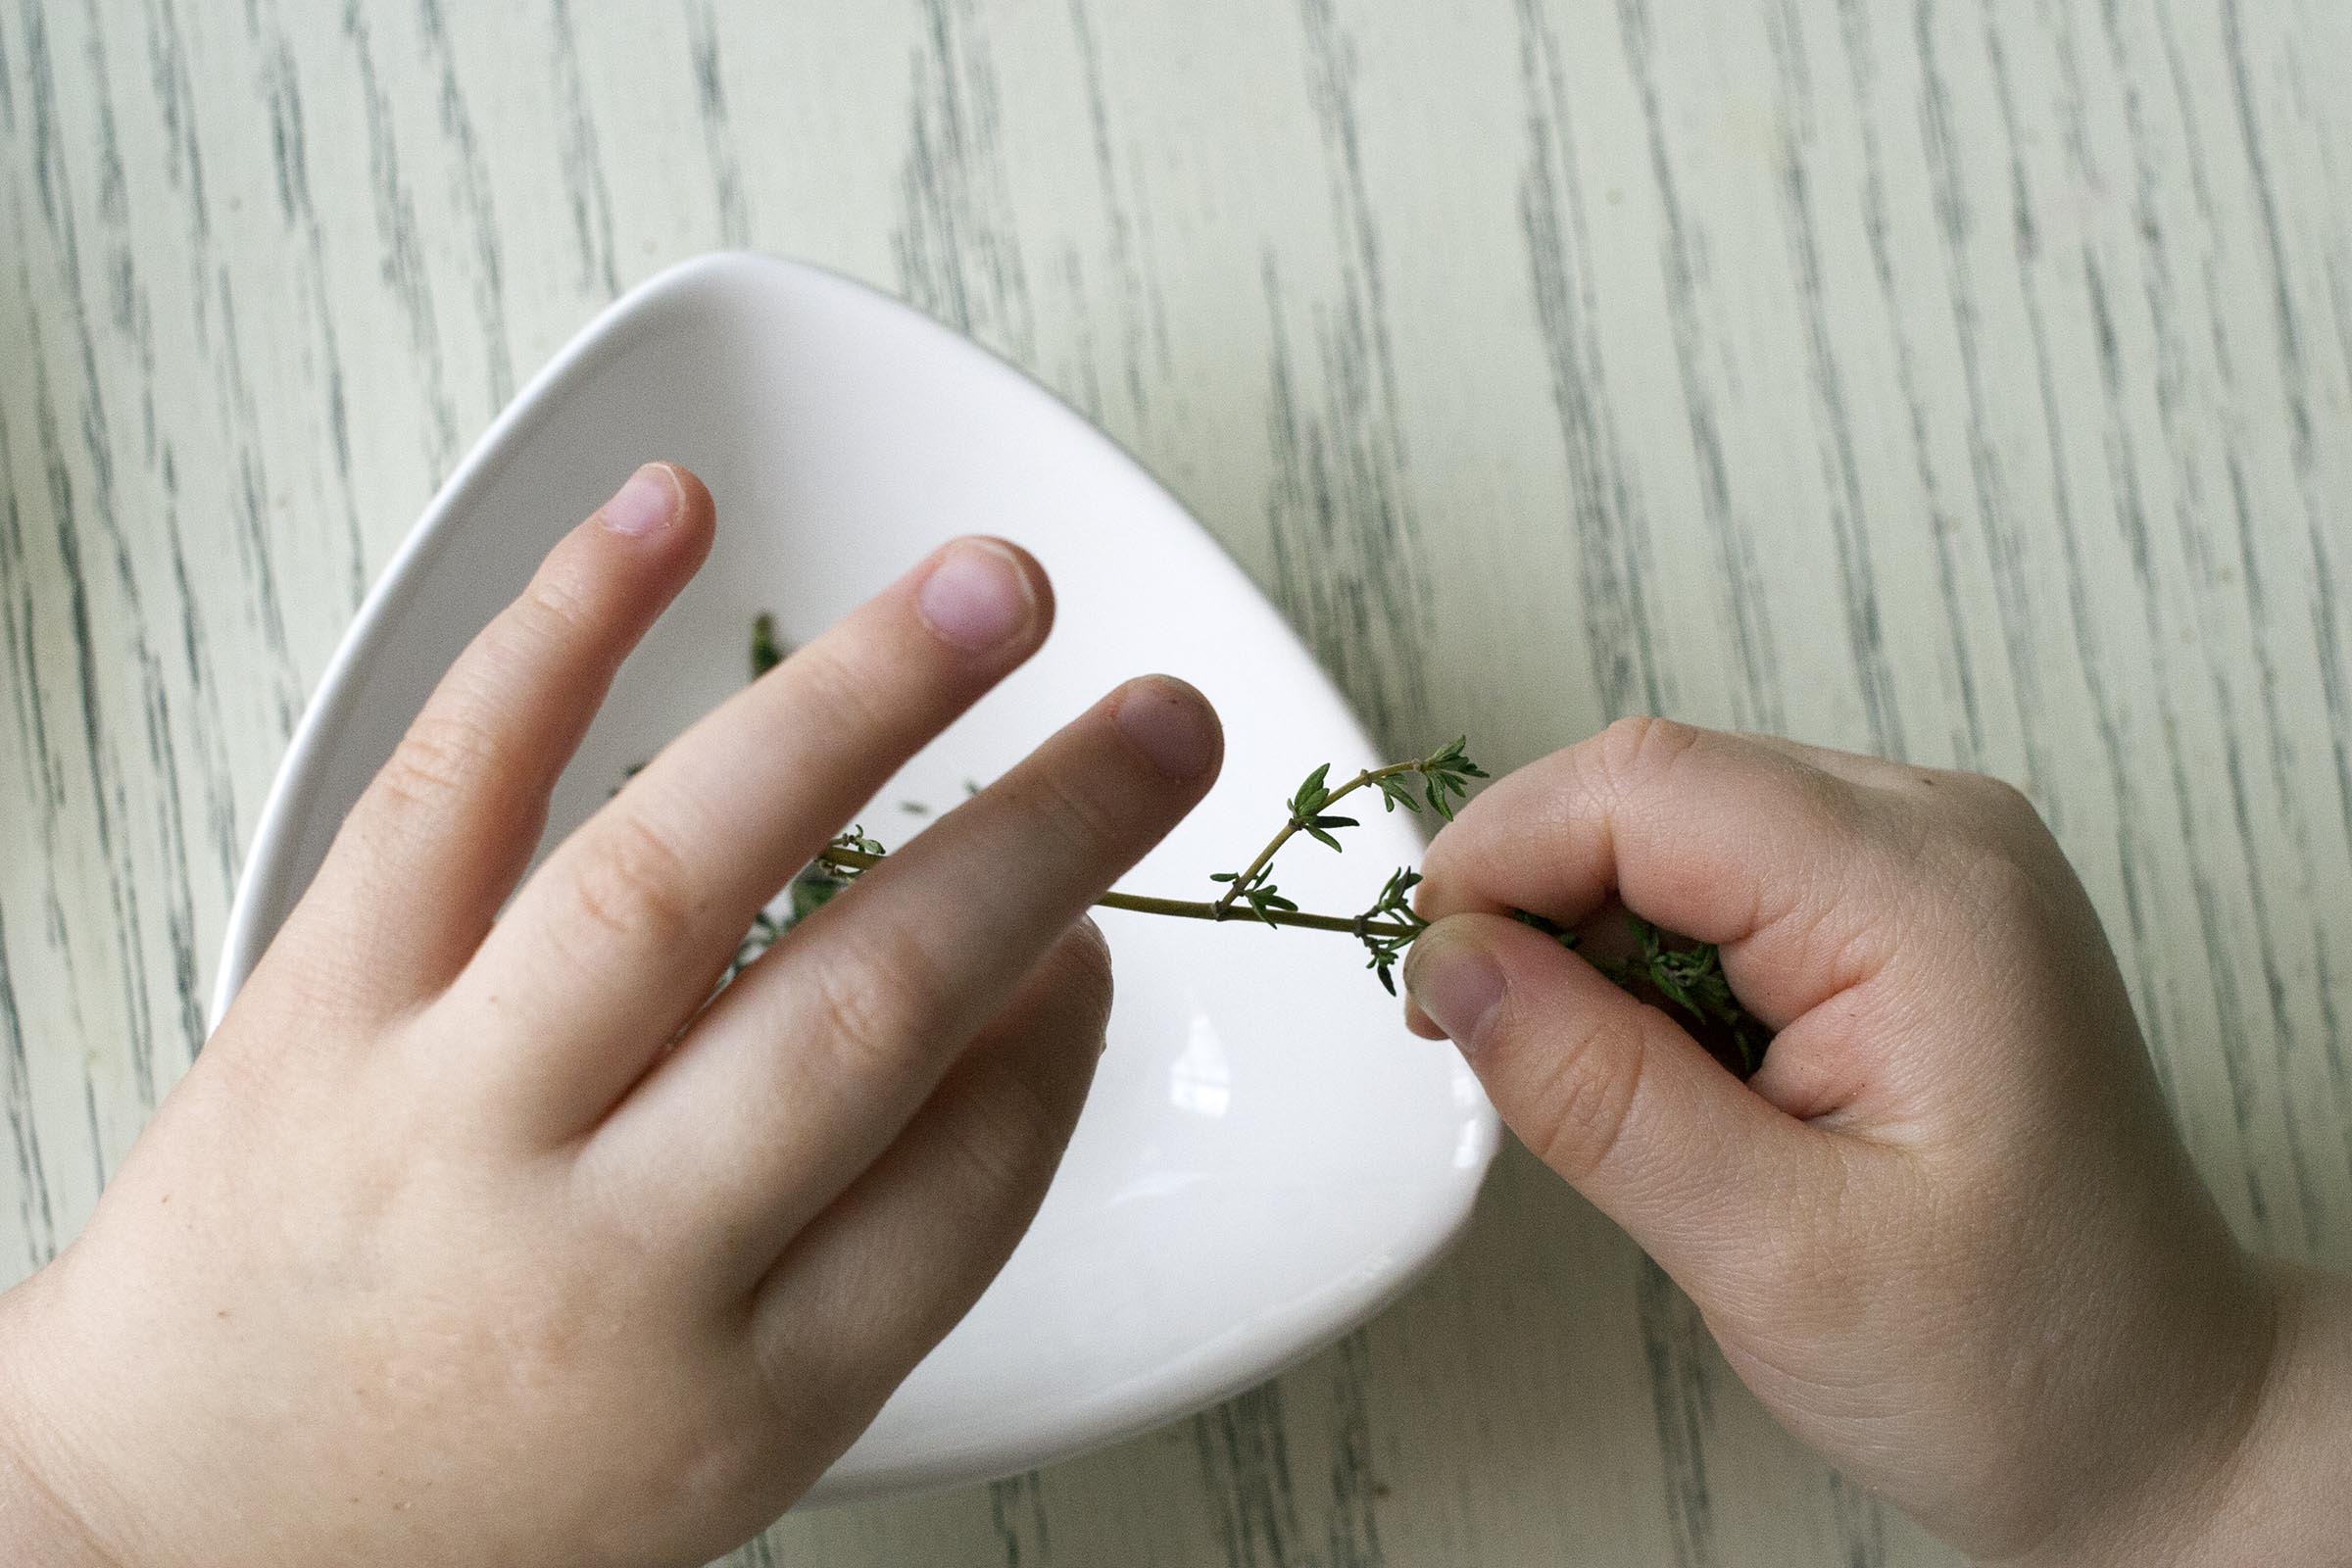
Yes, there are a few techniques – if you want to call them that – roasting (or, wrapping in foil, placing in the oven and setting a timer); toasting nuts (did you know that you can do this in the microwave, if your oven is full?), cooking farro (boiling, simmering, covering, and again, setting a timer). But, there’s only one thing that involves honest to goodness cooking, a real technique that may make you nervous: browning the butter.
So many recipes make browning butter feel like the ultimate goal, but one that is impossible to reach. They make you stress, your shoulders go tight. But it shouldn’t. Here is what you need: a light colored skillet (stainless steel is great), a heat proof bowl, a nose for identifying the stages of the butter transforming from simply melted to nutty, and eyes, to literally keep an eye on the situation. You’ll also need about 10 minutes and a commitment to yourself to not get too distracted.
Then, here’s what you do, if you’ve never browned butter before: cube the butter. This can be a casual thing – don’t worry about it being cold, or diced into perfect squares or anything else that butter sometimes demands of you. Place it in your light bottom skillet and set it over a medium-low flame. Let it melt, keeping tabs on it while possibly taking care of other things. You’ll notice that it will start to foam and milk solids will appear. You may start to see a little sizzle or hear an occasional hiss. Let it be. Once you see a bit of it begin to darken, usually around the edges first, watch very closely. Let it go the slightest bit longer and then start swirling your skillet to bring it all together and to keep it from burning. Keep swirling until the butter is evenly caramelly-brown and then pour it into the bowl on the side, to stop the cooking, You just browned butter. And next time you see it in a recipe, you’ll be OK.
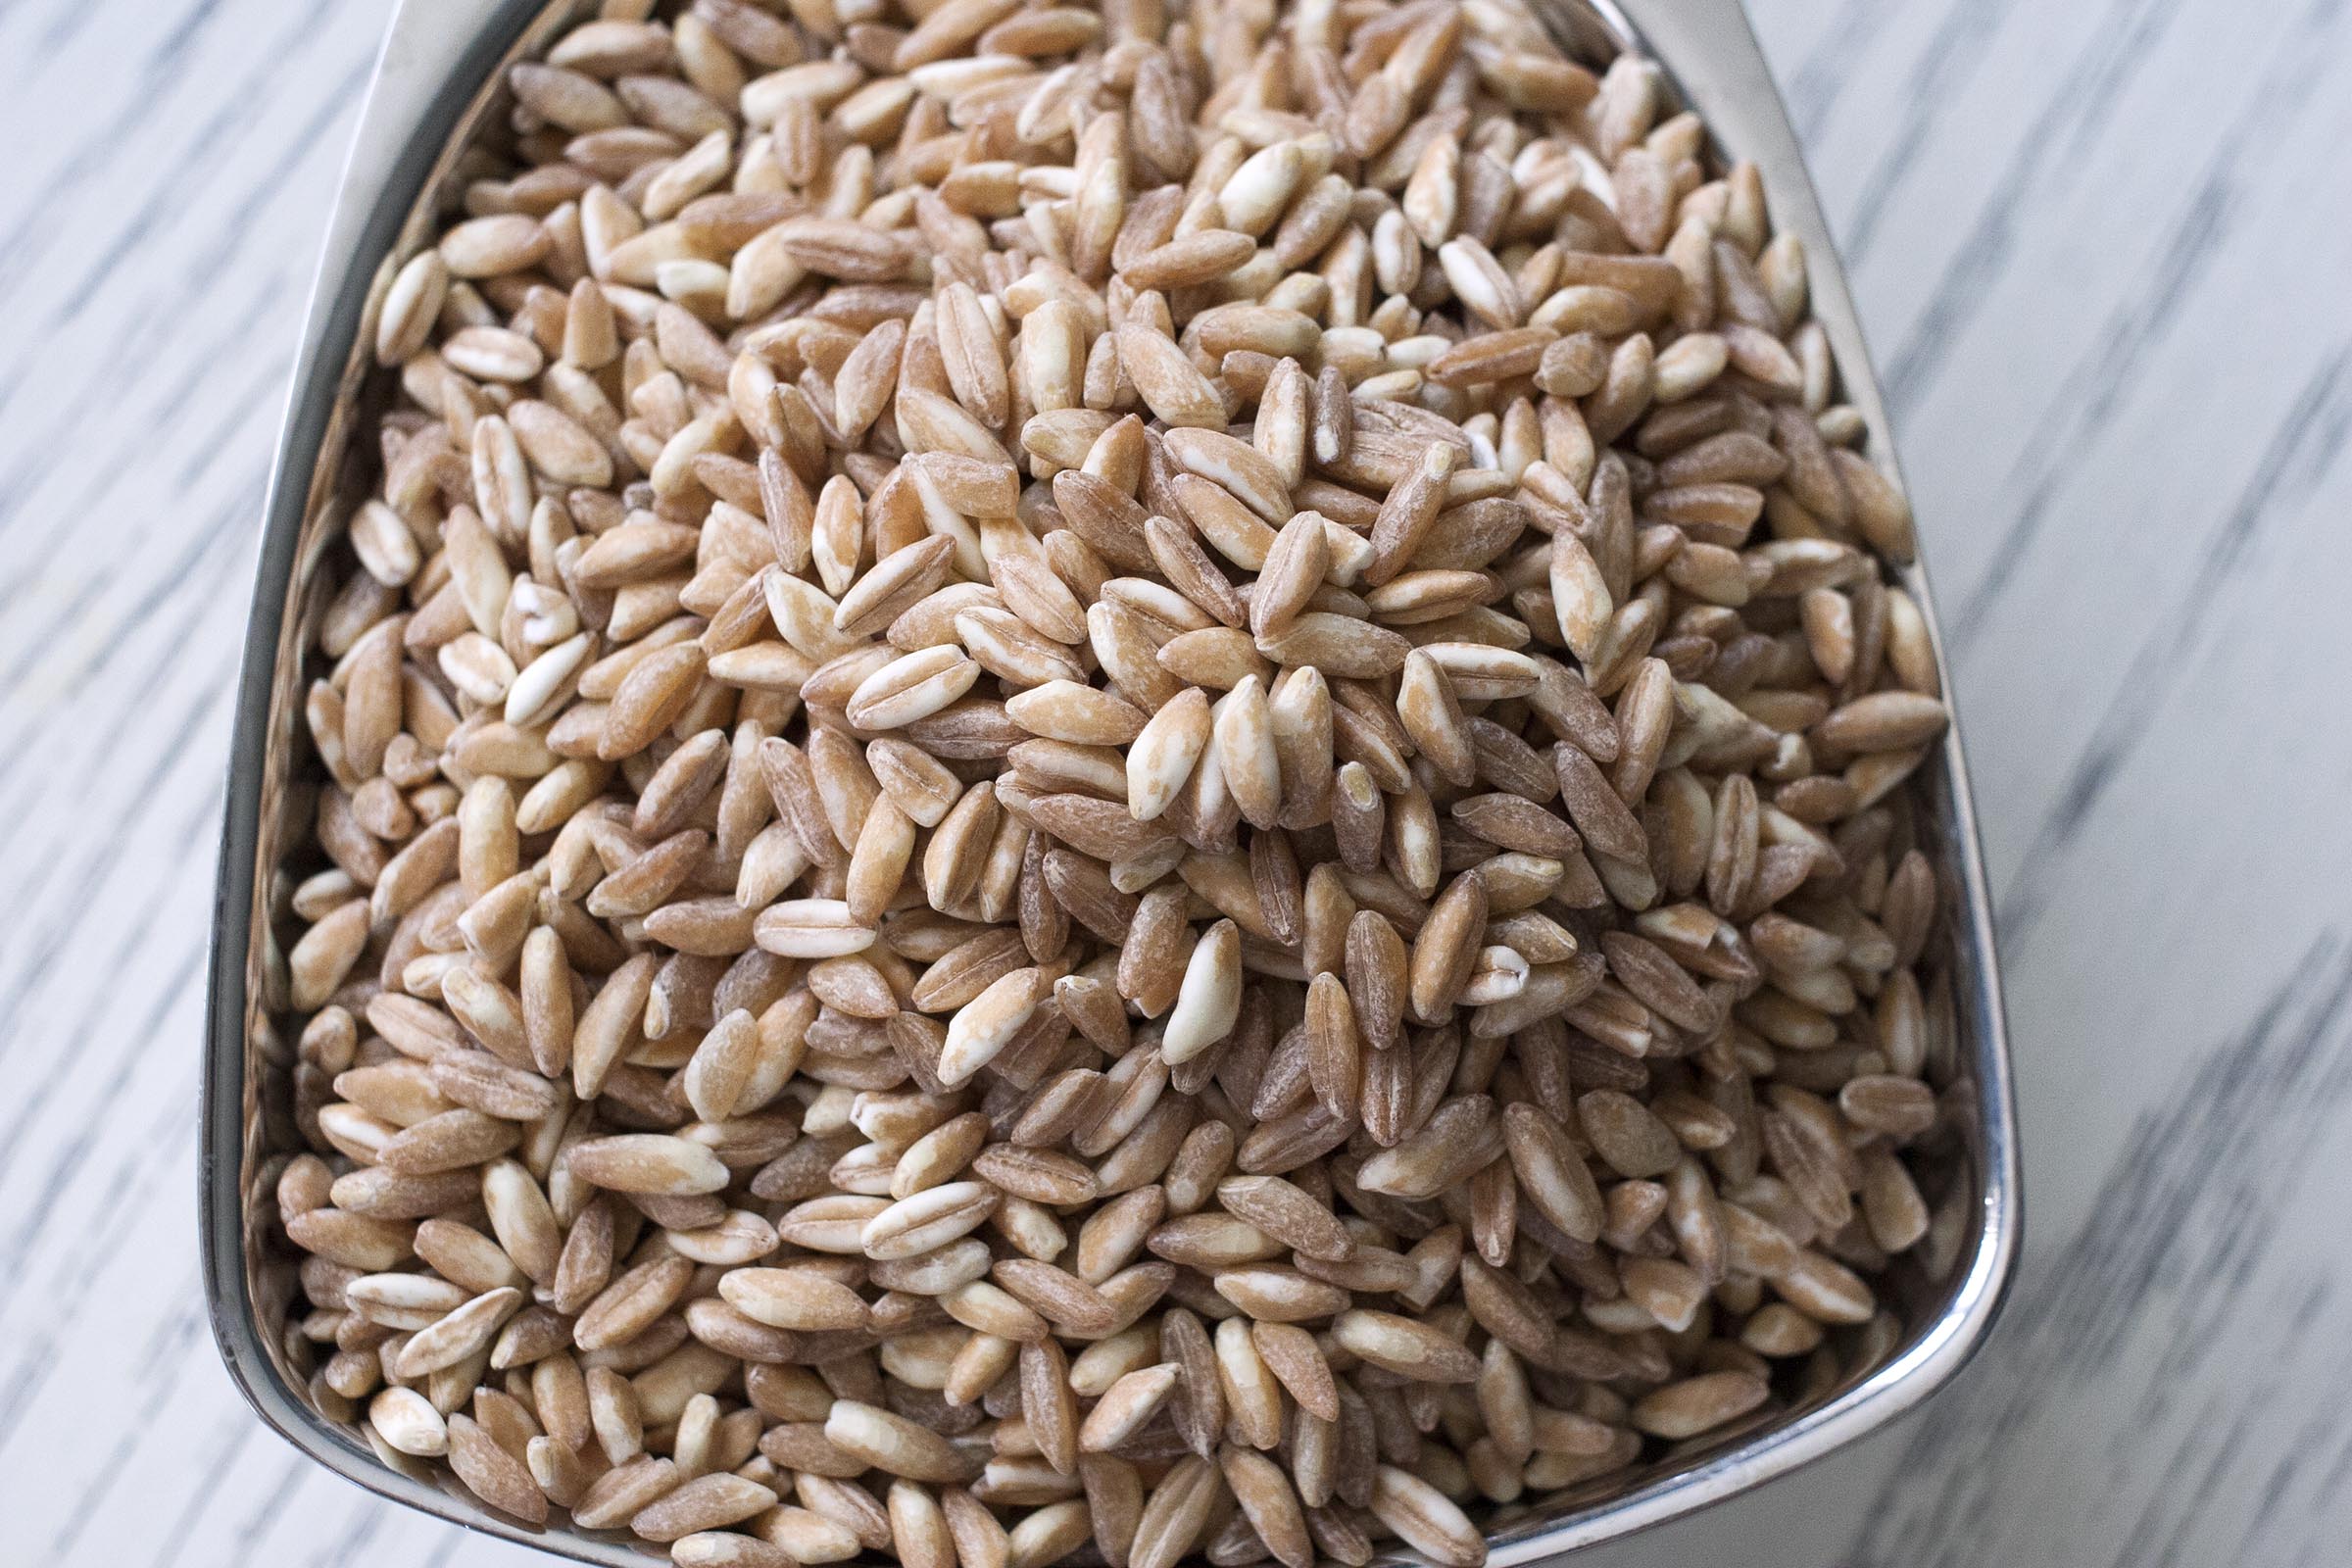
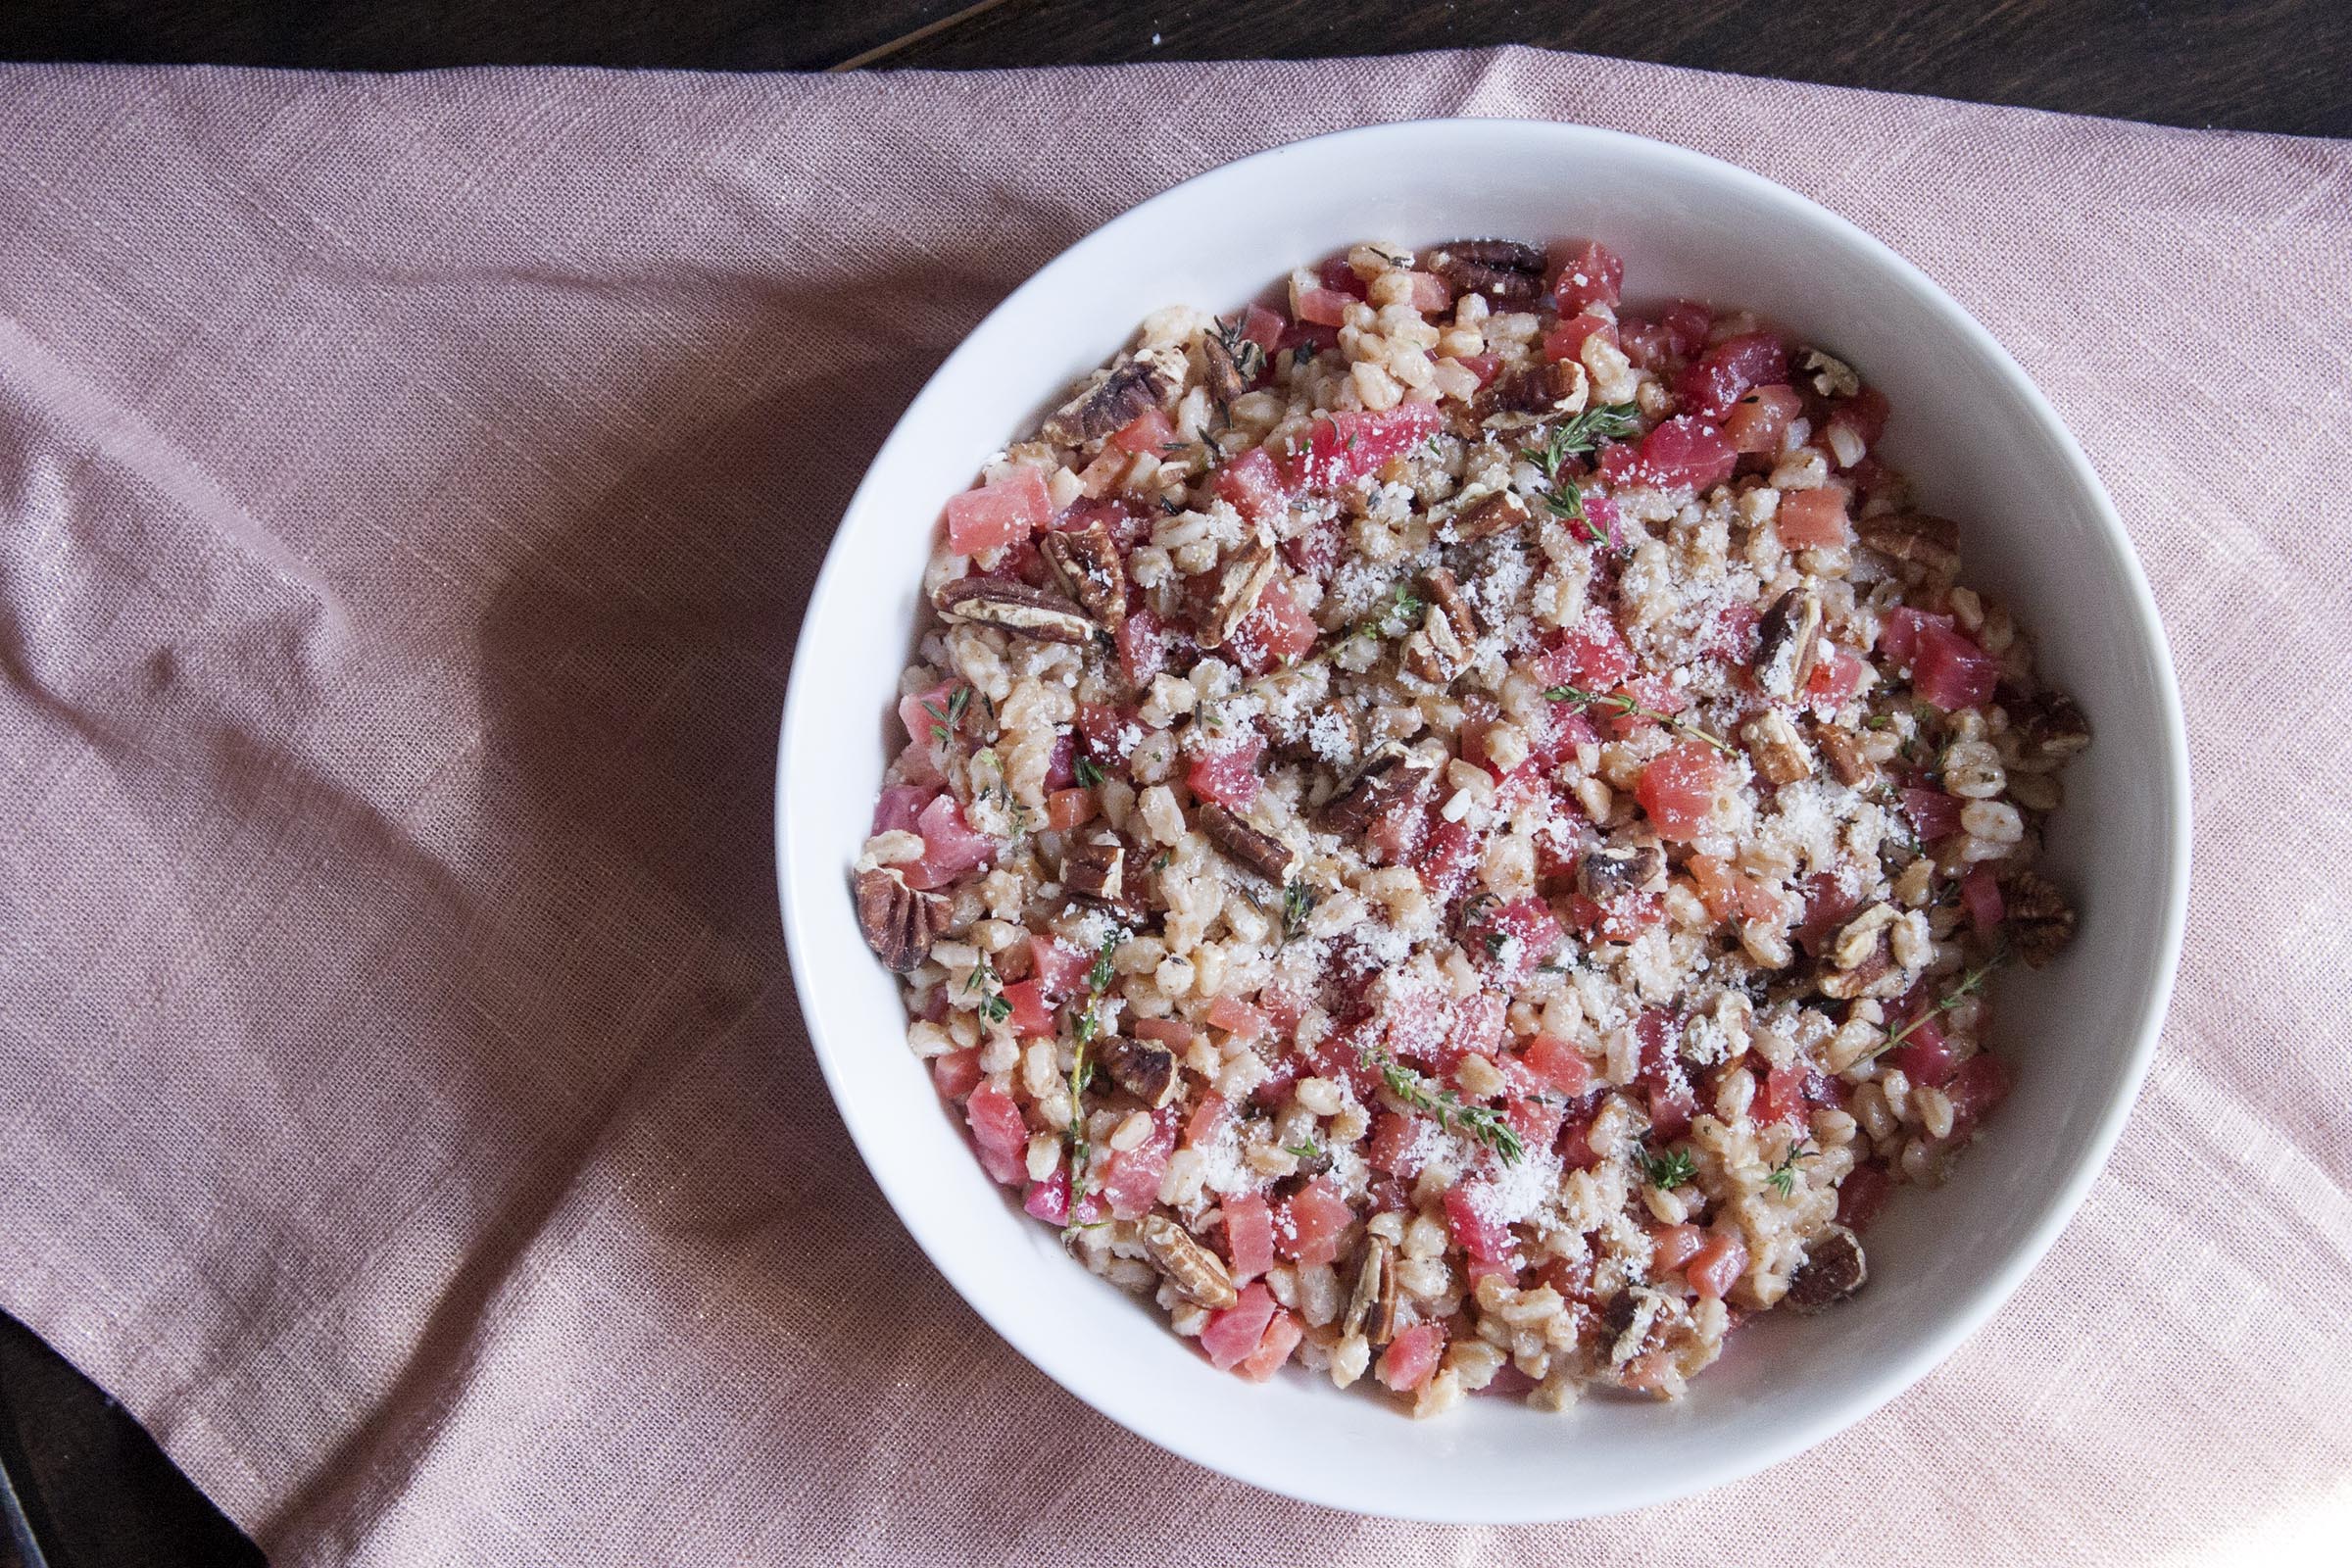
This is the beginning of many, many good ideas, from sweet to savory, but in this case I’m using it to make browned butter beets, which is a combination that doesn’t feel obvious, but makes a lot of sense once you taste it: the roasted beets are sweet and earthy, the butter is silky and nutty and stirred into one bowl, they just work. Really, you could toss the two together with a bit of thyme, for a lovely side dish or a topping over fish (I’m thinking salmon or cod). But to make it into a meal, or an all in one side dish, I added farro, a grain that I have yet to find anyone have an objection to, my children, included. Farro itself is the tiniest bit nutty, with a chewy-tender texture that stands up really well to the firm beets and toasted pecans.
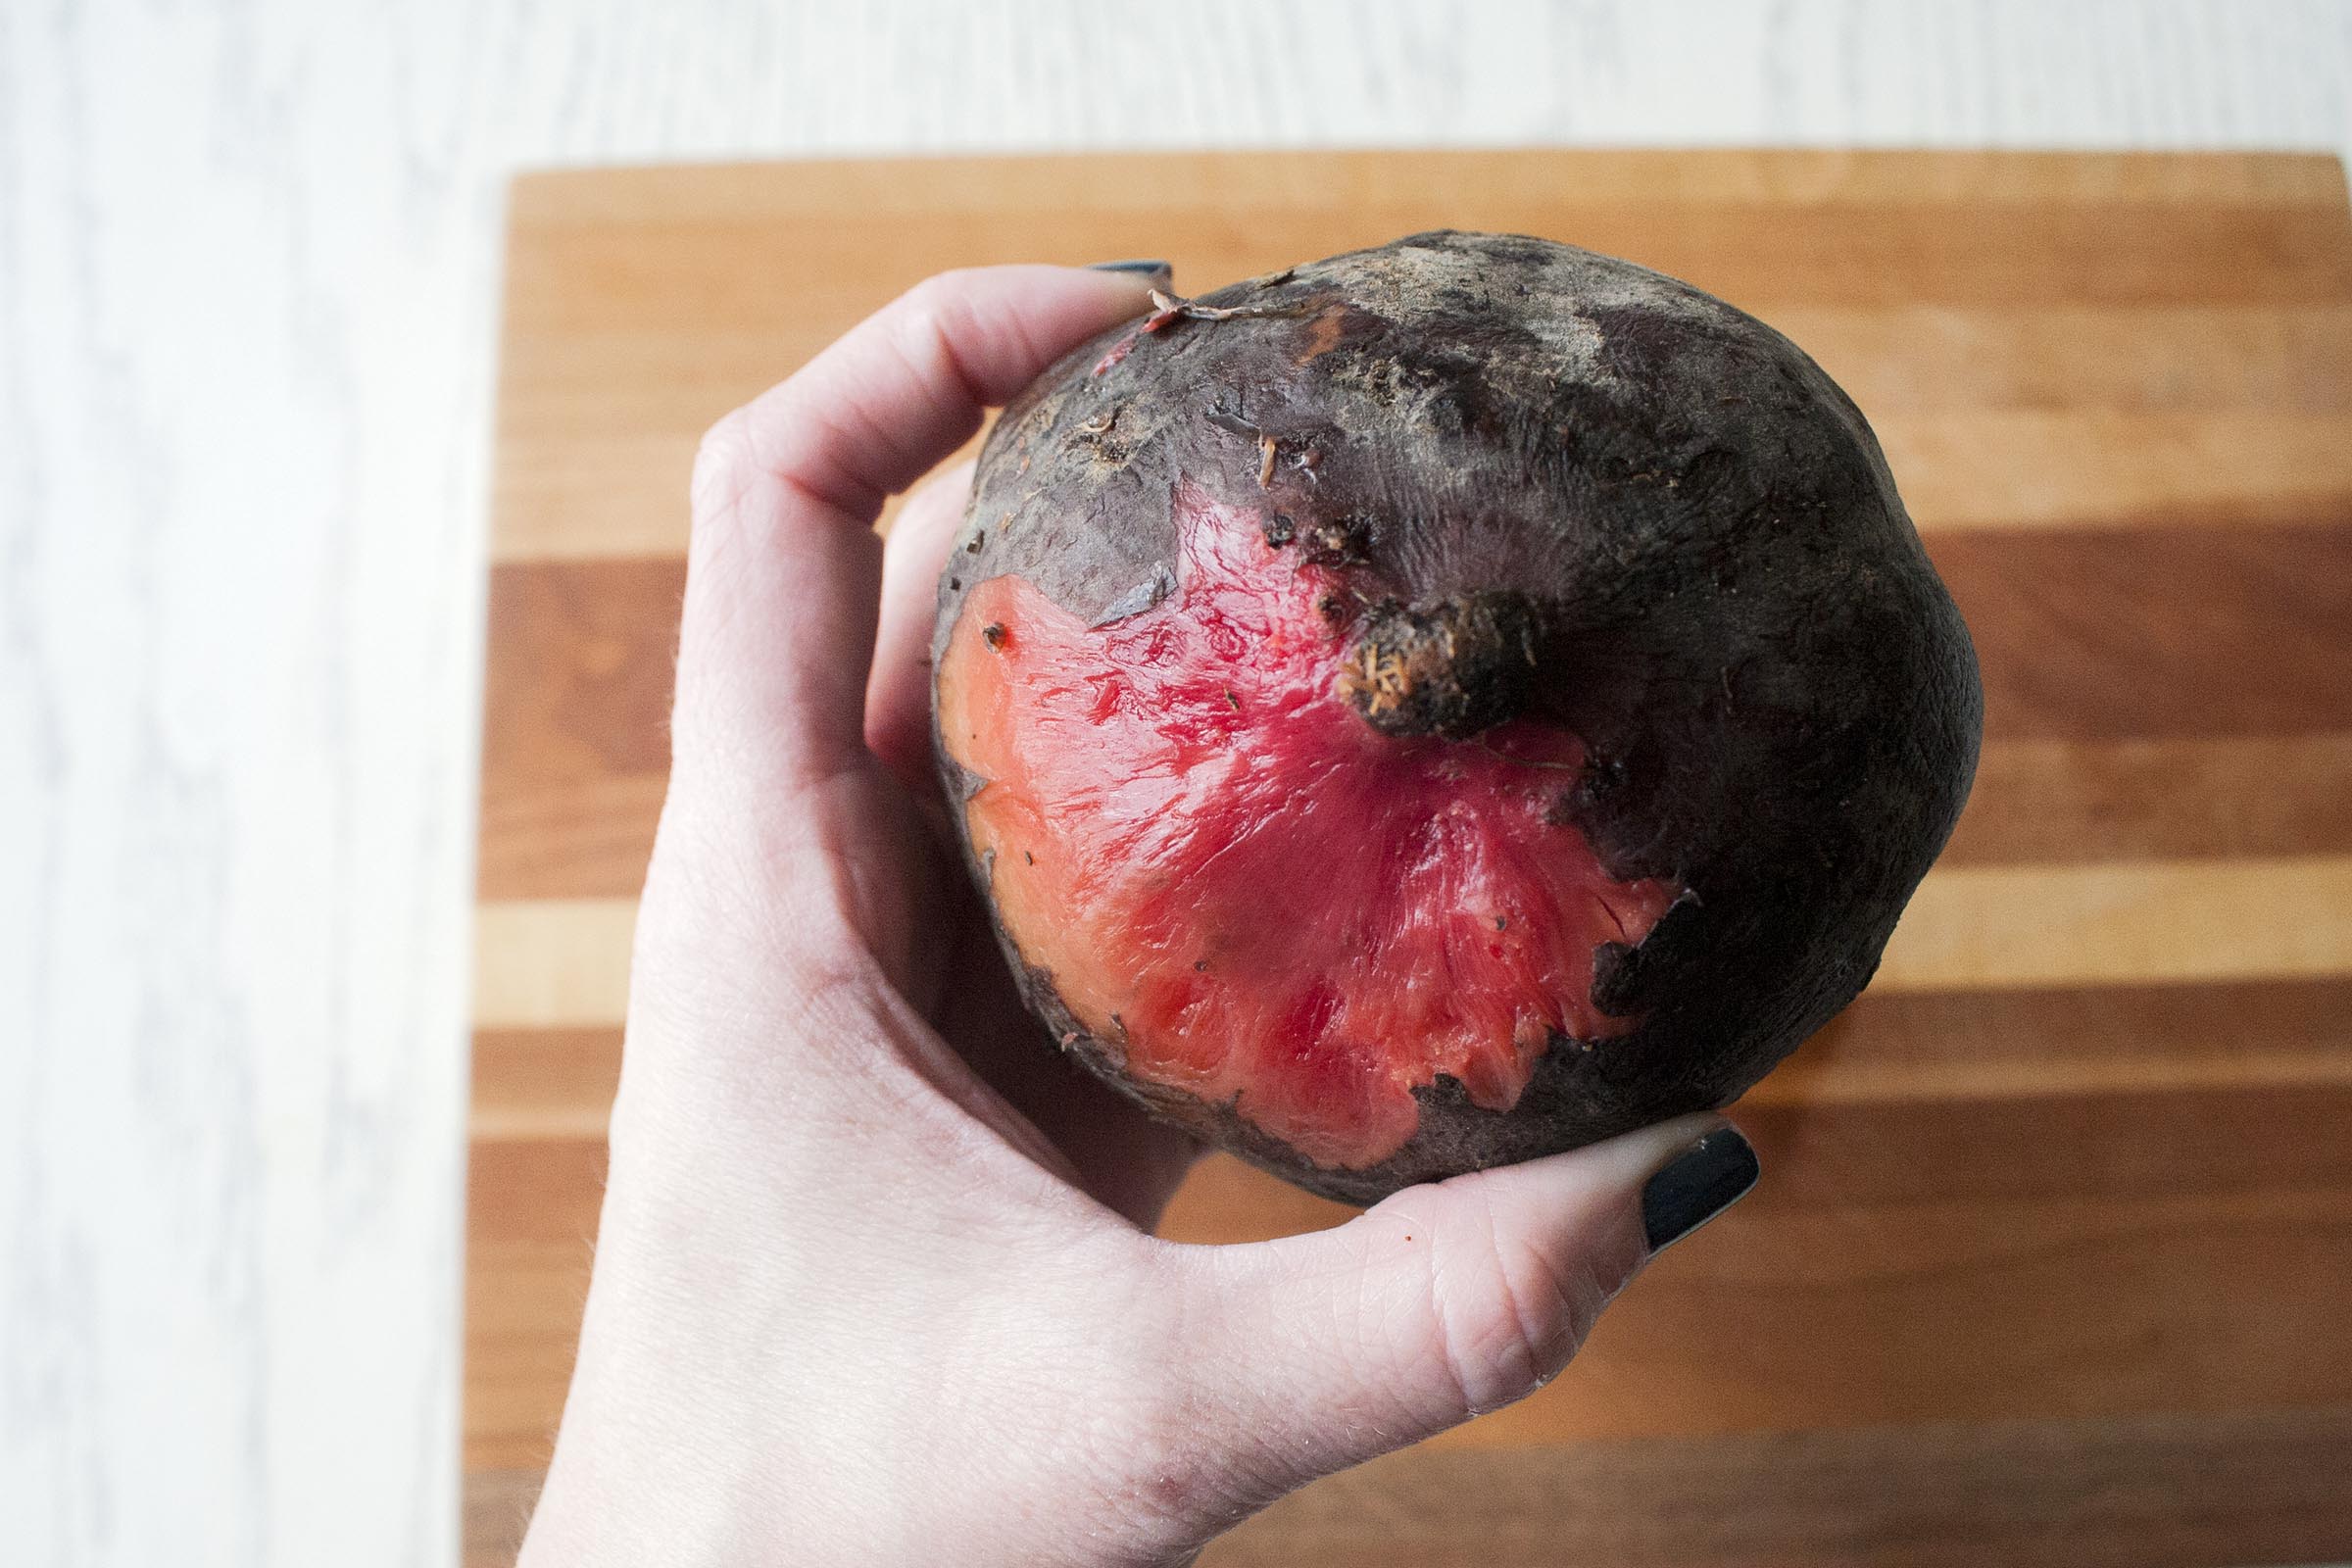
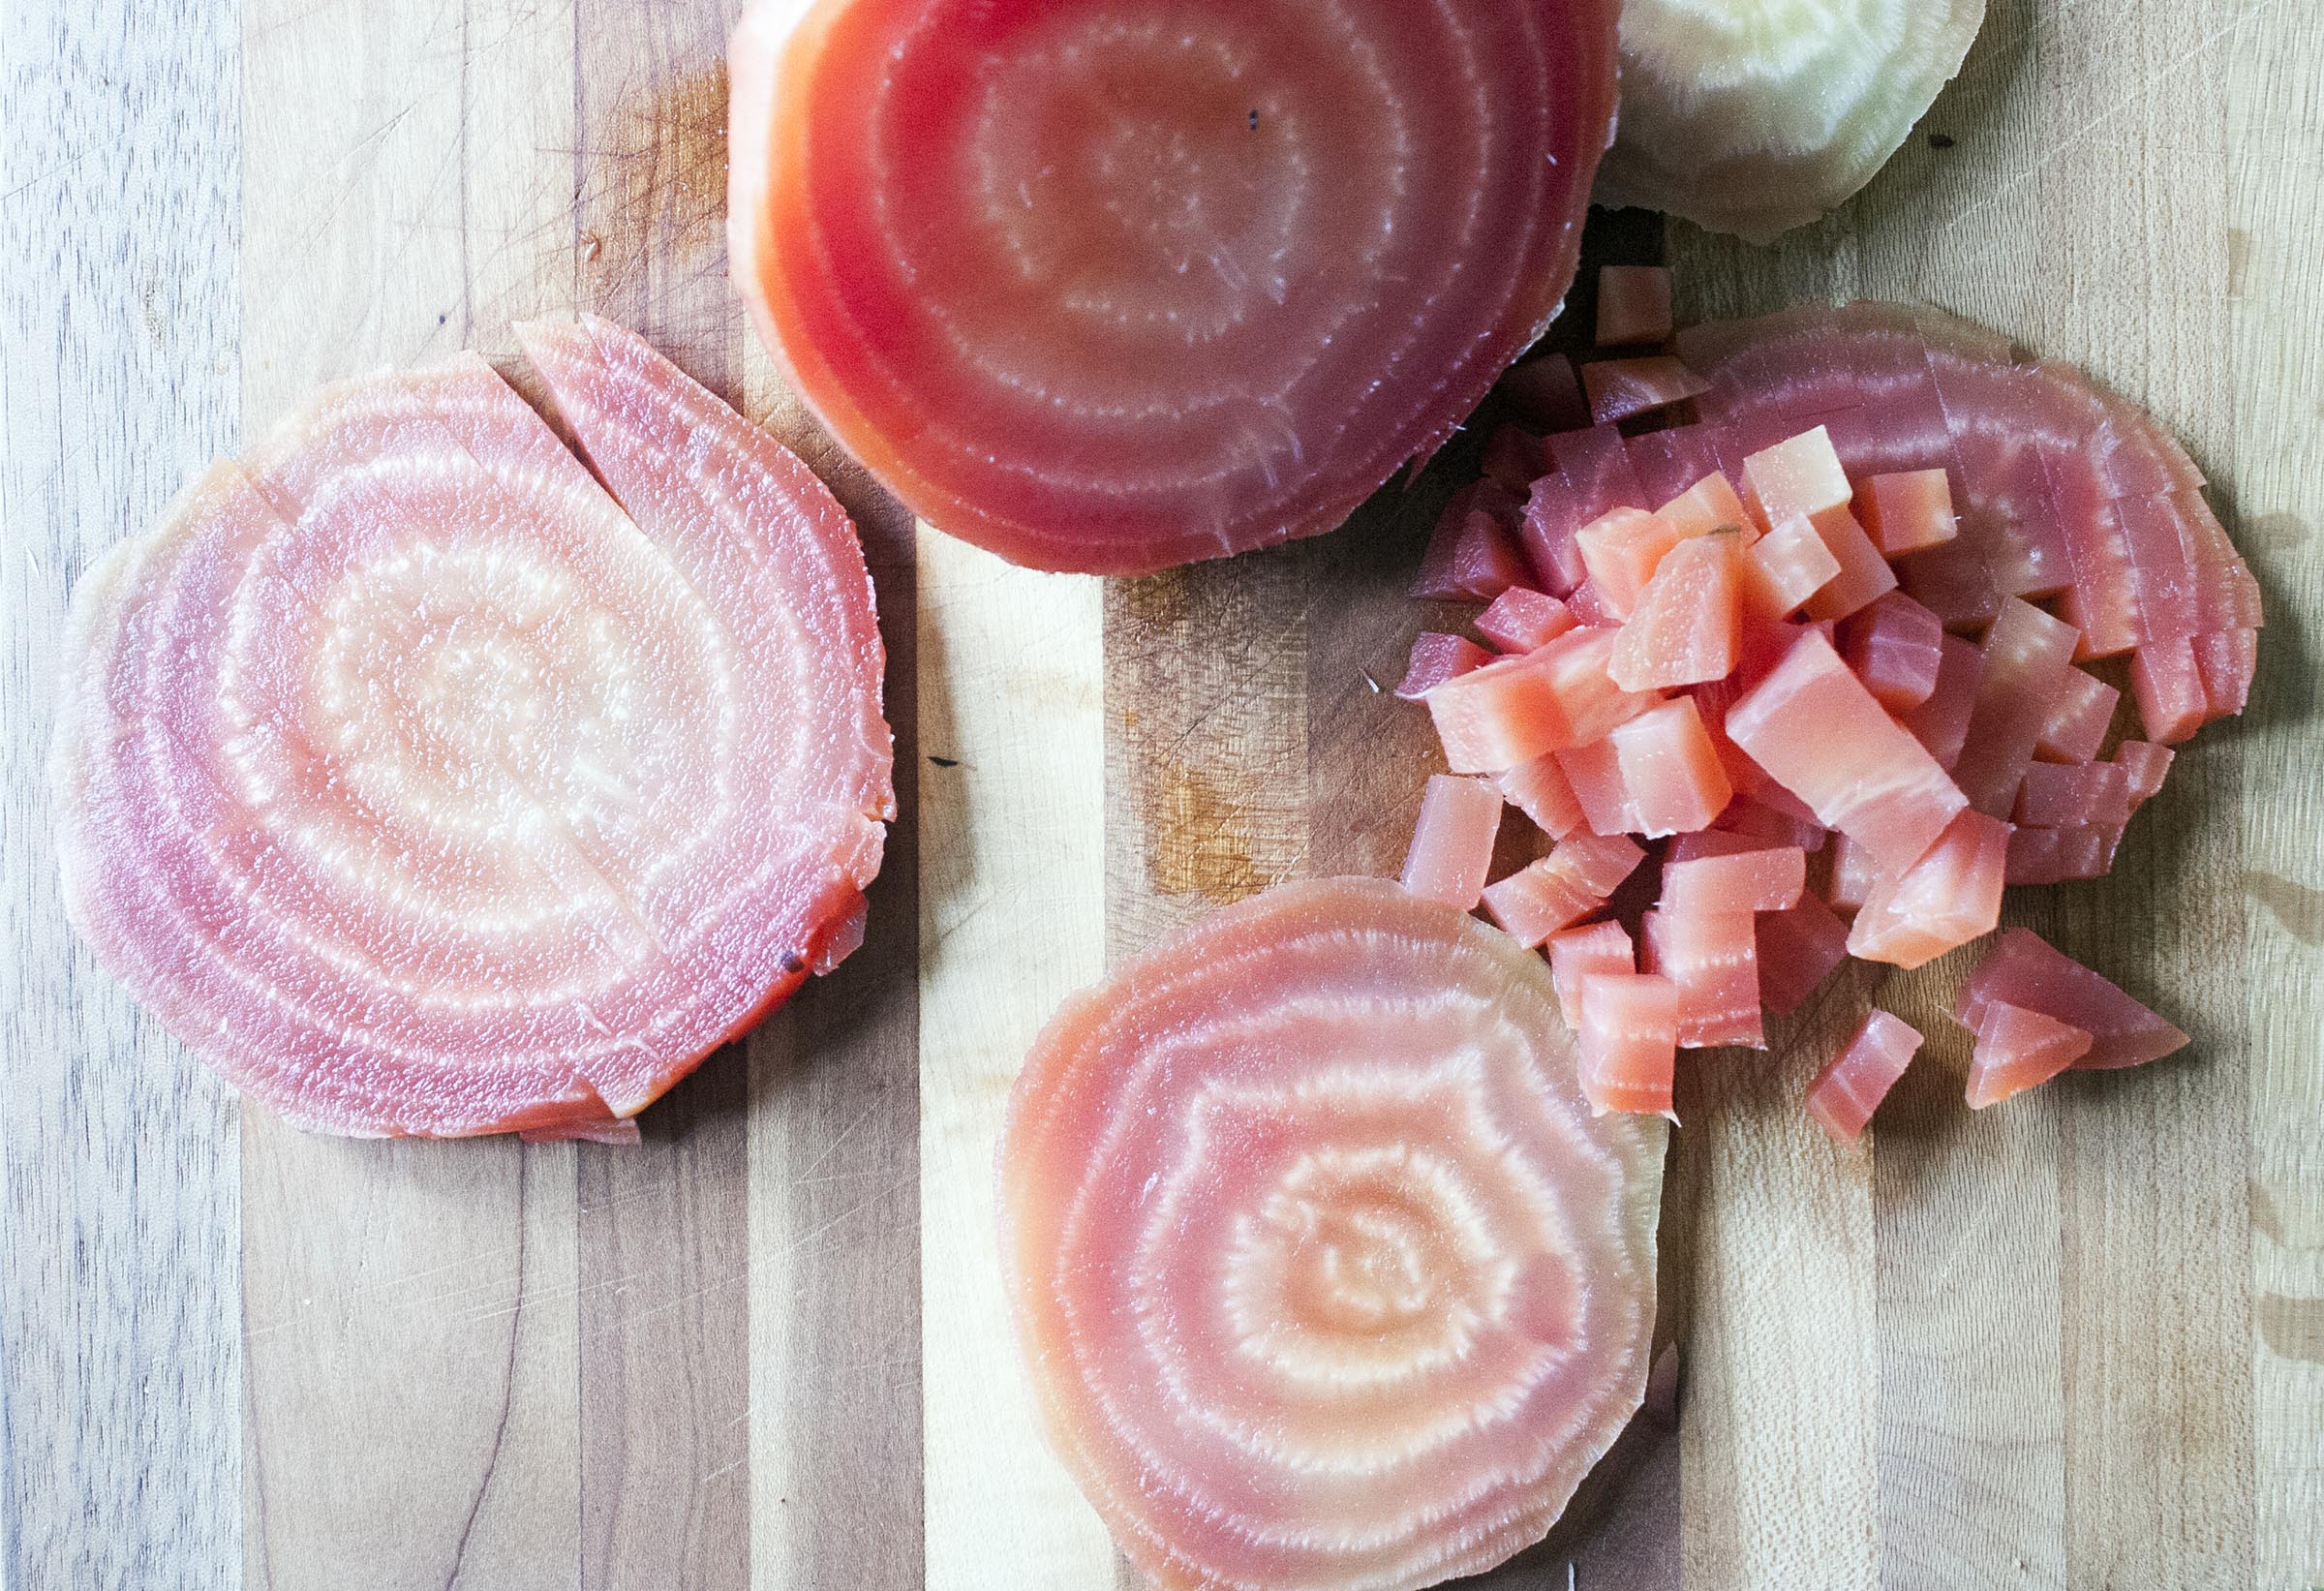
 As for the beets themselves. I have recently discovered chioggia, or candy striped, beets and as someone who has always loved beets, I don’t really know what took me so long. Easton was actually the one who saw them first, when they were cut open on display. And really, what three-year-old is going to be able to turn away from a vegetable that comes with pink and white stripes? But, then, when I roasted them, I discovered why I would love them, too: their color is still beautiful when roasted, they’re sweeter than traditional red beets and have that great earthy flavor, but that’s not all. My favorite part: they barely stain. I’ve cooked with them several times now and am amazed, with each beet, that I can peel and dice them, without turning my counters and hands into scary looking scene. Even when turned into brown butter beets, they keep to themselves, allowing the farro to stay its tan, unaffected hue.
 So, make this at your own pace, to eat on its own, on top of salad, or next to roasted chicken, if that’s how you roll. Give yourself the time to let the components evolve slowly, if you’re still gaining your kitchen skills and confidence, or all at once, if you are used to have a lot of things going at the same time. Just let yourself cook in a way it works for you, roasting, simmering, toasting and browning. When your ingredients are prepped, stir them together, and let them be – after a bit of time together in the bowl, they’ll relax and you can, too*.
(*If you want – I mean, see, really: it just doesn’t work when someone tells you to relax, even with the best of intentions, right?)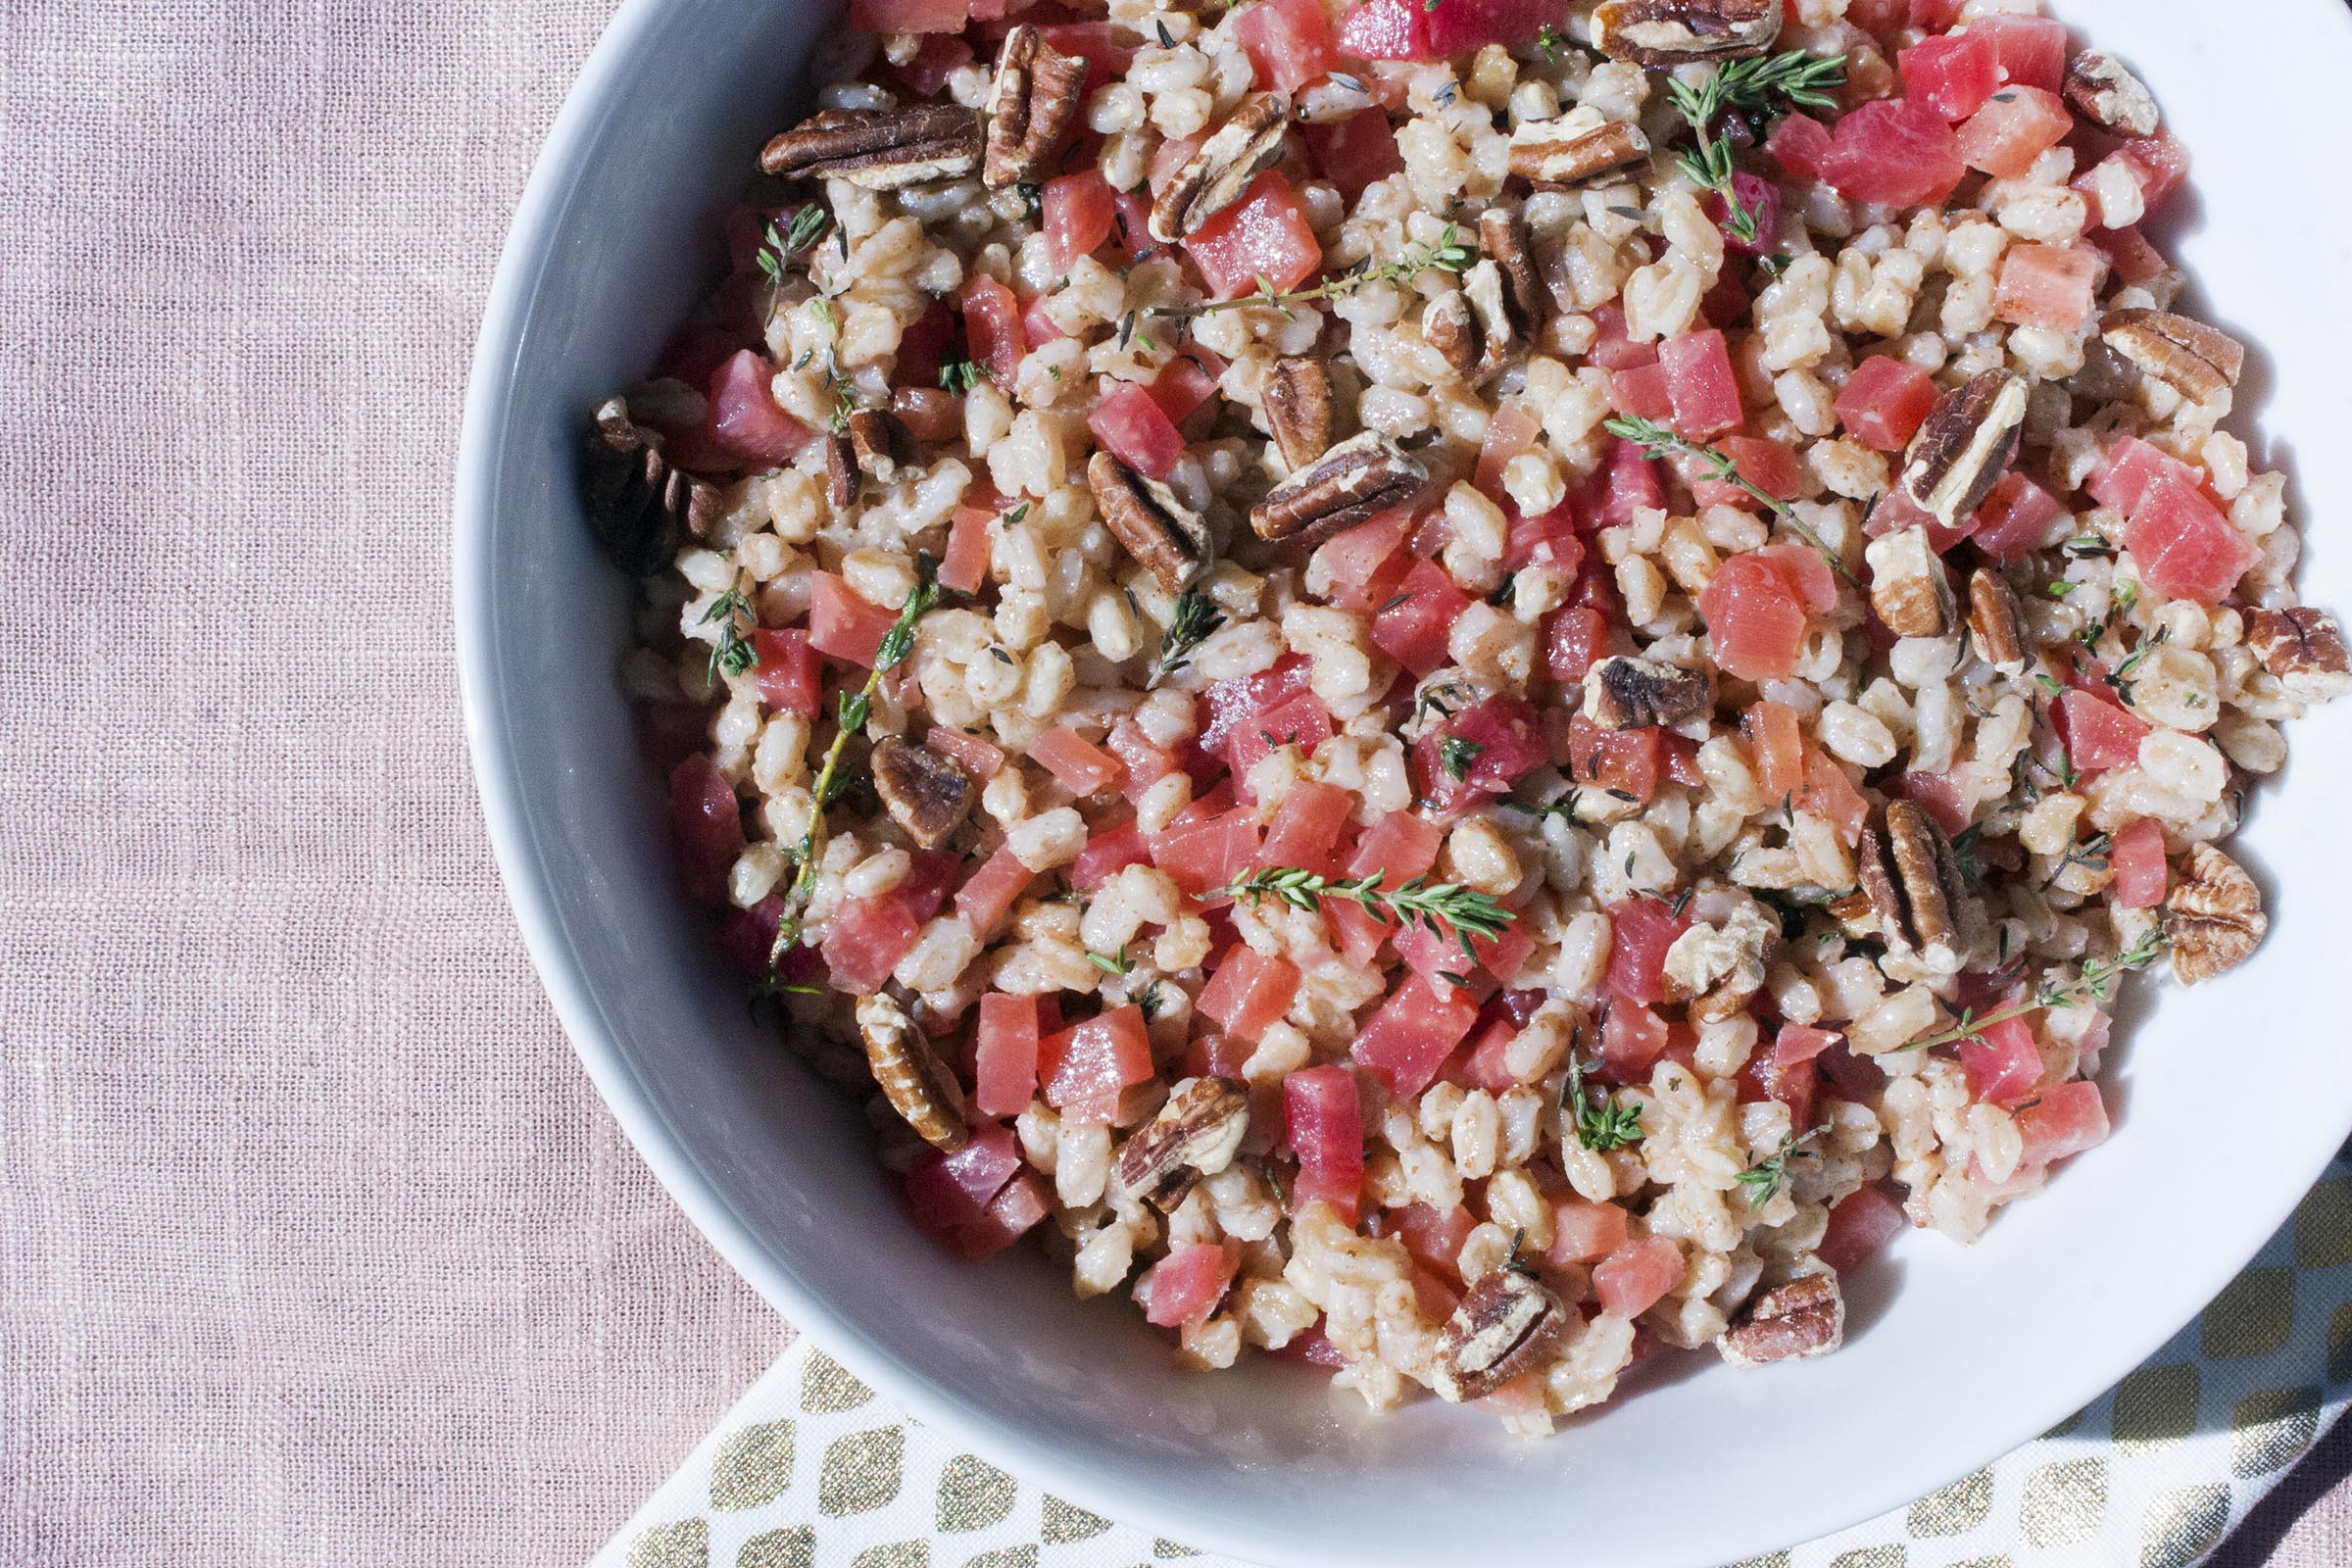
I am listing the steps below, assuming you're making them whenever you get the chance, but if you're making them all at once, here's what I would do: get the beet roasting, get the farro going, toast your nuts, grate the cheese, pluck the thyme leaves and lastly, brown the butter.
- 1 medium-large Chioggia beet (about 14 ounces)
- 1 cup farro
- 2½ cups water
- ¾ teaspoon kosher salt
- ½ cup chopped pecans, plus more for serving
- 6 tablespoons unsalted butter
- 1 heaping tablespoon fresh thyme leaves, plus more for serving
- 1.5 ounces grated pecorino romano, plus more for serving
- Lemon wedges, for serving
- Heat oven to 400°F.
- For the Roasted Beet
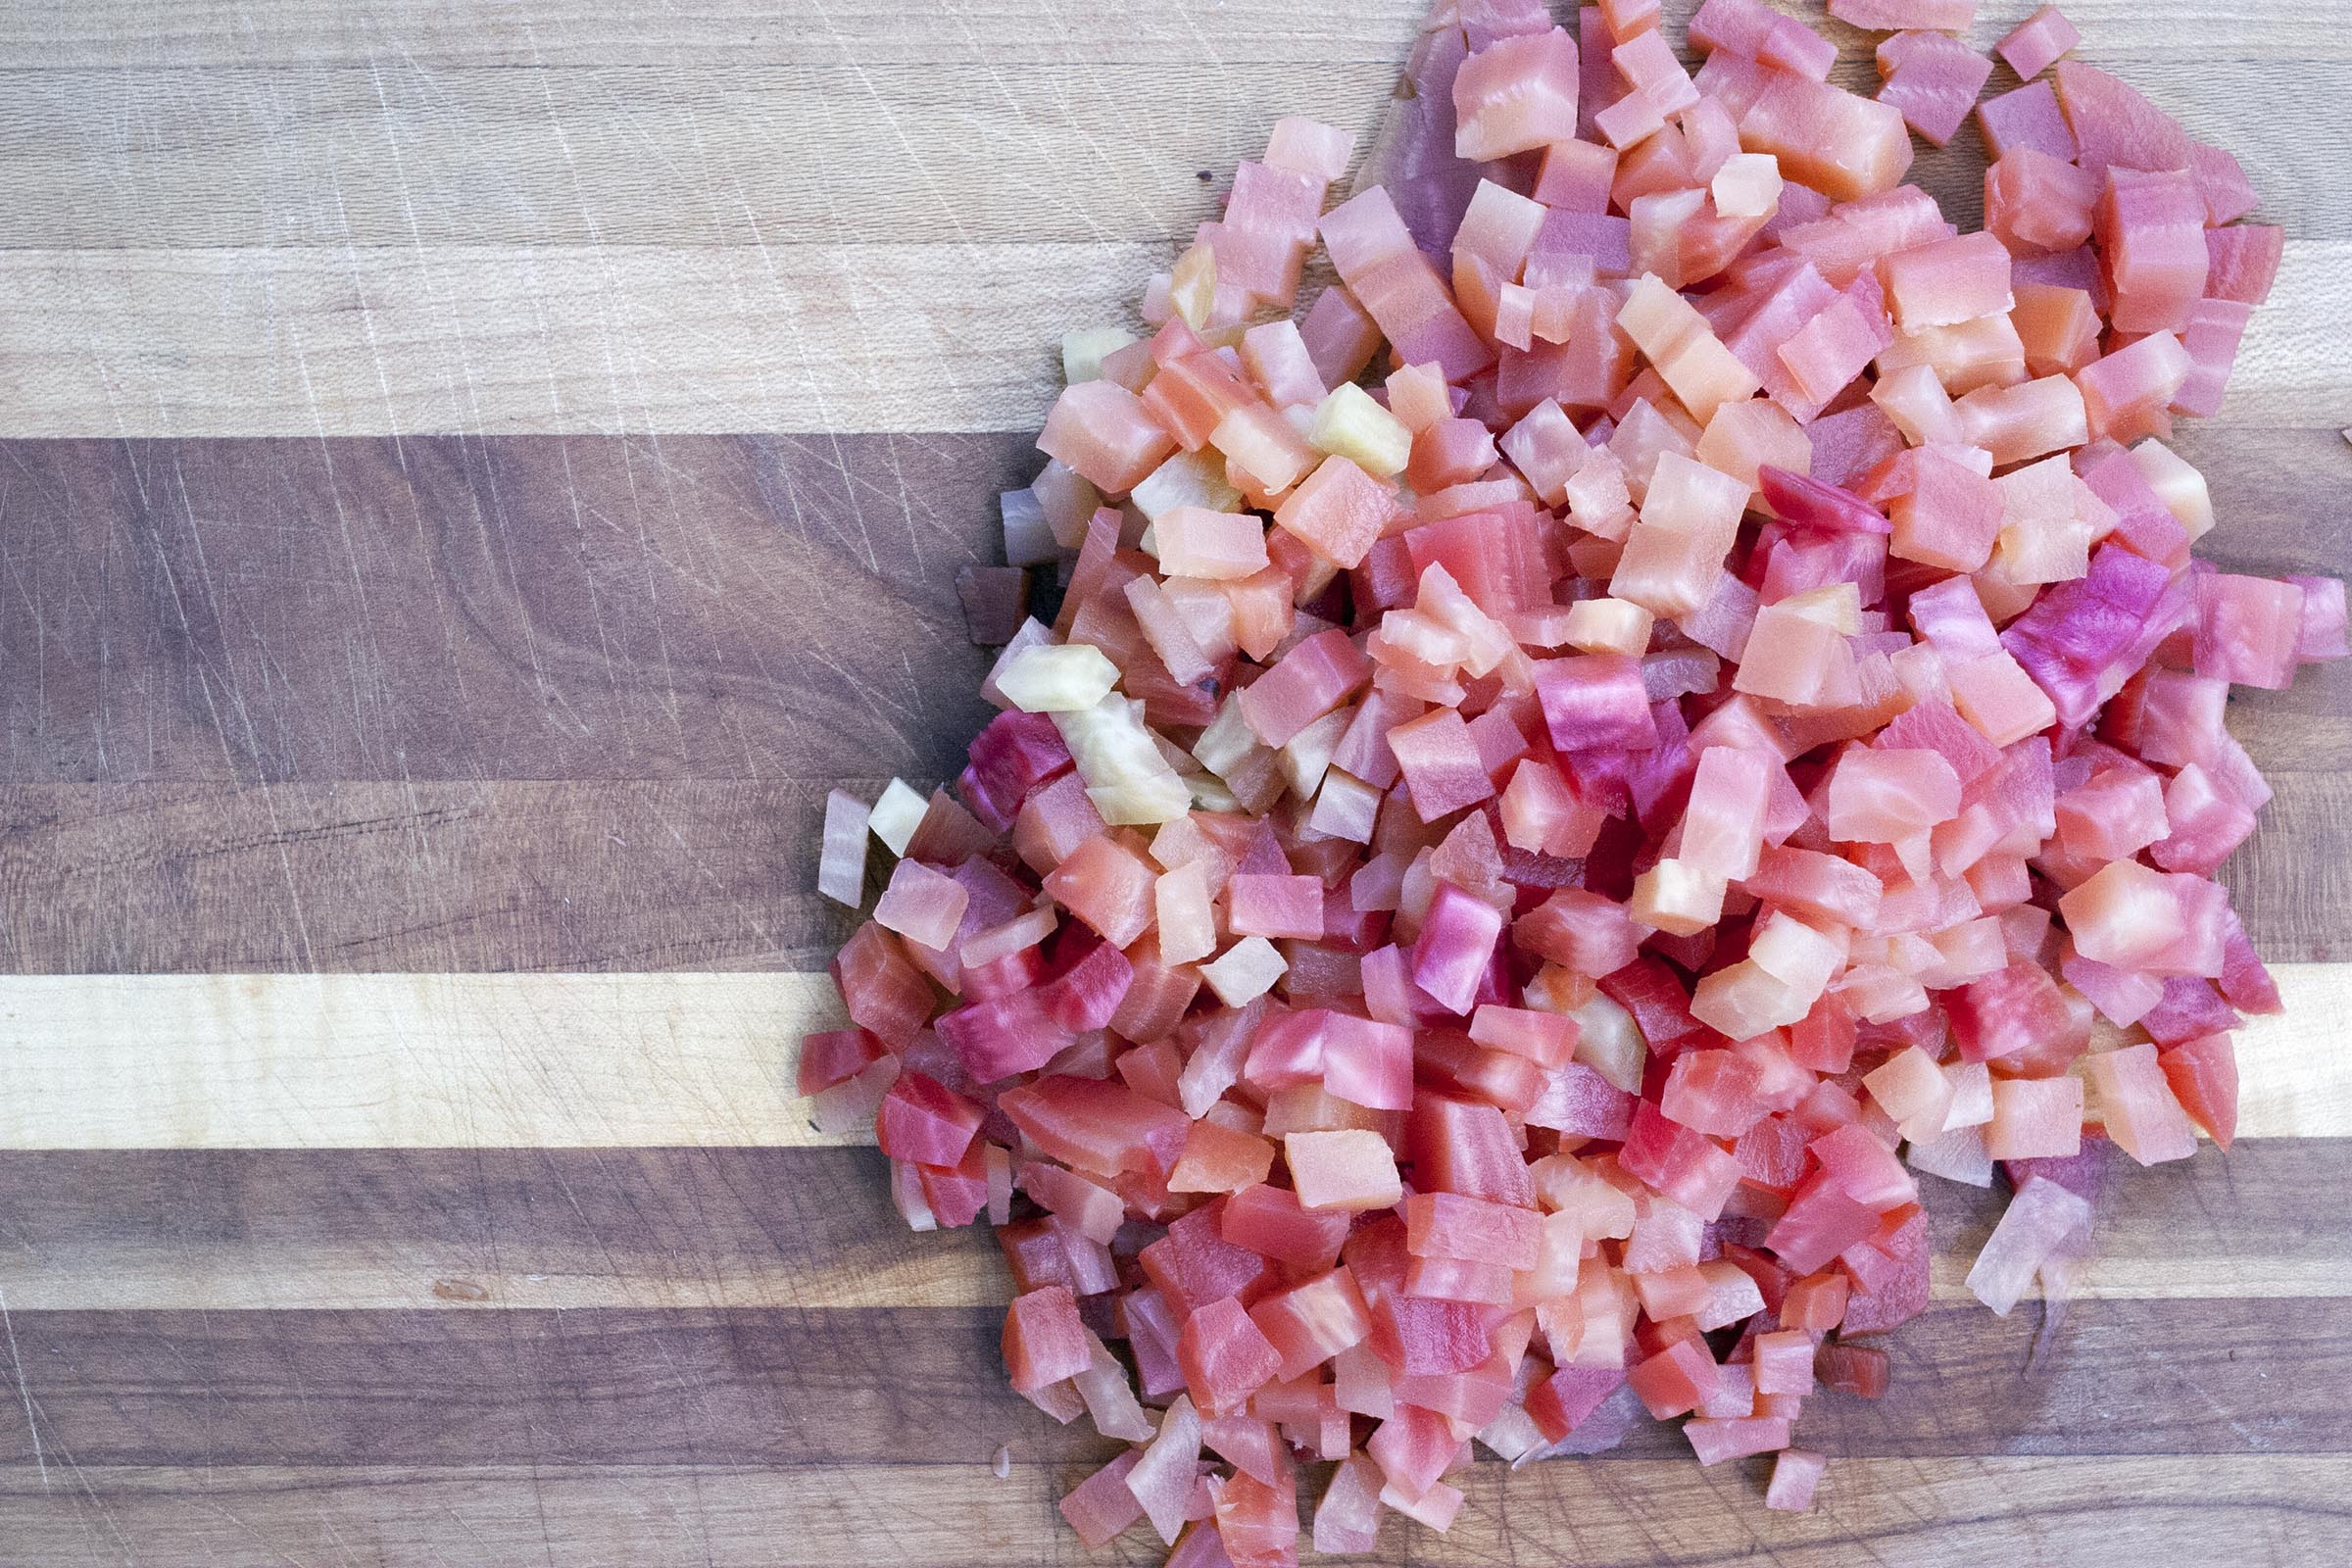
- Rinse beet, scrubbing away any dirt. Wrap beet in aluminum foil. Place on baking sheet. Roast 1 hour. Let sit until cool enough to handle. Once cool, peel beet, either using a vegetable peeler, a spoon, or the foil you cooked the beet in. Remove root end. Chop beet into ¼-inch dice. (eeI had two cups (11 ounces) chopped beets.)
- For the Toasted Nuts
- Microwave: Place nuts in a single layer on a paper plate. Microwave in 1 minute increments, decreasing the length to 30 second spurts, near the end, giving the plate a shake in between, until the nuts smell toasty and have turned a bit golden brown, usually about 5 minutes.
- In oven: Heat the oven to 300°F. Place nuts in a single layer and cook 6-8 minutes, or until golden brown and fragrant, stirring occasionally.
- Nuts can be stored in a sealed container at room temperature for a couple days, in the fridge for a few weeks, or in the freezer for a few months.
- For the Farro
- Meanwhile, in small or medium saucepot with lid, combine farro, water and kosher salt. Bring to a boil; reduce to a simmer, cover and cook 30 minutes. Remove from heat and let stand covered, 10 minutes. Remove lid; fluff farro with fork.
- For the Browned Butter
- While the farro is cooking, in light colored skillet over medium-low heat, melt better. Set a heat proof bowl and spatula near the stove. Let butter keep cooking, until milk solids appear and the butter begins to foam. Do not stir. The butter will begin to turn golden and smell nutty. Let it go about 10-15 seconds longer, or until you begin to see the entire pan begin to darken. Pick up the skillet and swirl to incorporate. When the entire thing is brown, immediately pour into a heatproof bowl, using spatula to remove all the browned milk solids on the bottom.
- Farro with Browned Butter Beets
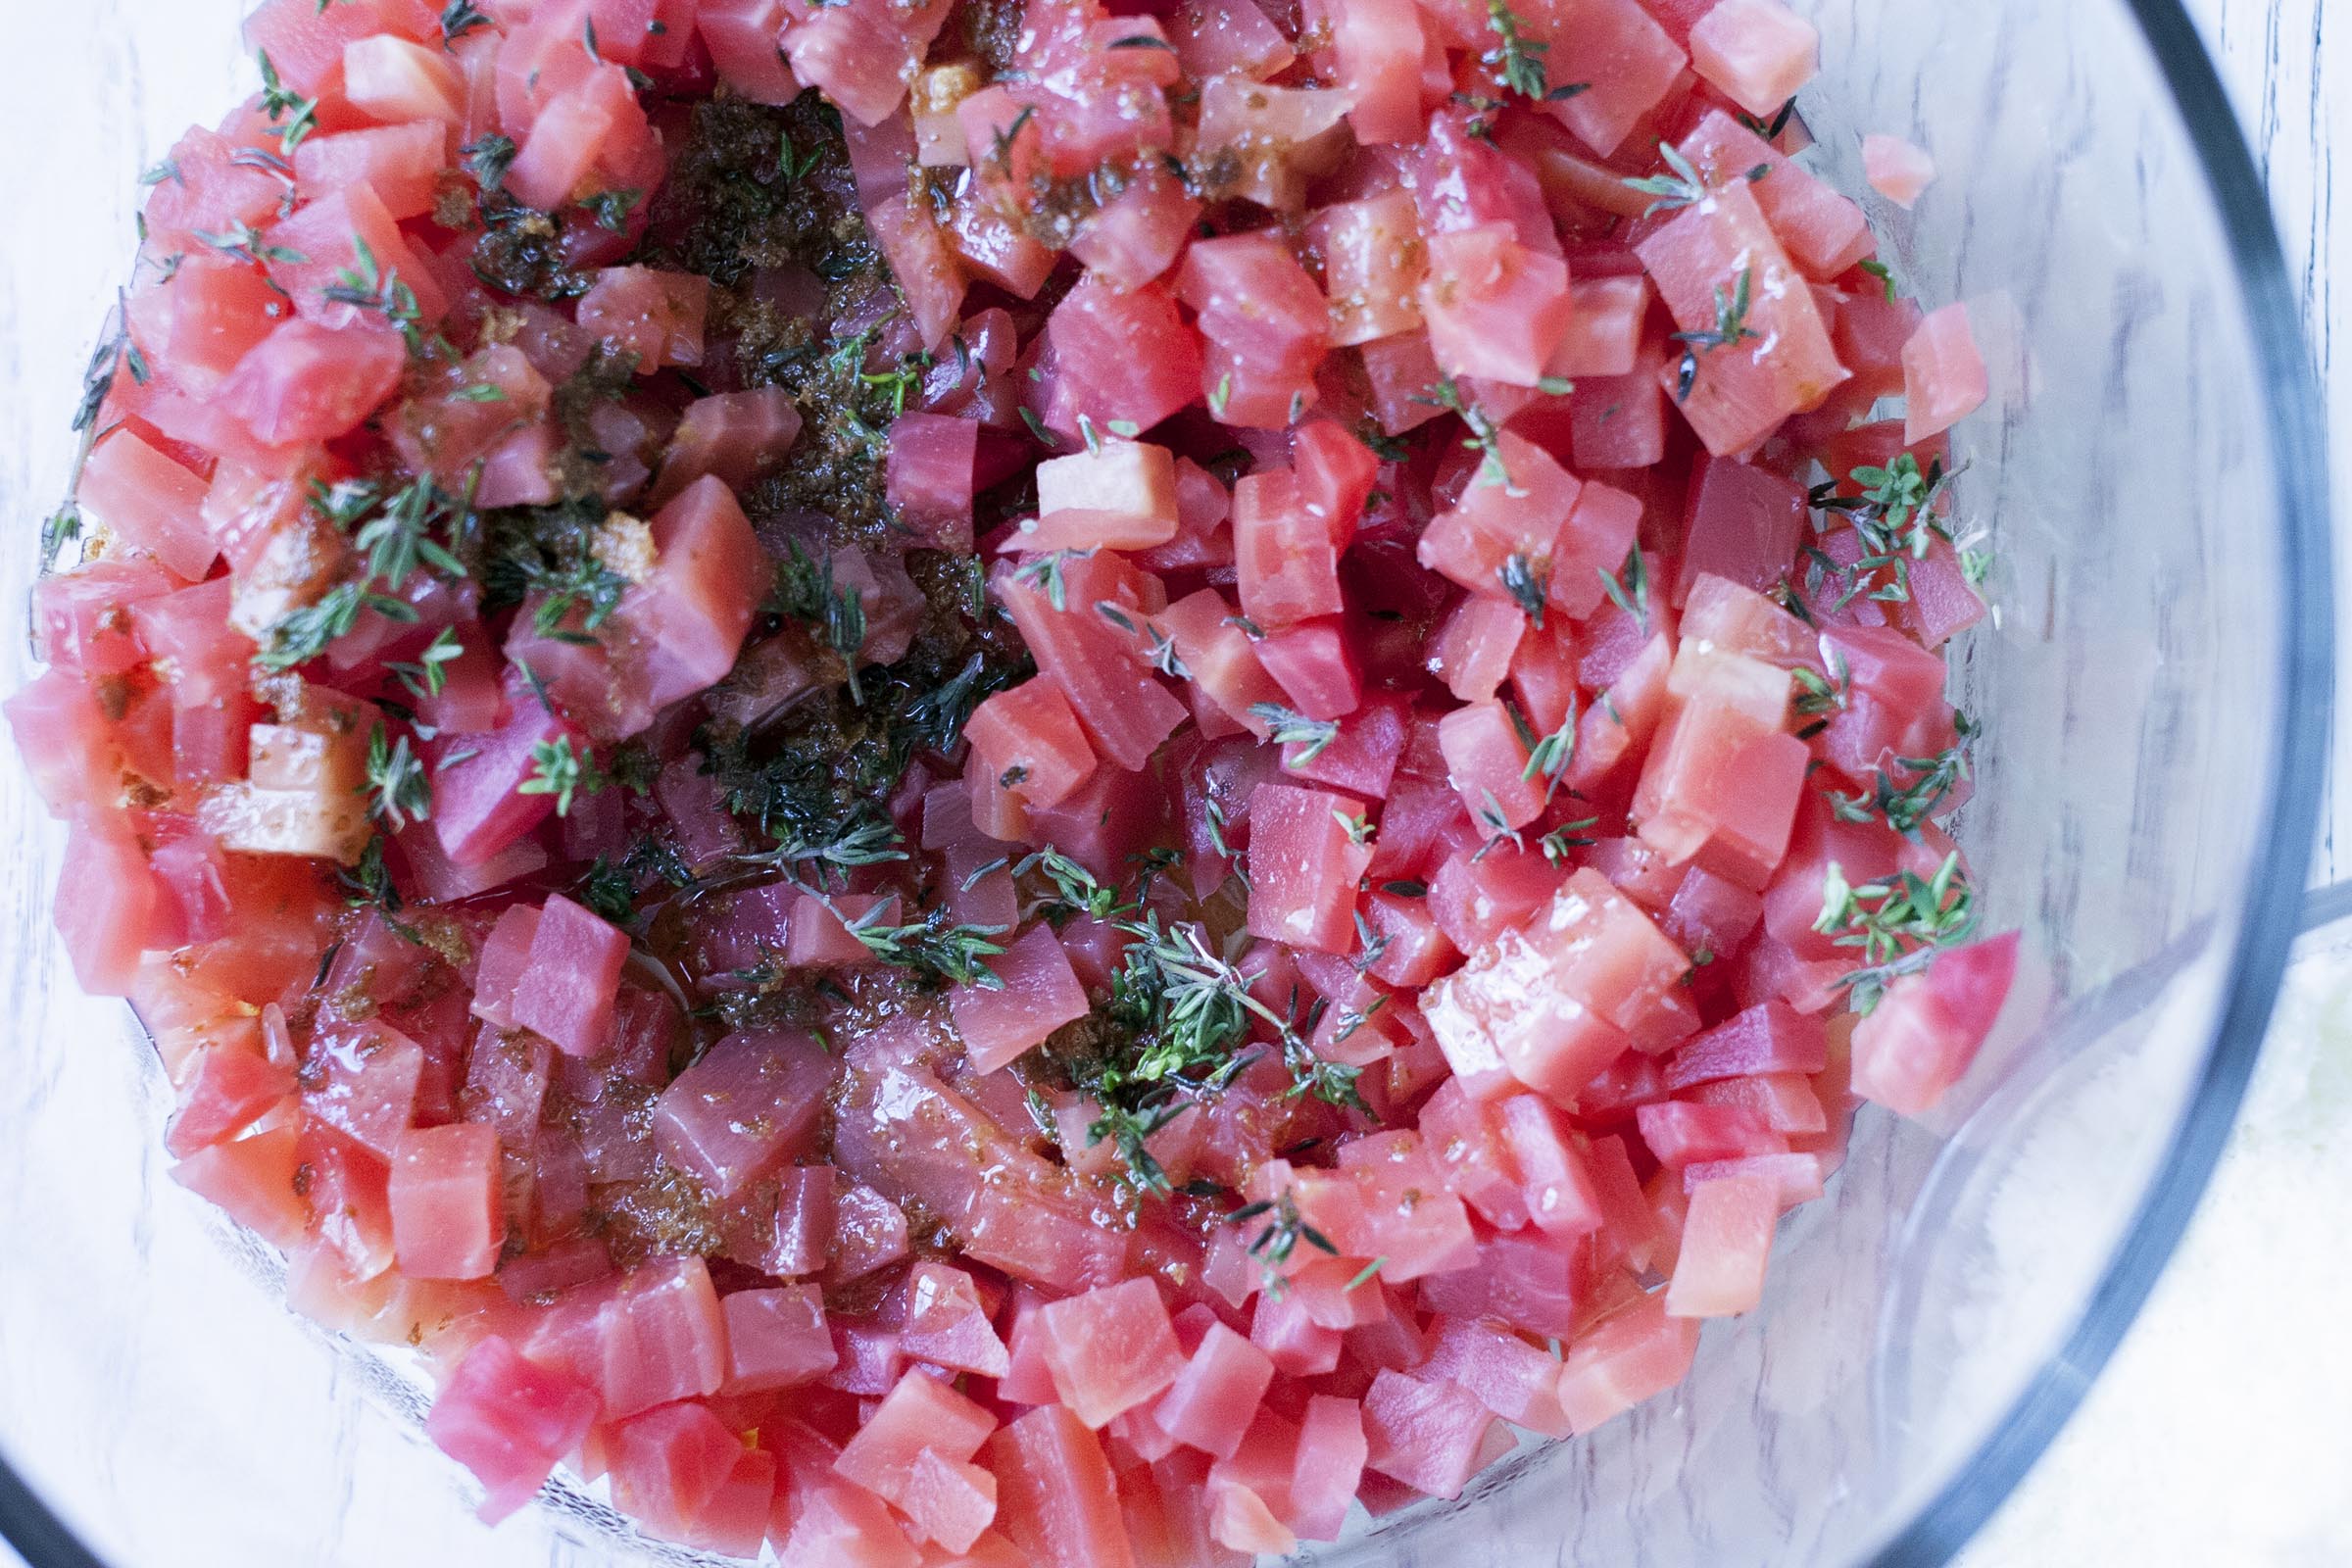
- Toss butter and thyme with beets; let stand 10 minutes. Gently stir in cooked, warm farro, toasted pecans and pecorino romano. Adjust seasoning with kosher salt, thyme leaves and pecorino romano, if desired. Serve hot or at room temperature, topped with additional toasted pecans, pecorino romano, thyme leaves and lemon wedges.
• The beets can be roasted, peeled and diced two days ahead of time (bring to room temperature, or reheat just slightly, before proceeding).
• The thyme can be plucked, the cheese can be grated and the farro can be prepared a day ahead of time and stored in the fridge (bring them to room temperature before proceeding).
• The entire dish can be made three days ahead. Reheat before serving.
Leave a Reply