Before we get started, you can now Follow my blog with Bloglovin!
In the first few weeks after giving birth to Reeve, I developed my own personal self-torture. In the middle of the night, while I was feeding her, I read food blogs, specifically baking blogs, to stay awake. It was 3am and I could barely keep my eyes open, but I would be obsessed with making a cake, cookies, rice pudding, anything. It was all that I wanted, and yet clearly, the last thing that I needed to be doing.
When Reeve was just about 3 weeks old, we had another brilliant idea: to potty train Easton. This didn’t come out of the blue. We knew for a while that it needed to be done, but could not schedule 3-5 solid days at home before the baby was born. Now, we were both home and knew that if we didn’t move soon, we were in trouble.
So, here we were. Four people stuck in a house: one newly alert, pretty angry three-week-old, one nearly naked 2 1/2-year-old and two thirty-somethings, pretty close to losing their minds. All I could think about was (temporarily) running away. And, making brownies.
The thing about cooking with a new baby is that their needs are ever changing. Yesterday, she ate every two hours, so you want to assume that is the new normal. But today, just after you finish adding baking powder to your brownie batter, she’s starving at the one hour mark. Instead of getting frustrated by not completing a project, I opted to make something that required very little making.
On our fourth day of captivity, I nervously watched Easton eat her breakfast, trying not to irritate her with my anxiety. I made myself a Spinach and Apple Smoothie (because nothing says treat yourself, like spinach, right?), and aimed to think about anything besides this potty-training-newborn life I was living.
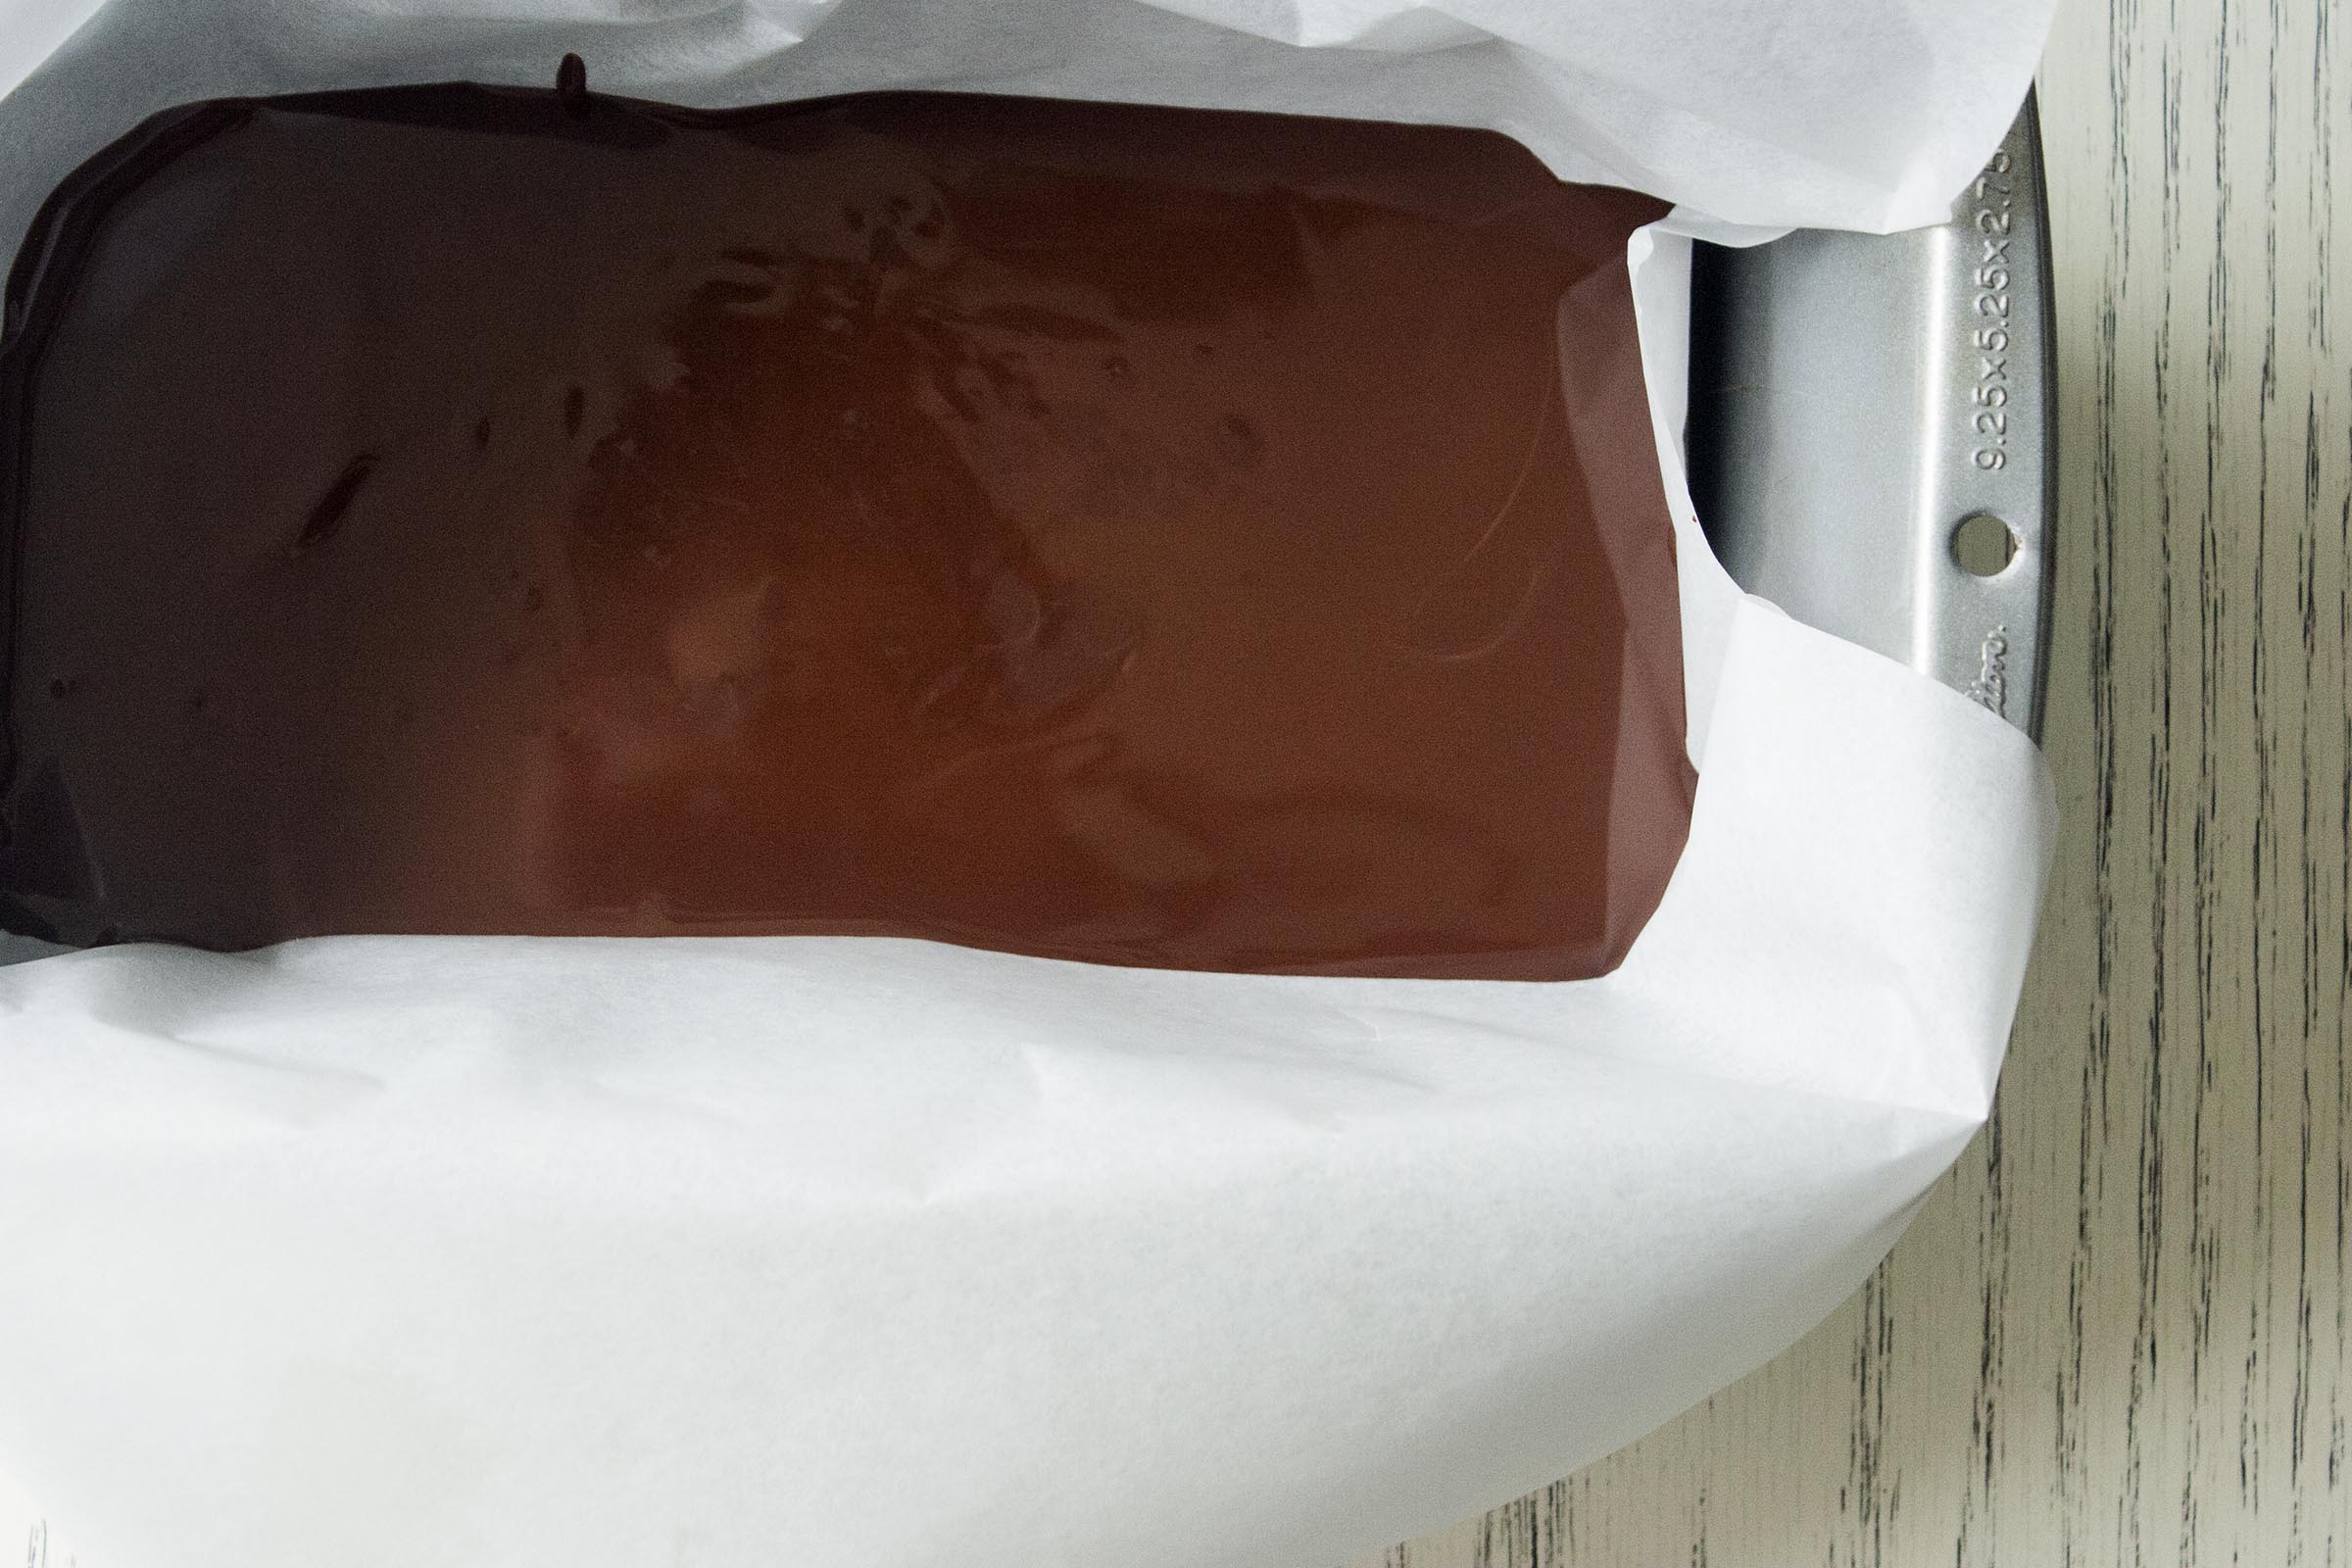
I almost didn’t realize what I was doing until the chocolate chips were in the microwave. Seriously. I haphazardly melted chocolates, no double boiler in site, and was completely without a plan. When I opened the cabinet, our loaf pan was closest to the top, so I grabbed it and lined it with parchment paper. The melted chocolate went into the pan, the pan went into the fridge and…that was it.
 I spent the next couple hours, unsuccessfully trying to ignore my reality, and instead focus on the chocolate. Was this what my life had come to? Did I believe that melting chocolate was baking? Was there a step 2 to this plan? Then I remembered the jar of coconut butter in my cabinet, that was expiring in one week. I didn’t know a lot about coconut butter and wasn’t sure if it was even meltable. You would think with all that time at home, I may have taken a moment to Google, but you know, two kids.
After a minute in the microwave, I found out that hot coconut butter is beautifully liquid. I stirred in a couple drops of maple syrup for sweetness, sprinkled in salt and poured it over the chocolate. The pan went back in the fridge. And, there I was, hours later, trying to decide if melting, pouring and chilling, really equated itself with any sort of cooking. Also, what was up with this delayed gratification? Didn’t our particular situation merit a treat immediately?
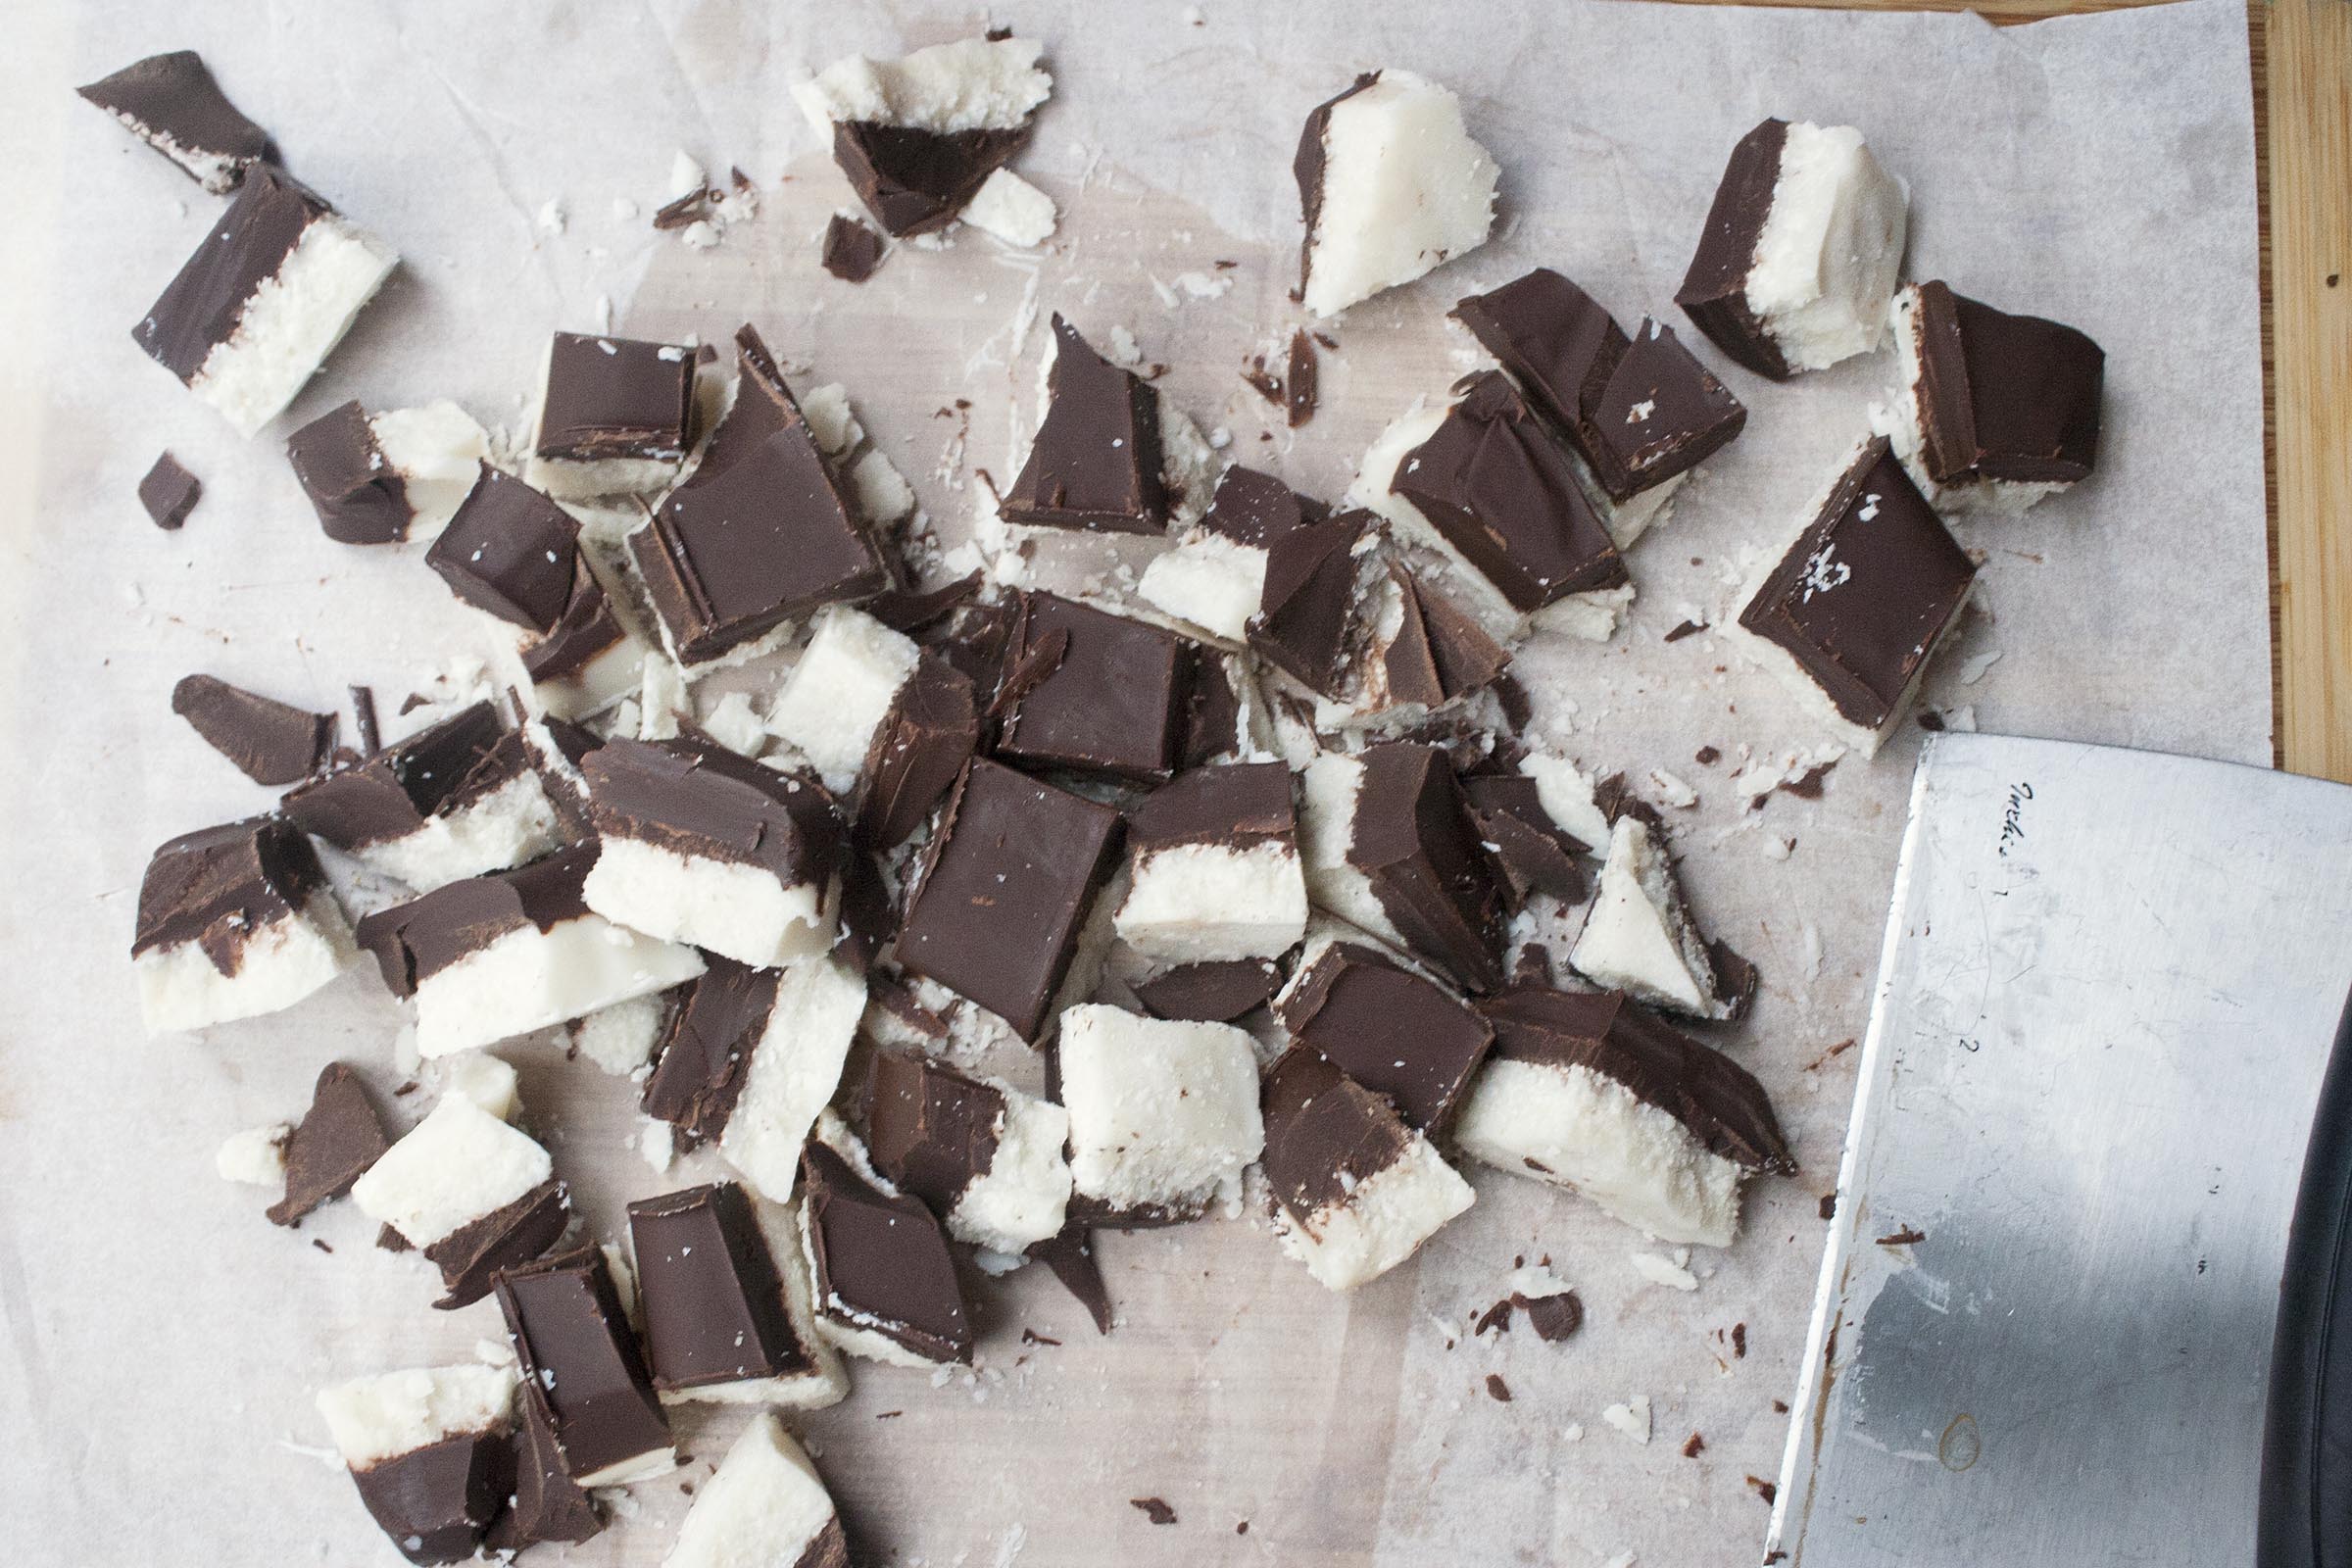
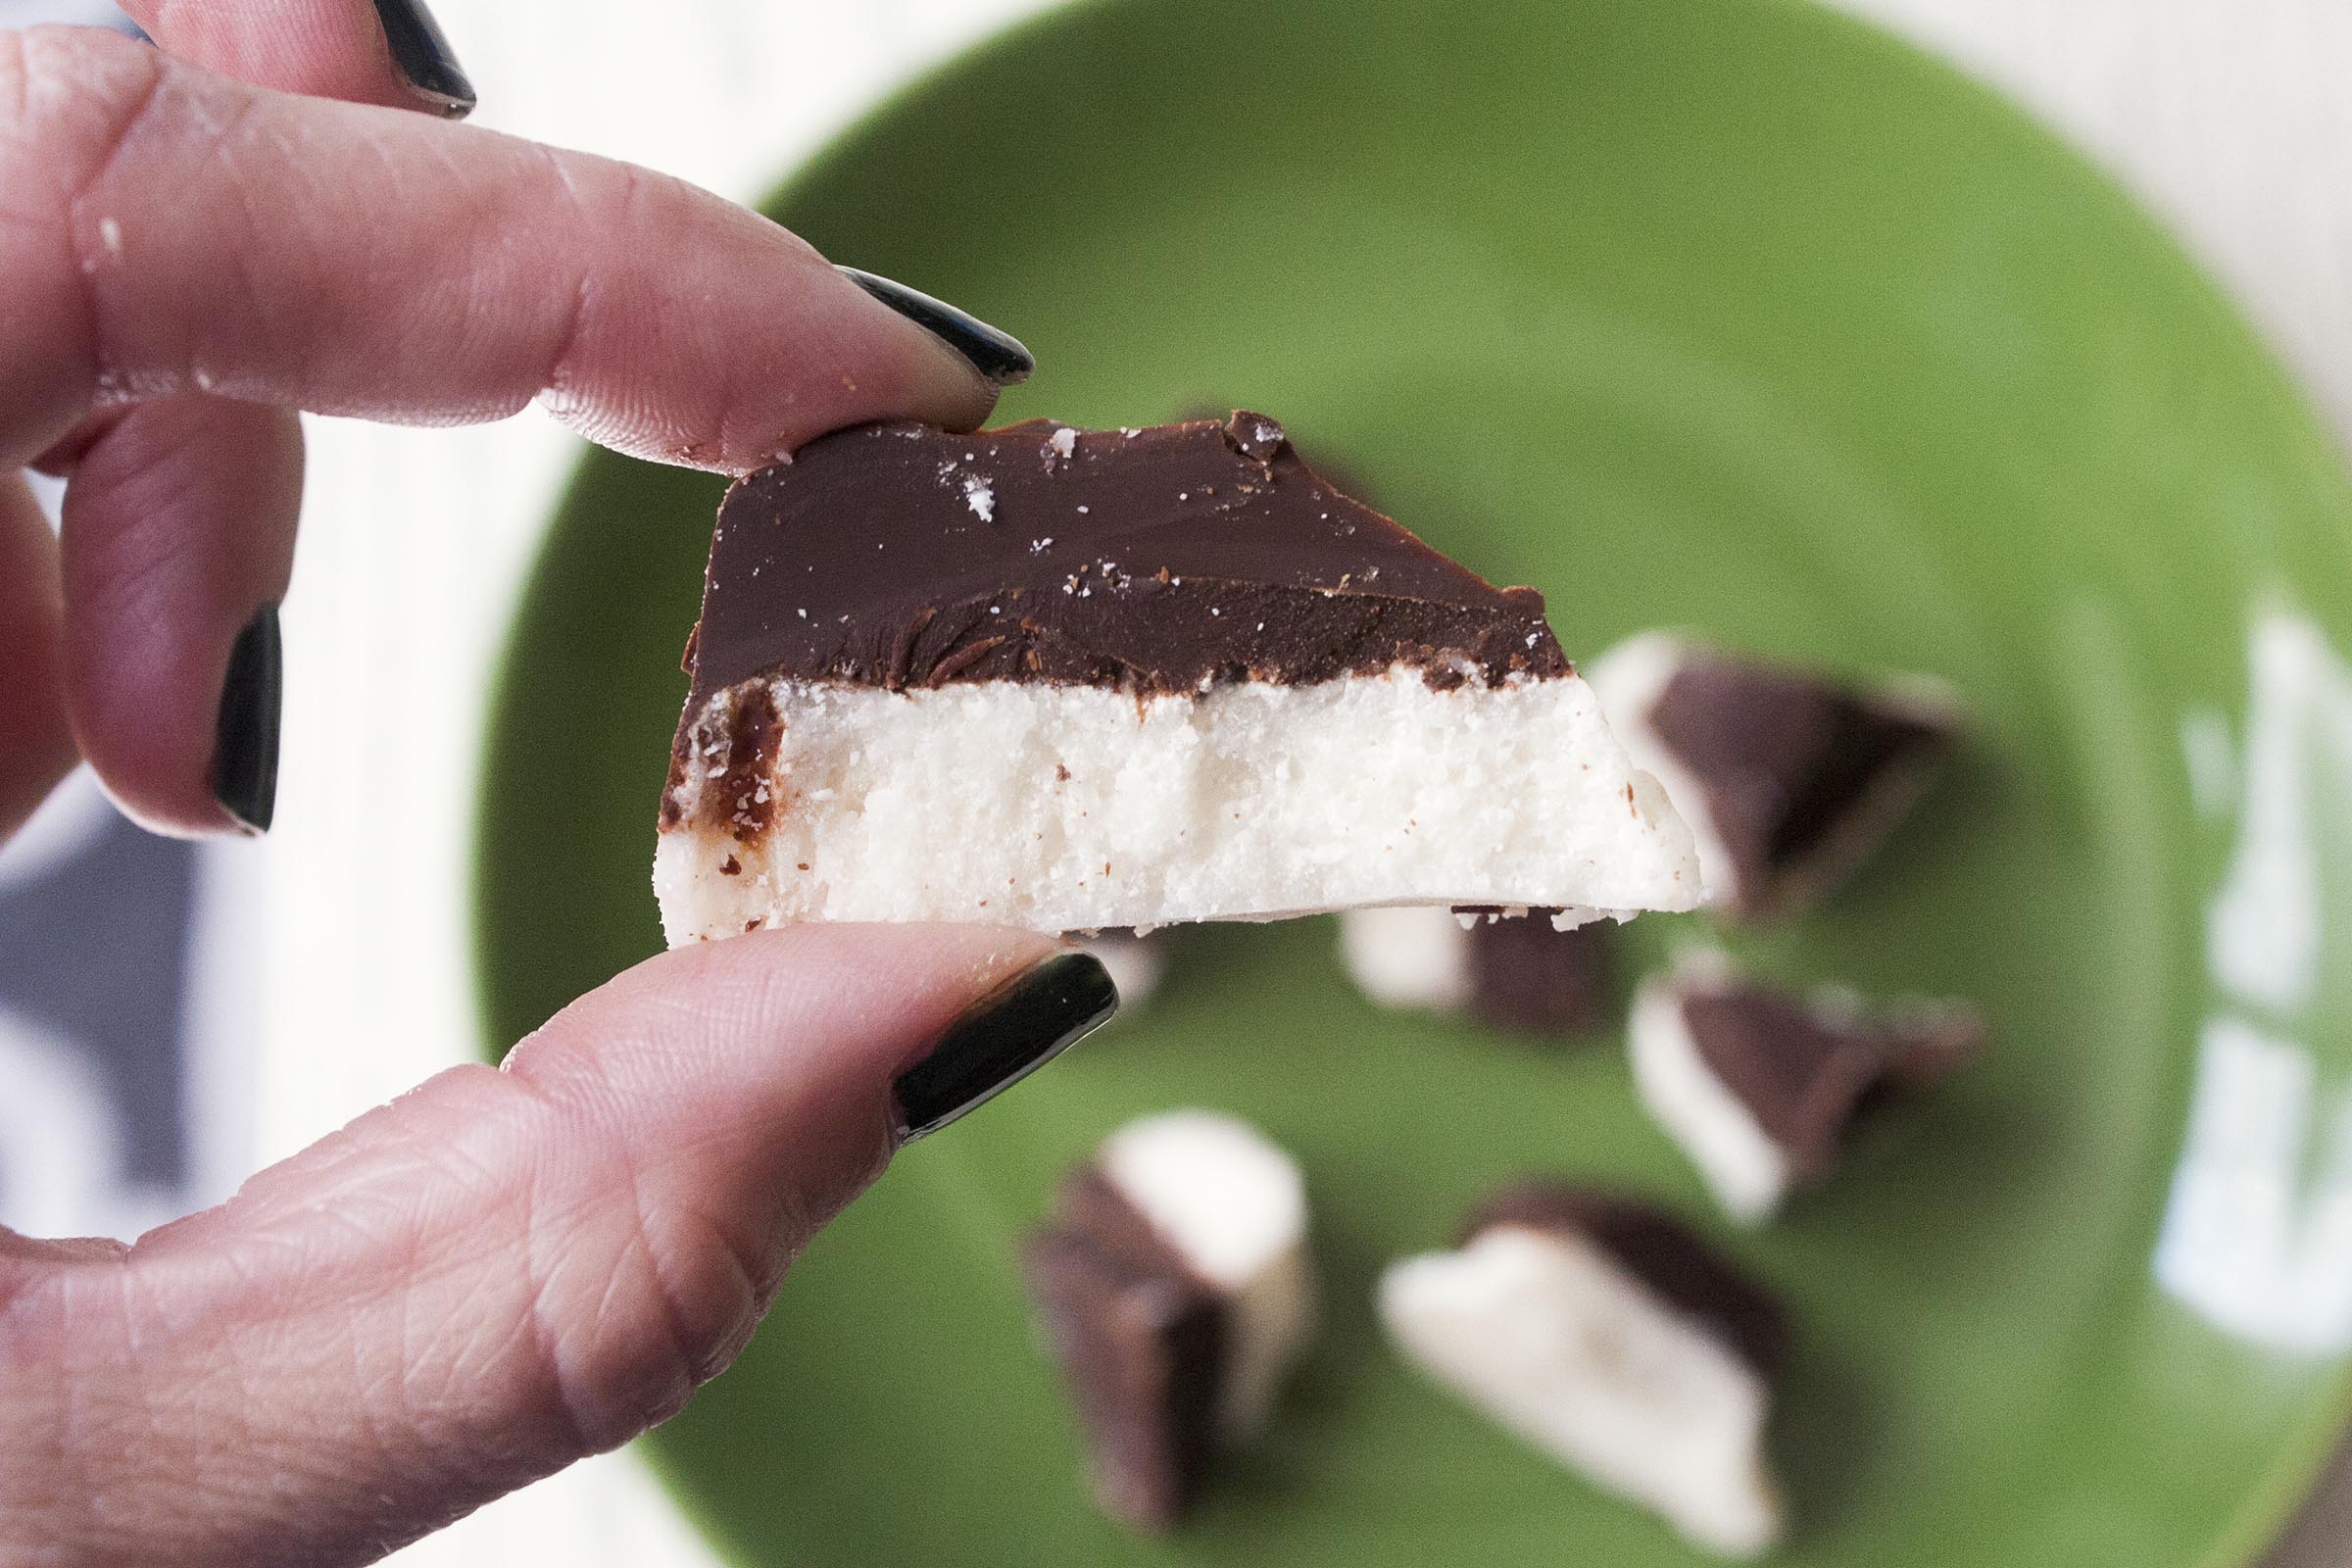
On our fifth day at home, during a miraculous moment in which two kids were napping, I pulled the loaf pan from the fridge. As I cut the block into irregular shards, watching tiny slivers of chocolate fly everywhere and not caring, I was surprised about how happy the chocolate and coconut layers made me. They looked like something. And, at that moment, I really needed something.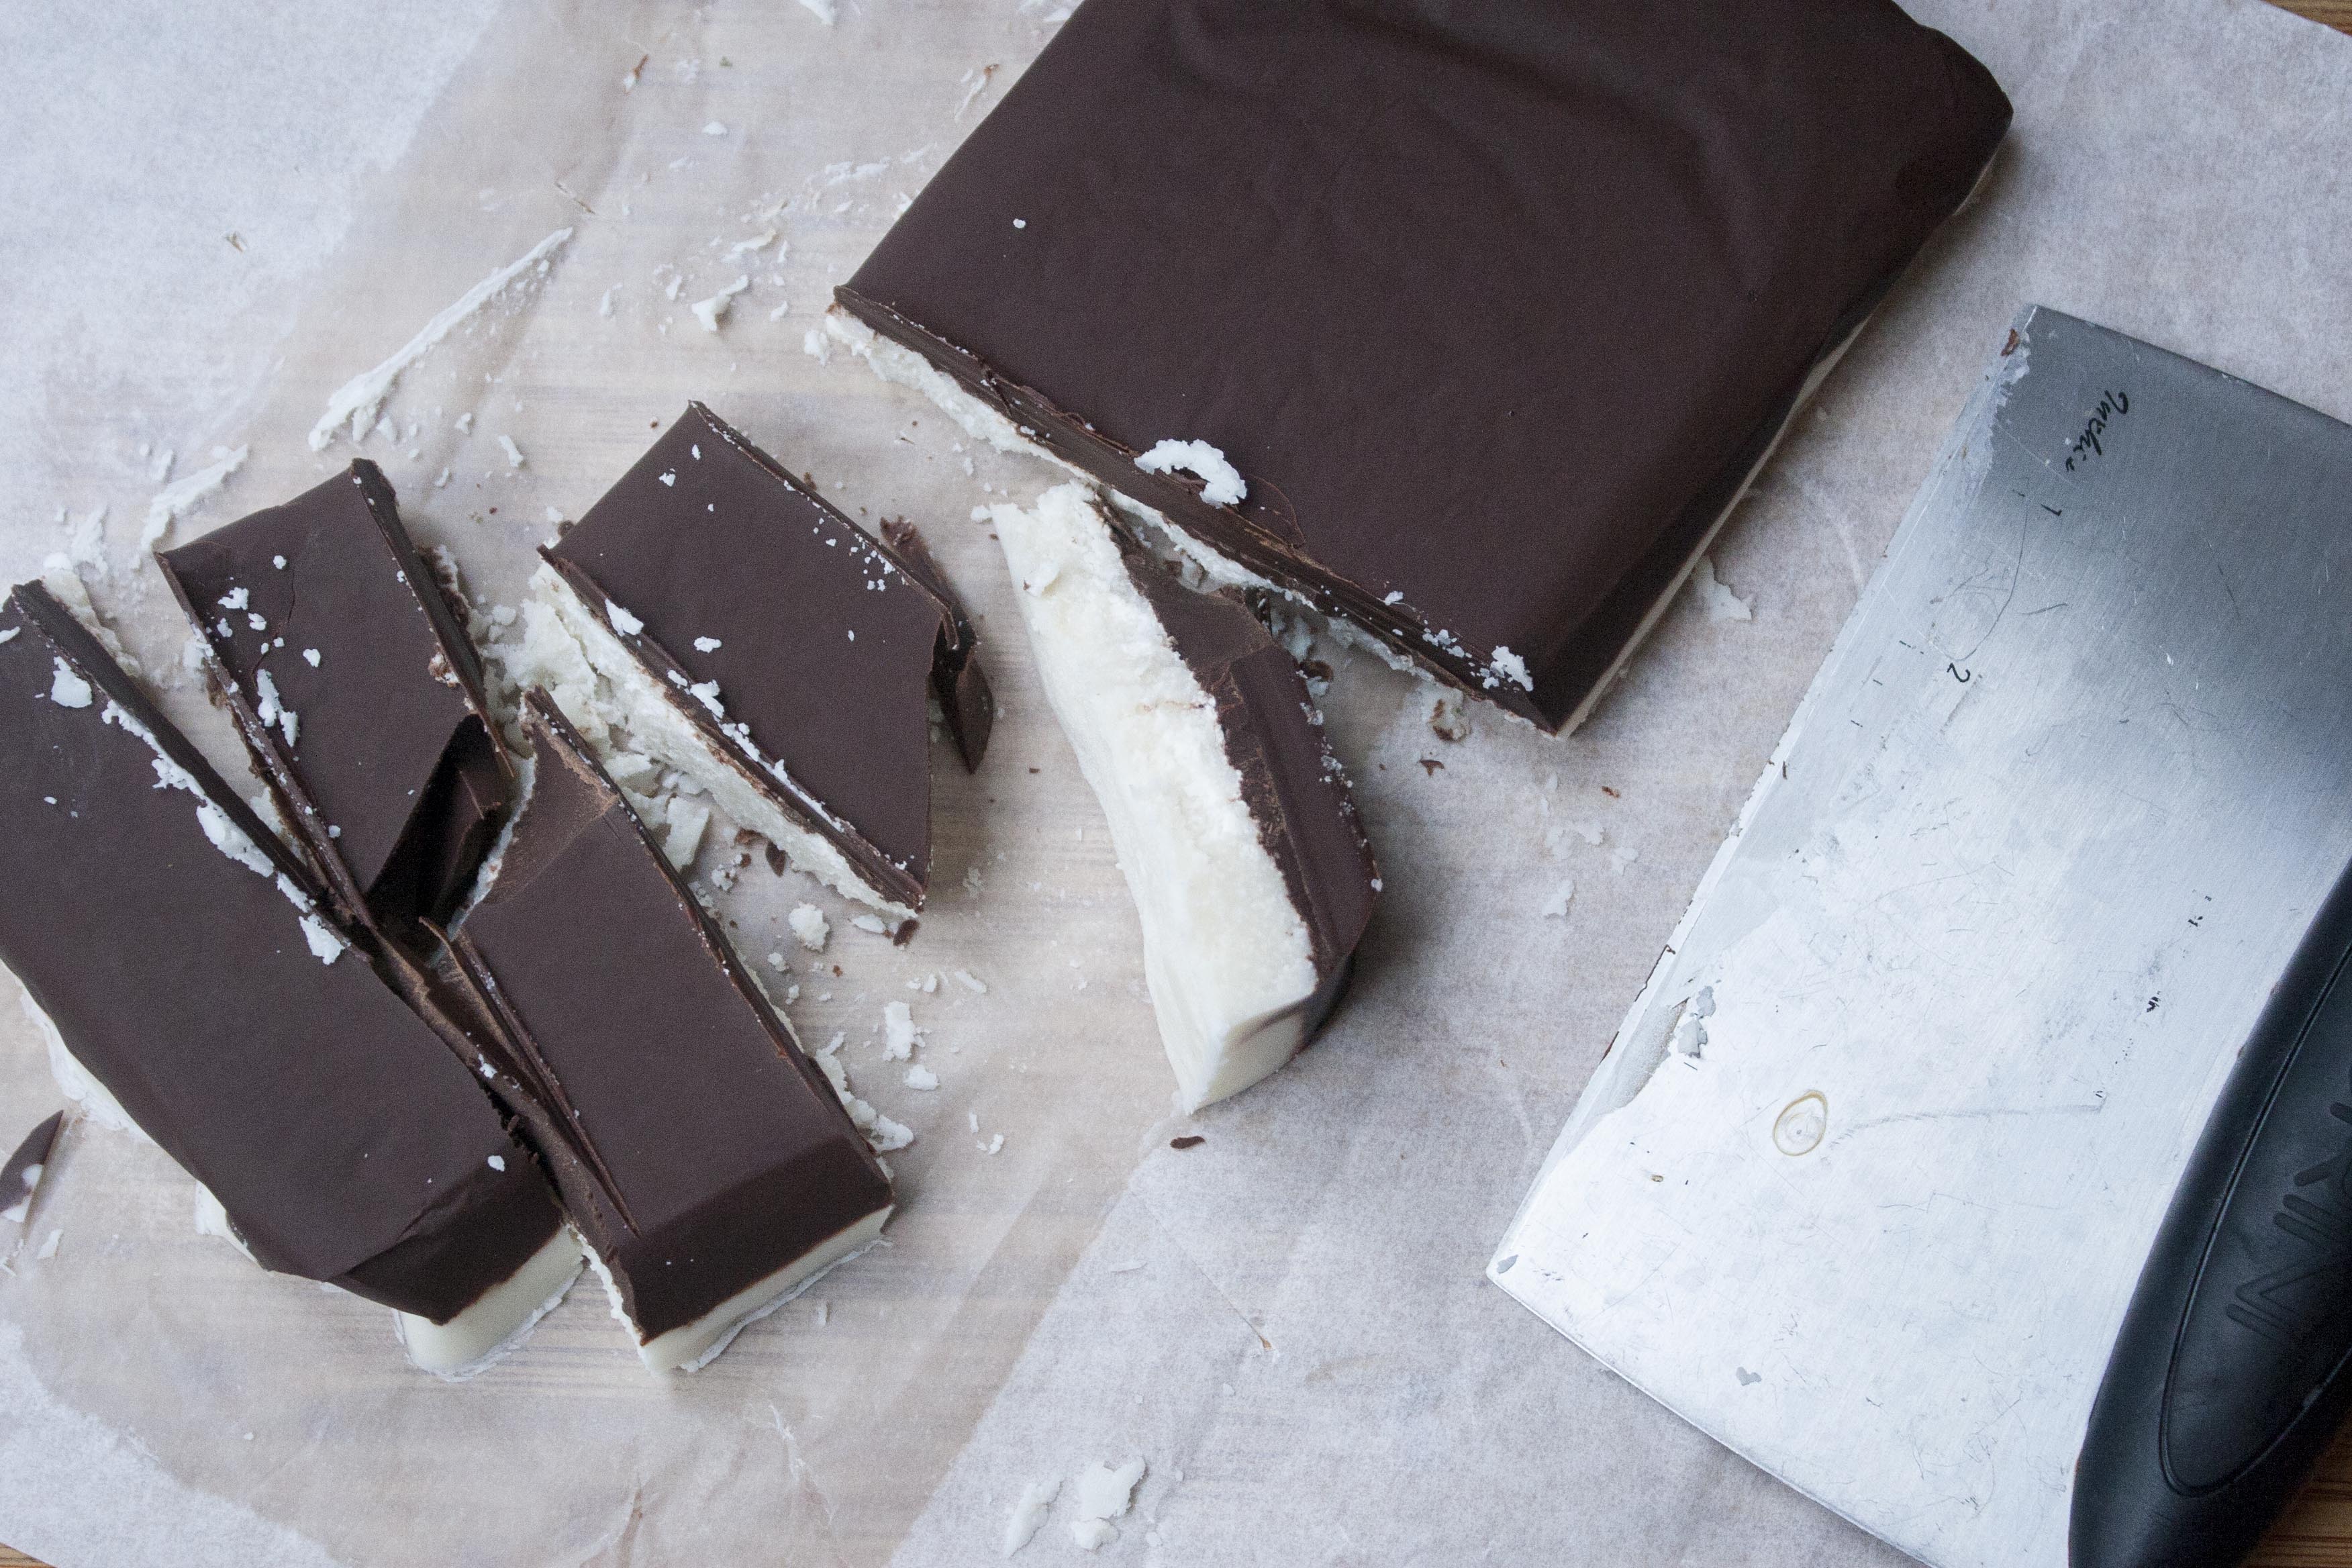
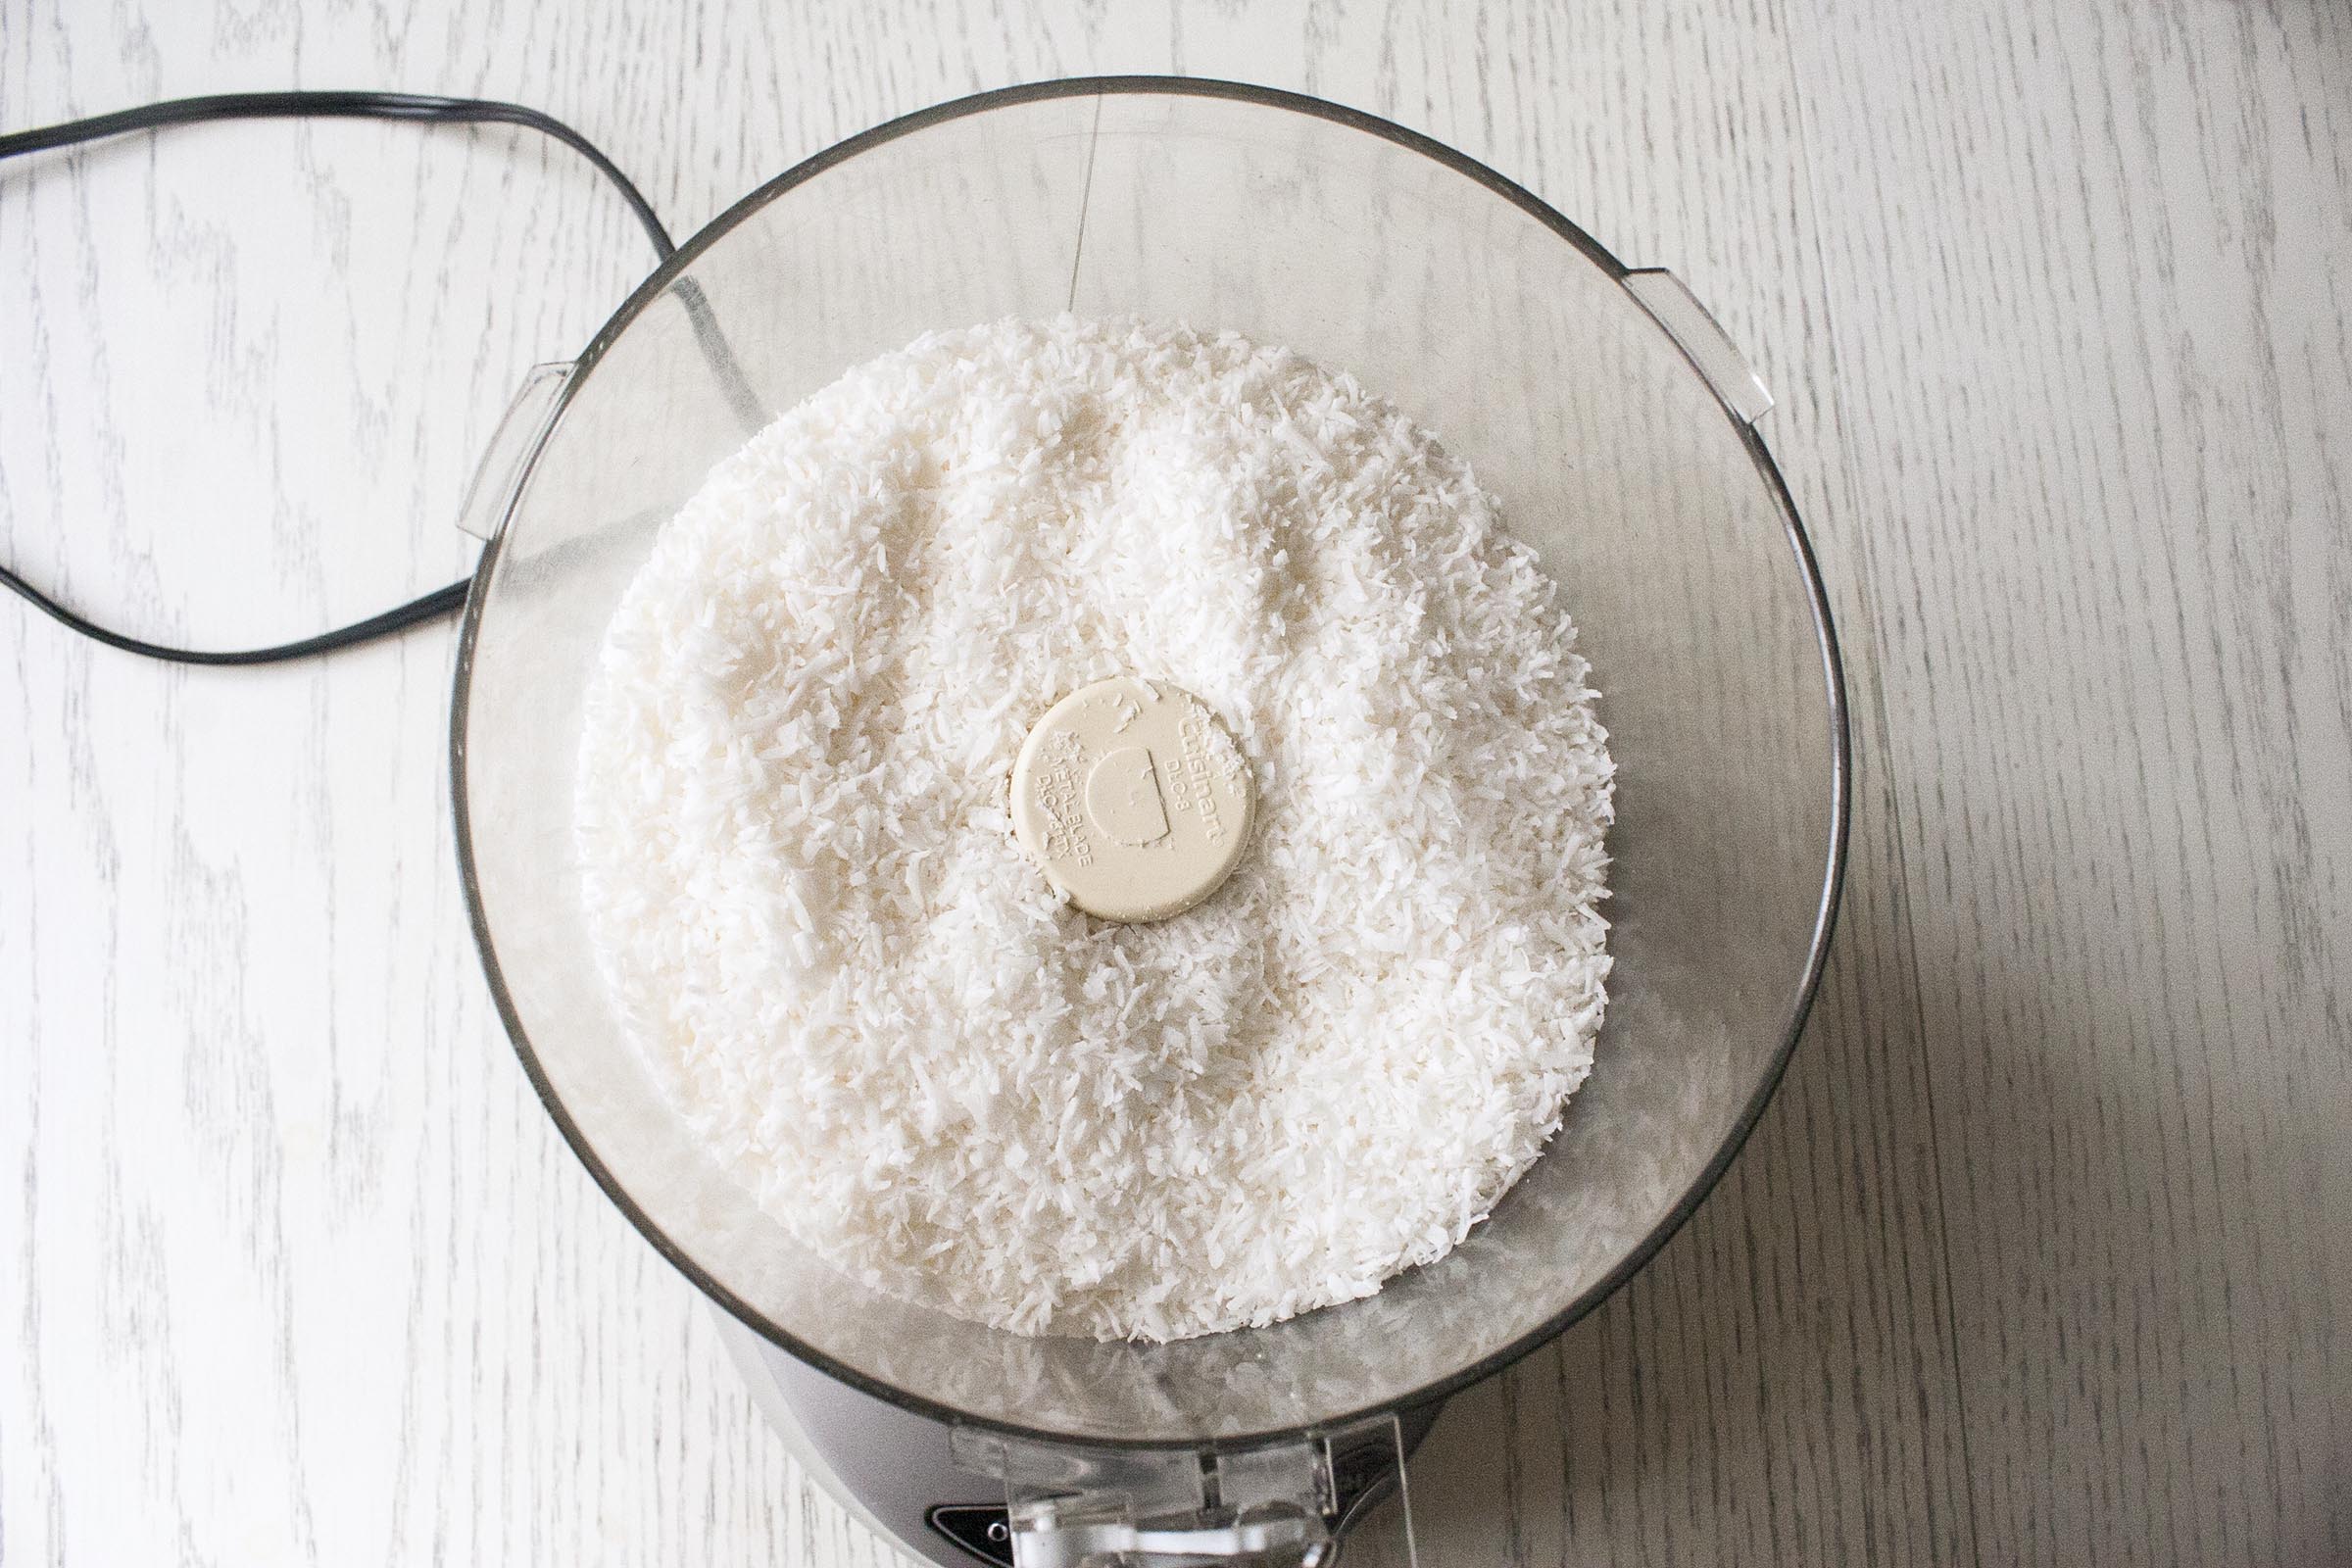
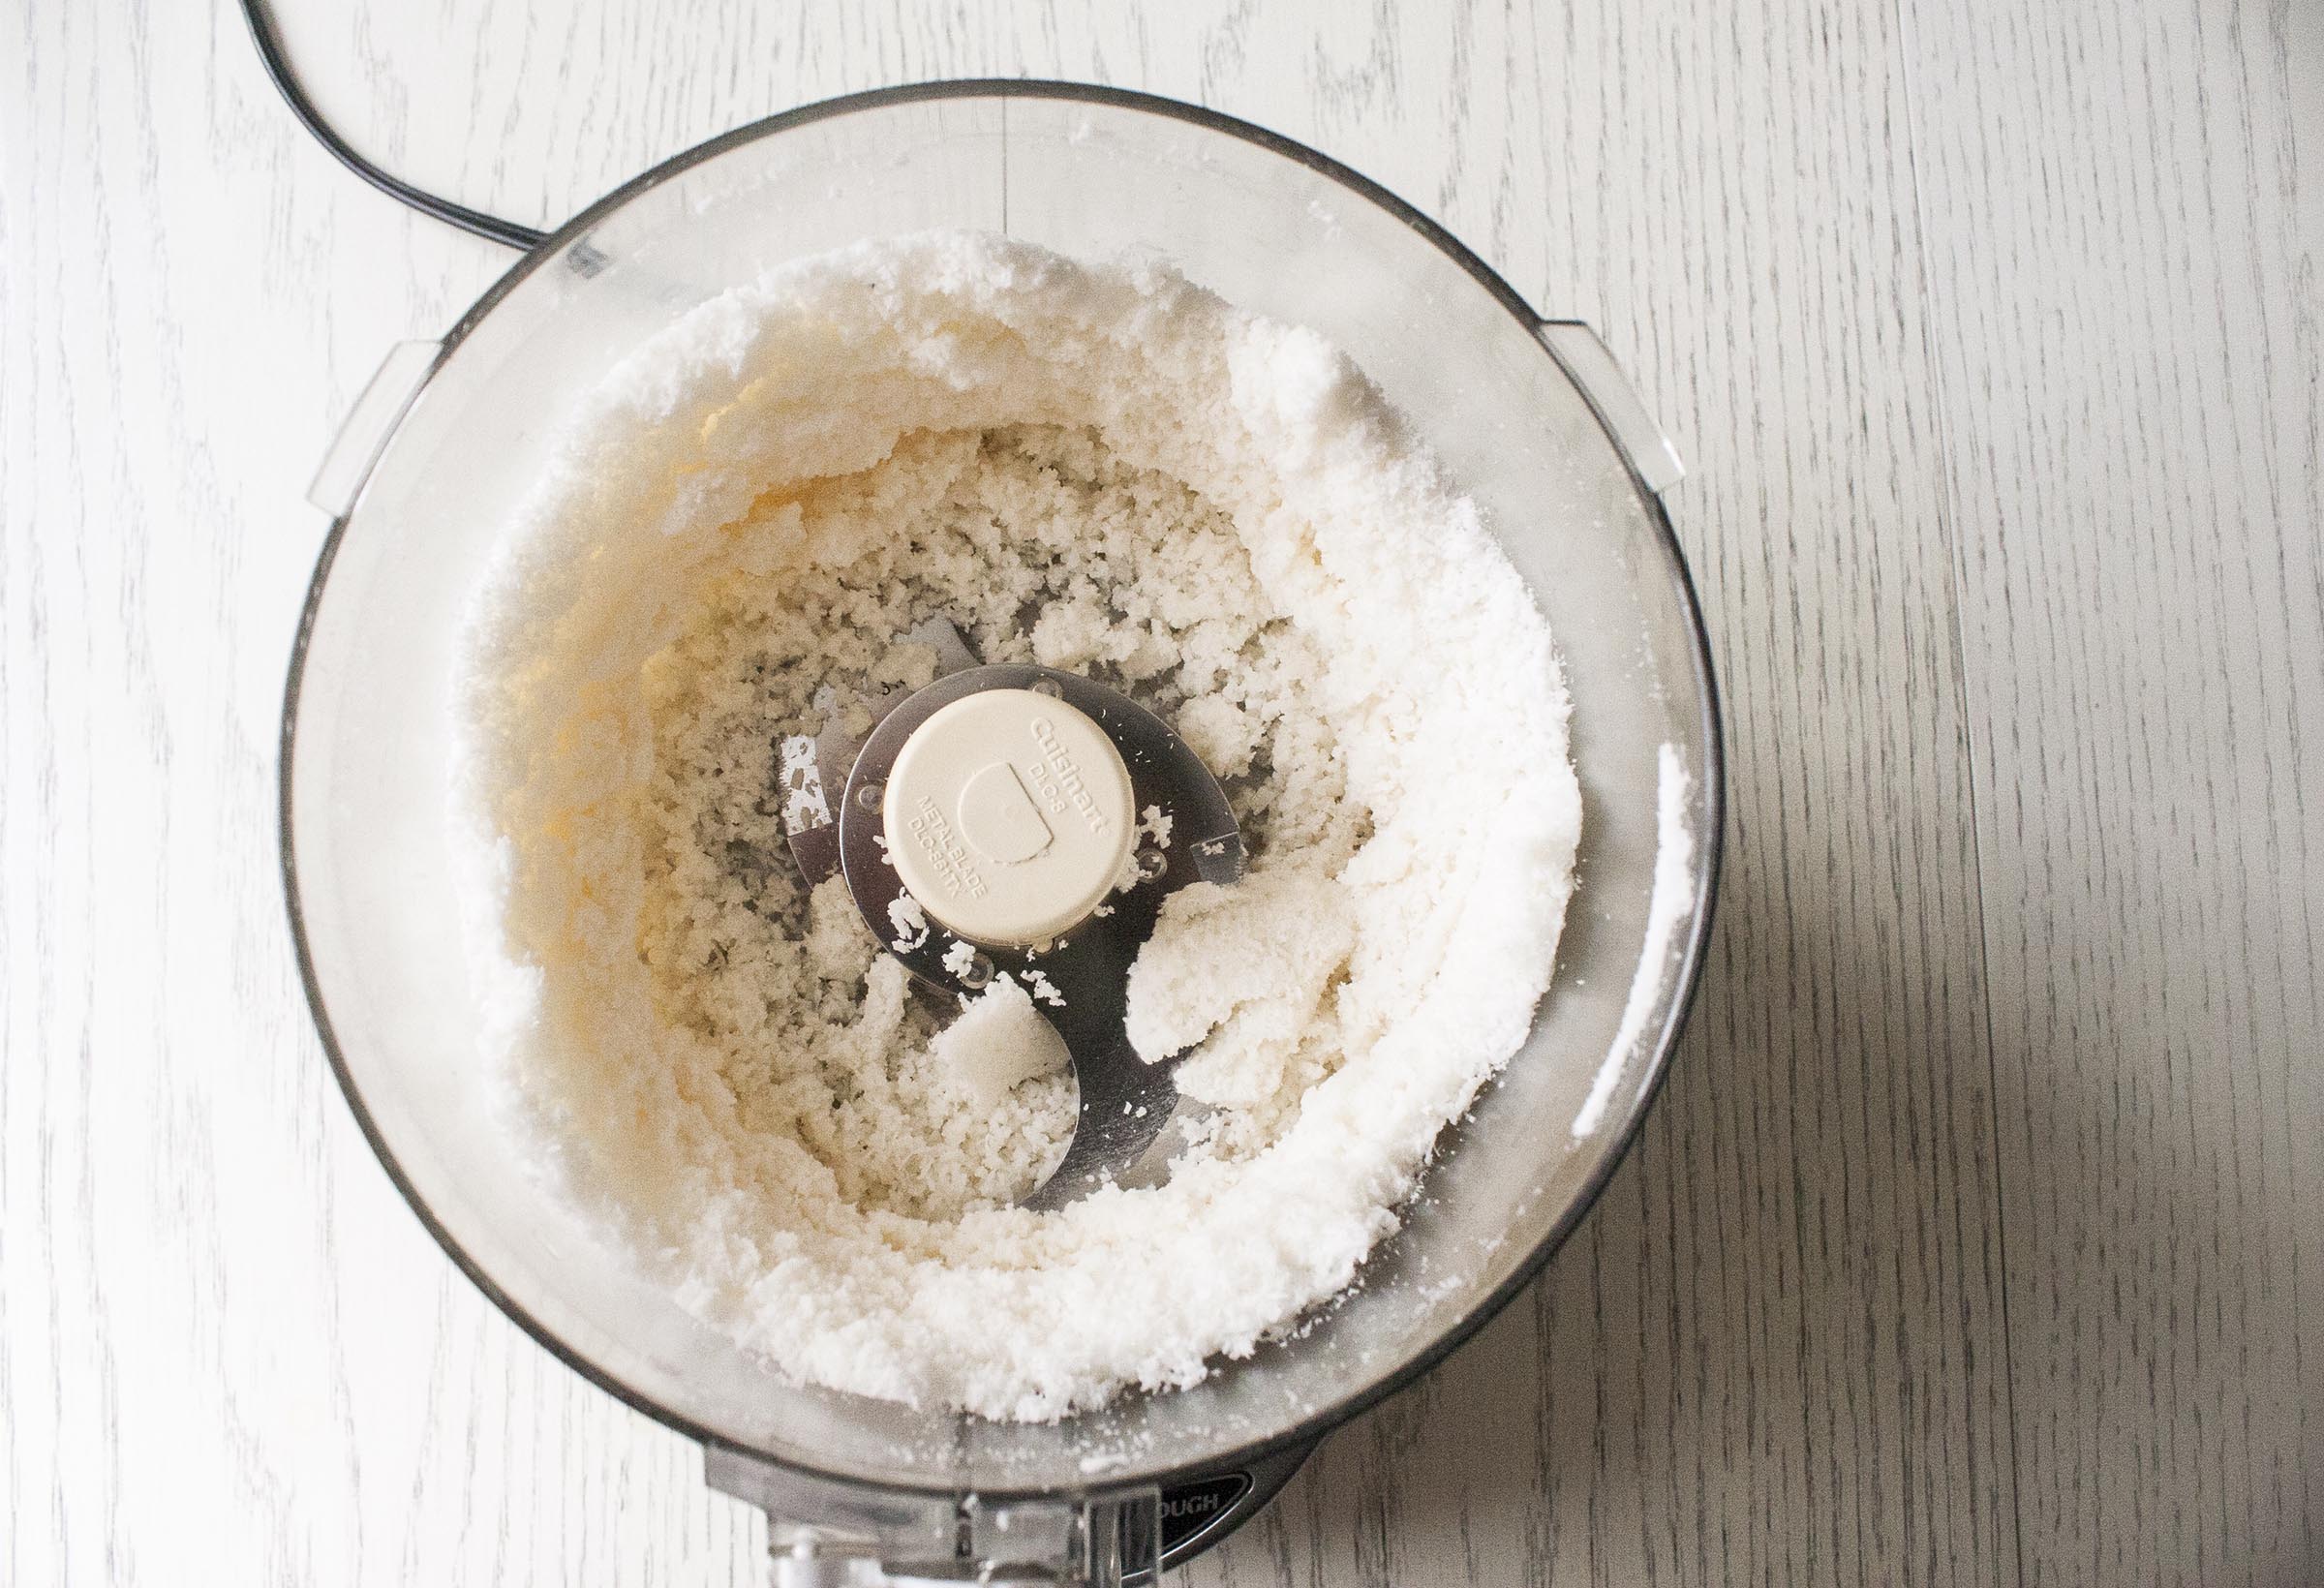
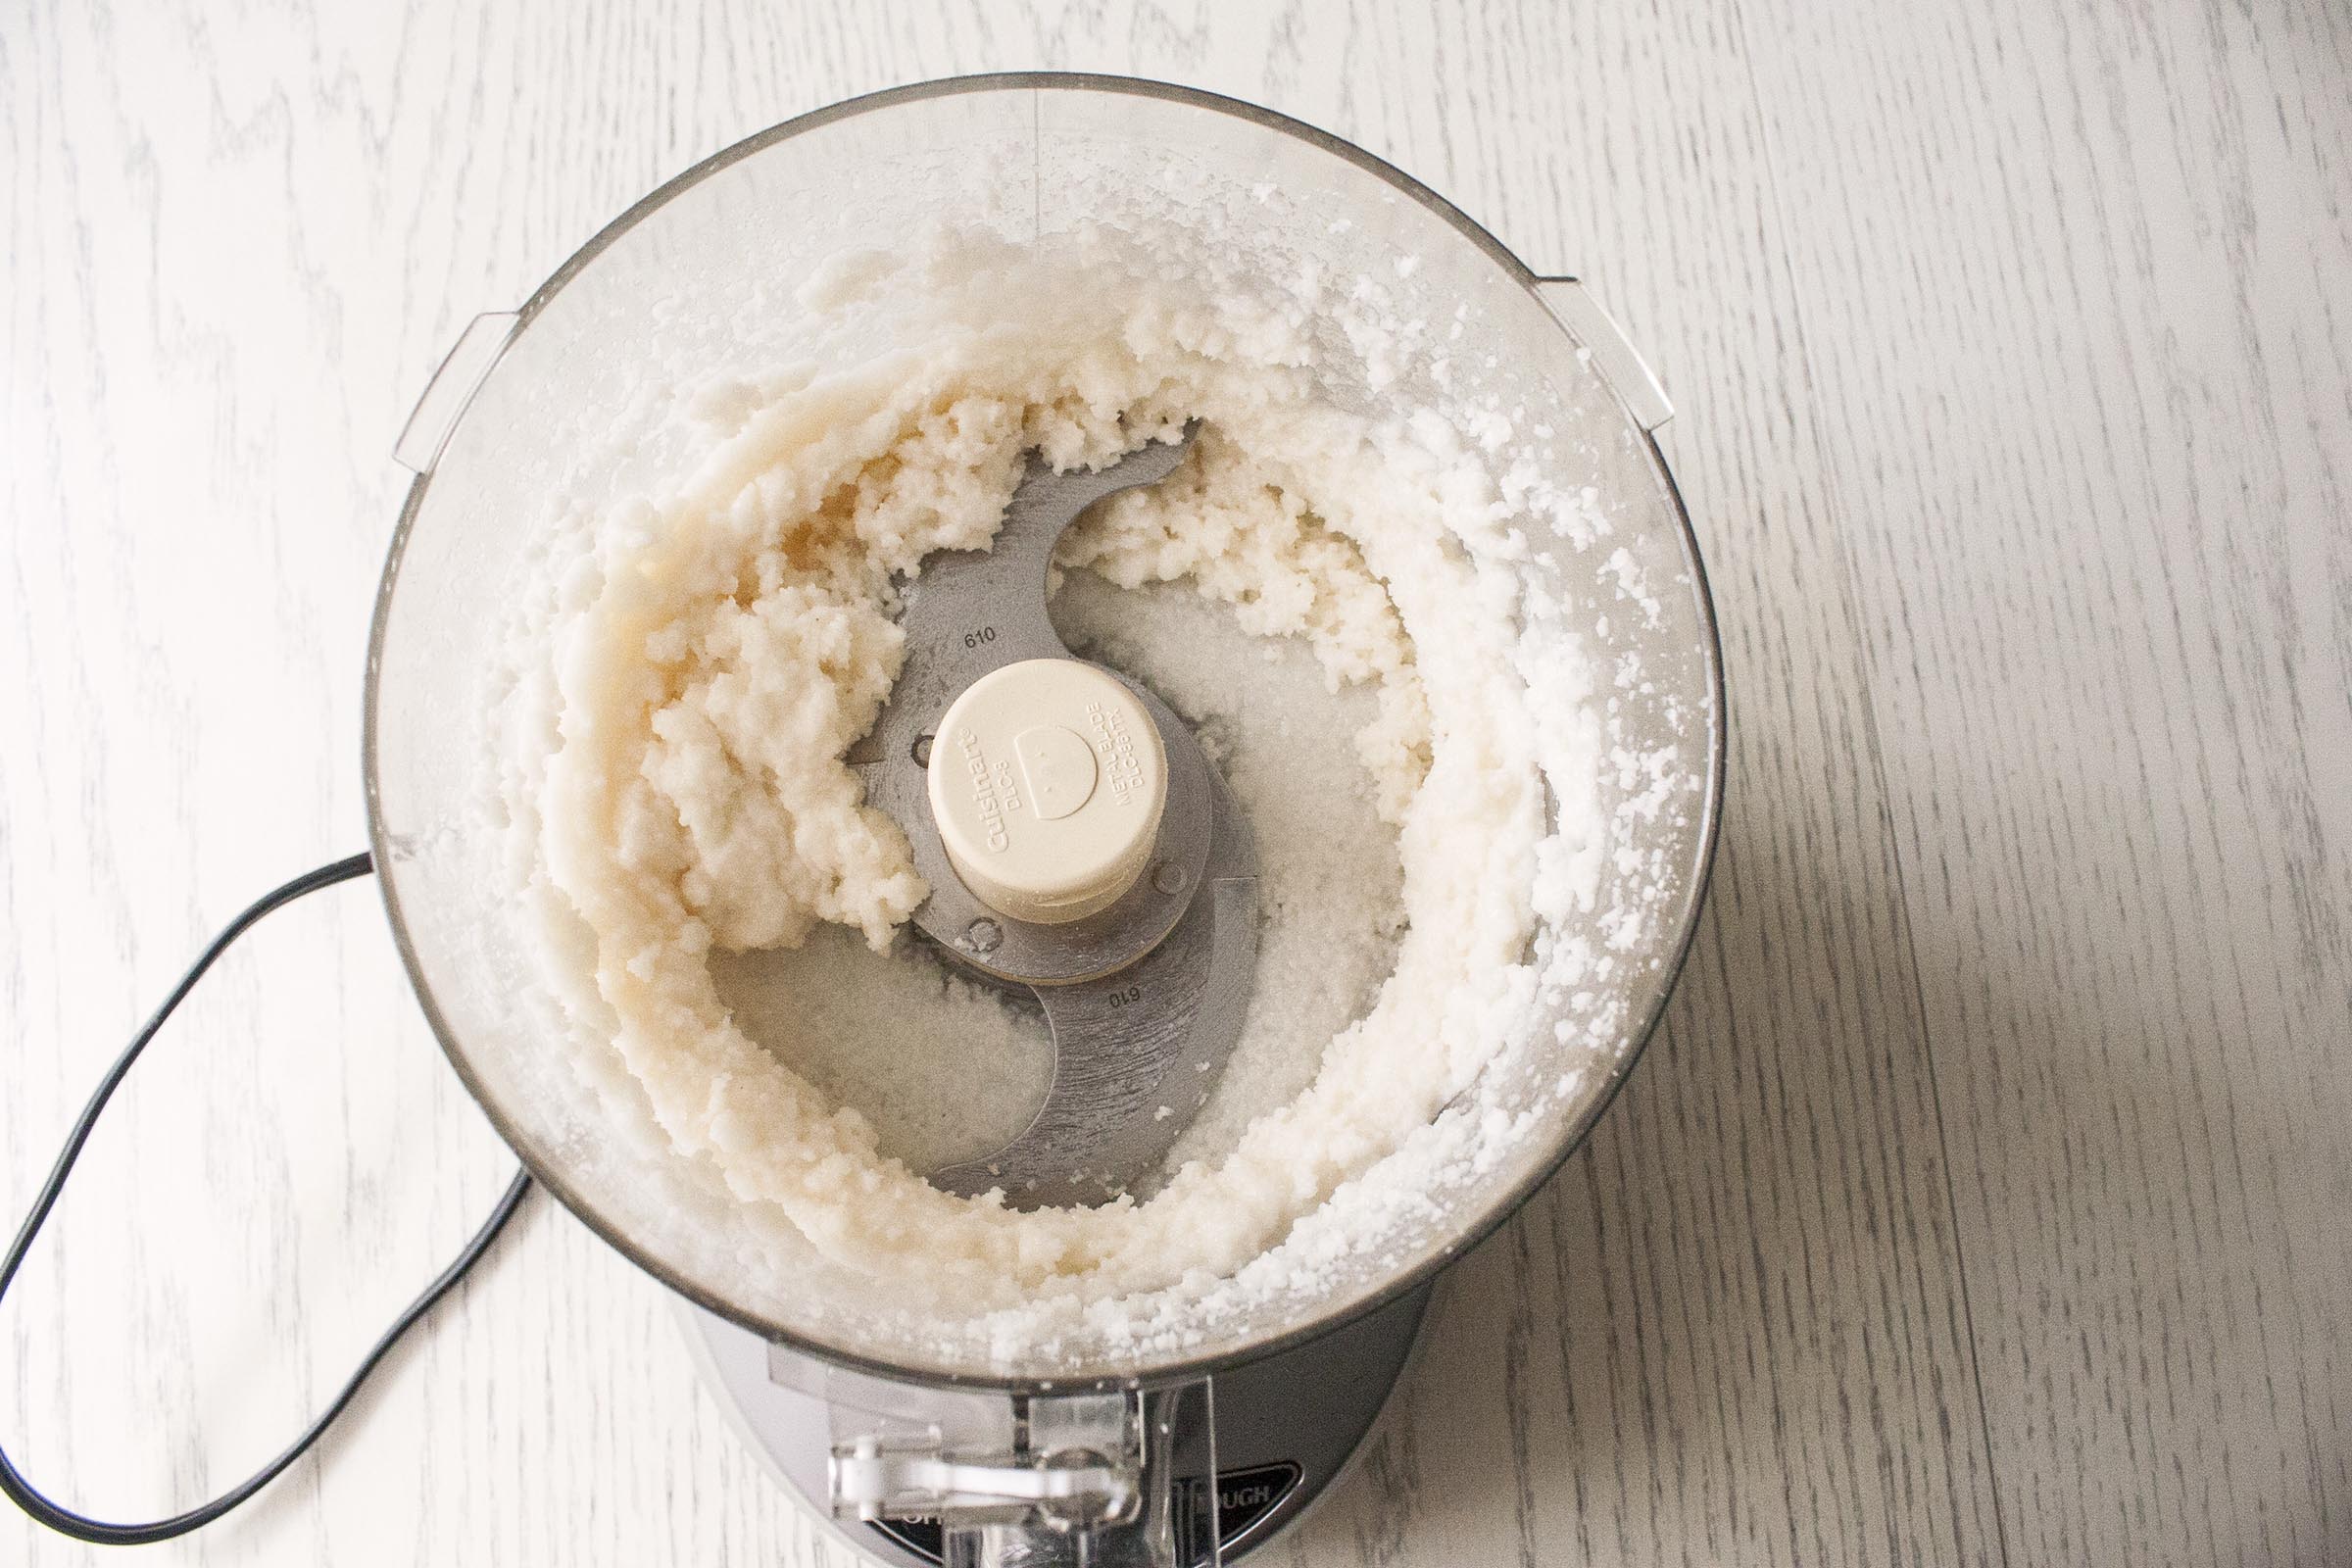
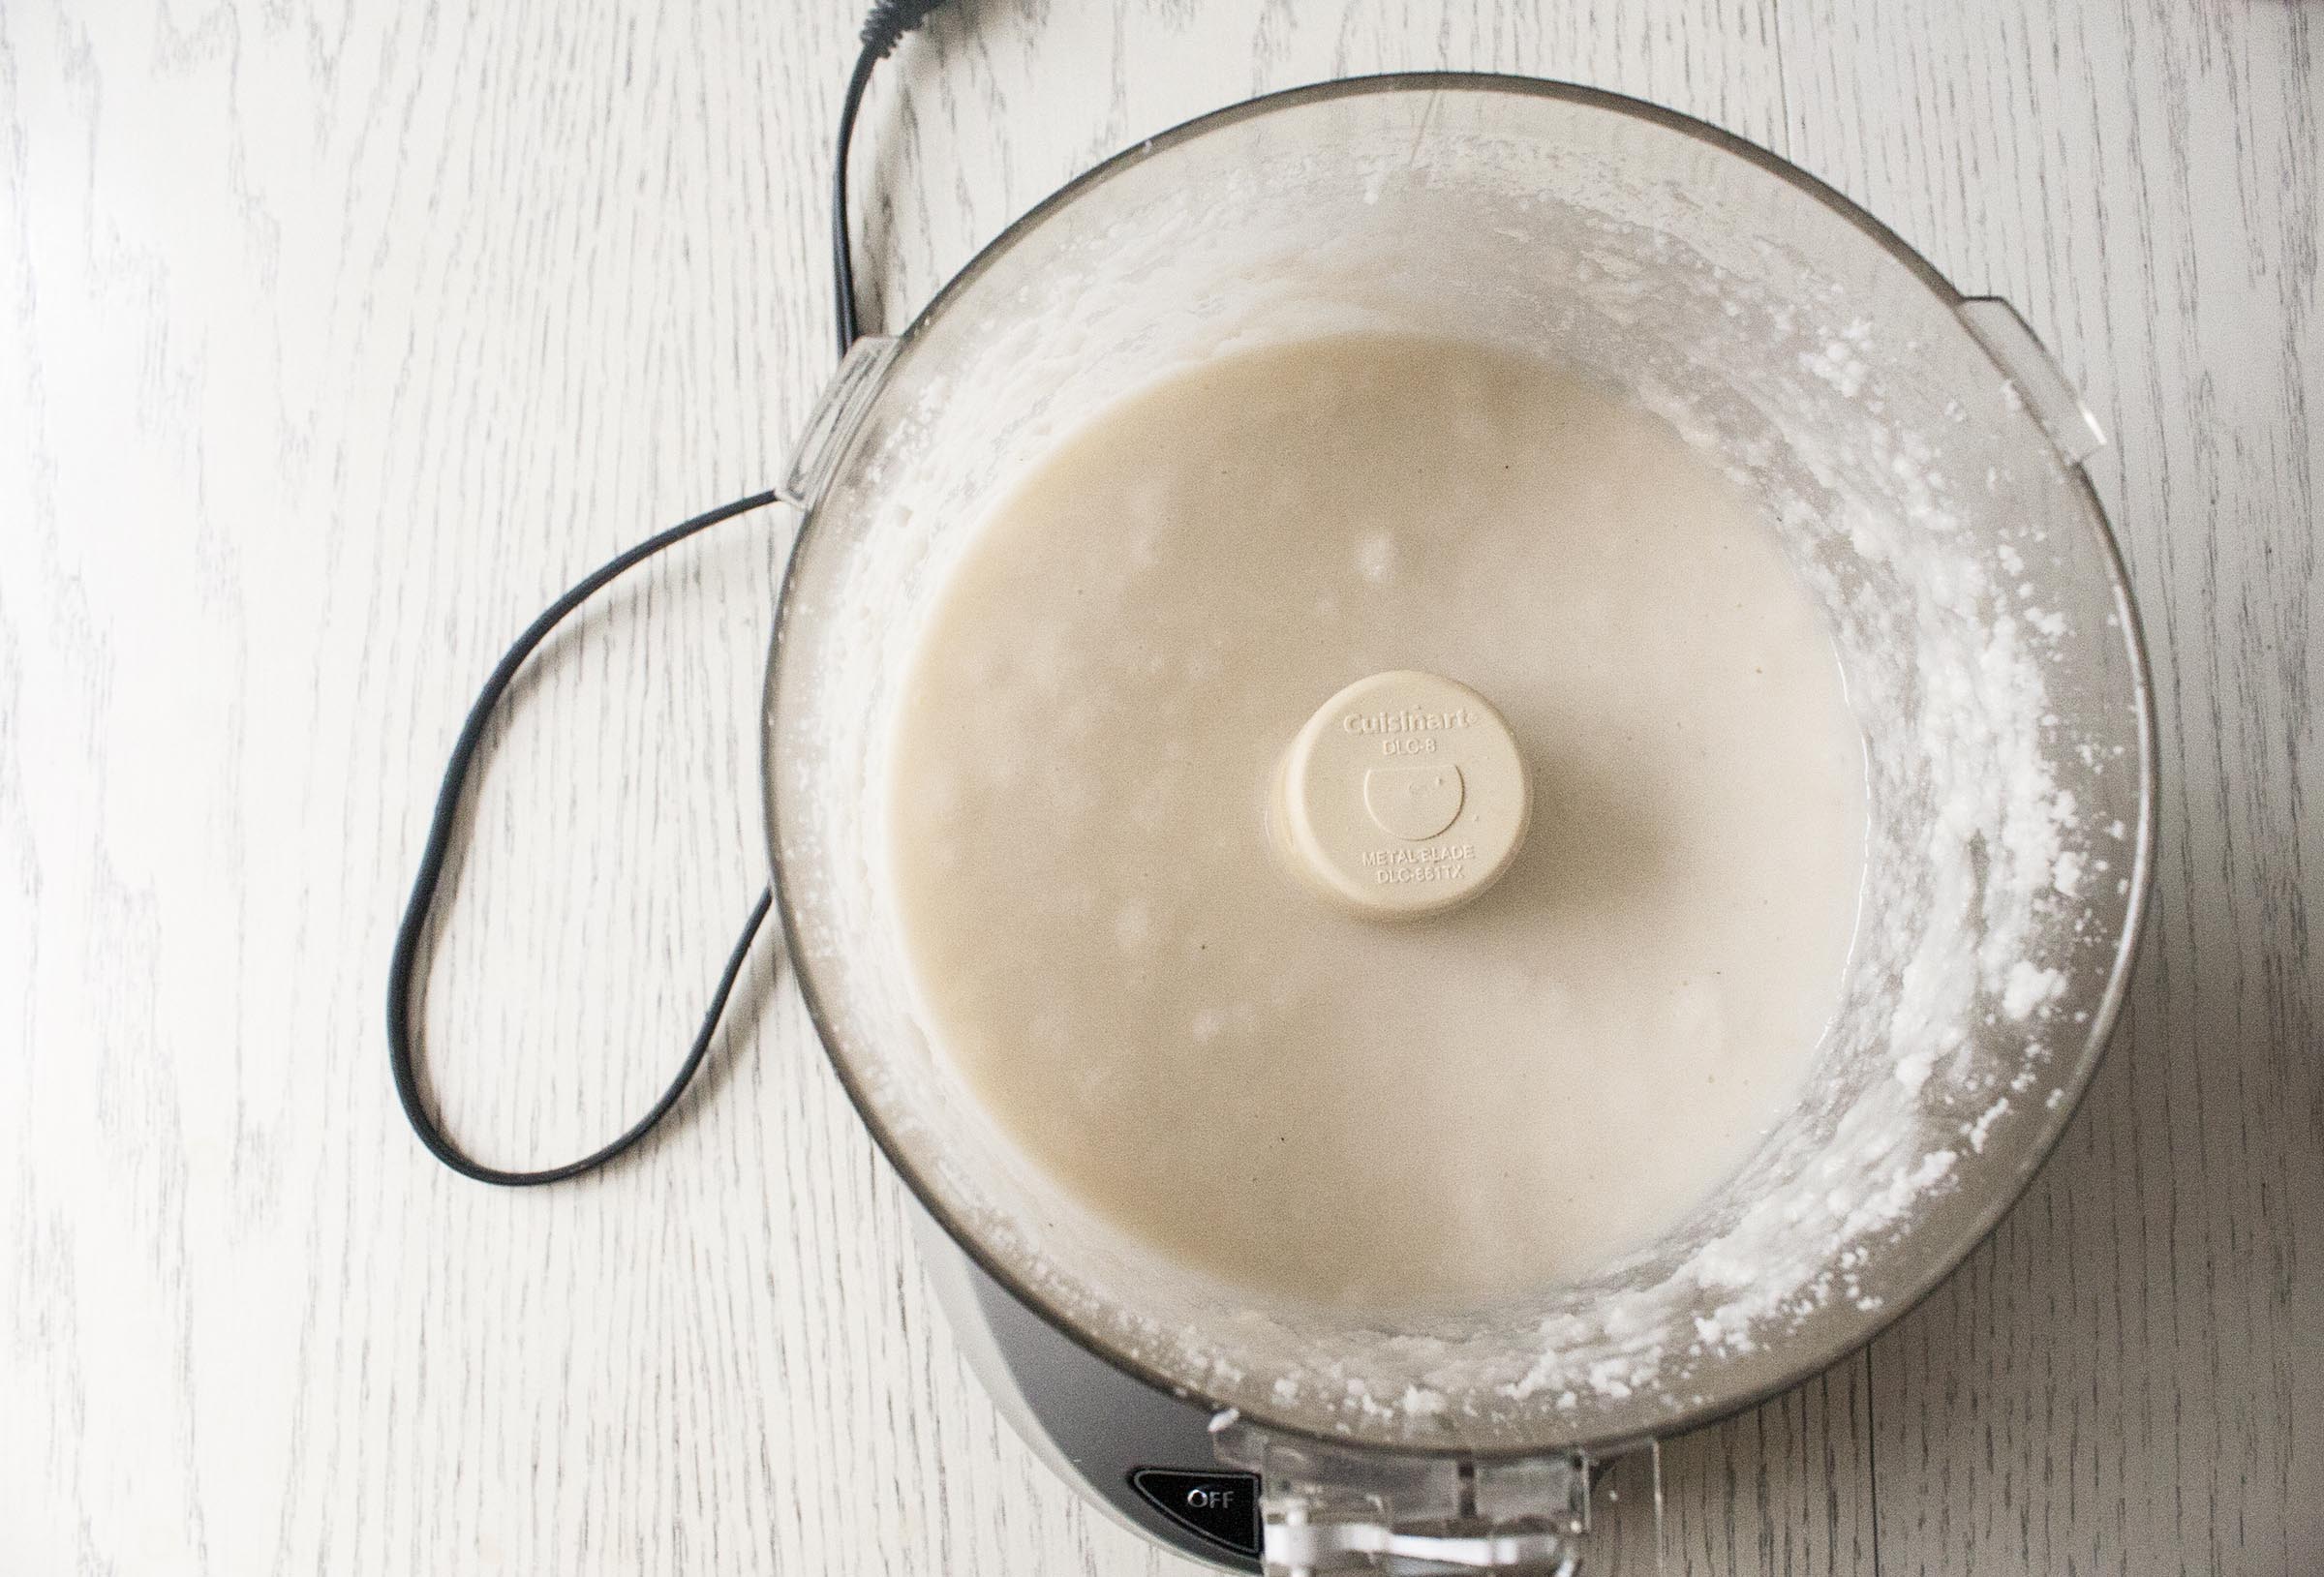
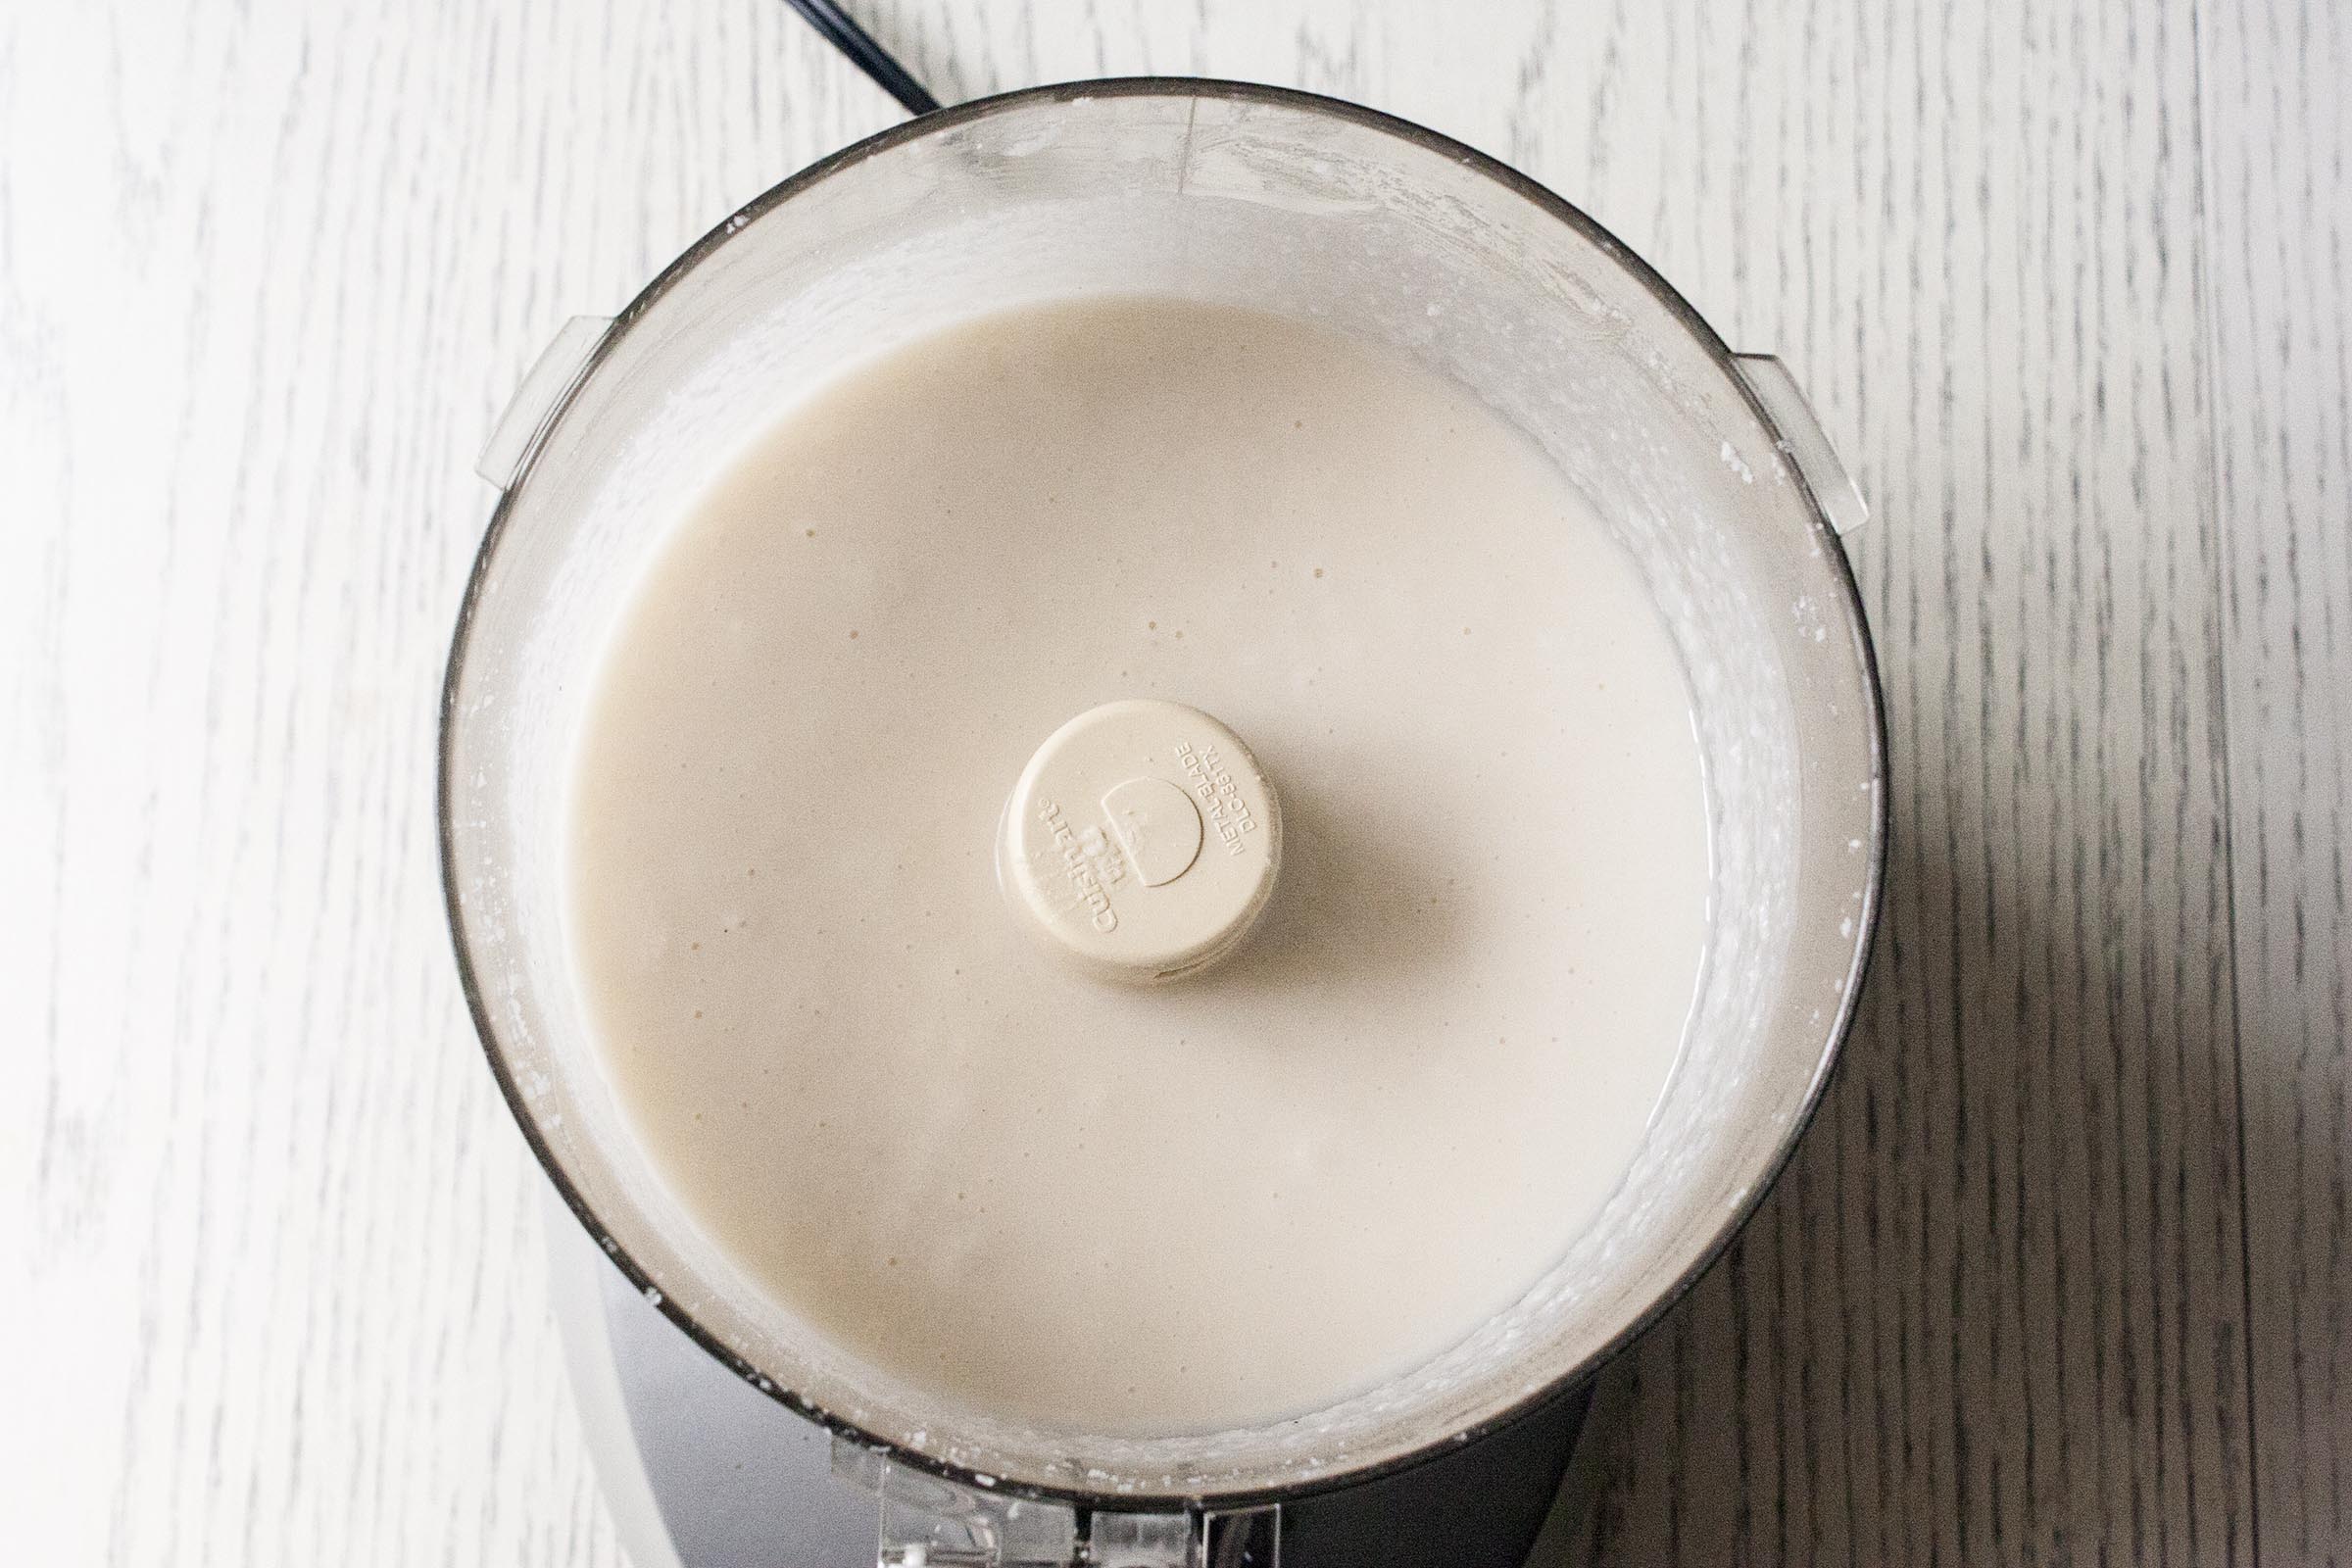
When I remade these recently, I decided two things: chocolate chips were still more than OK and I was not paying $10 for another jar of coconut butter. After a couple of failed attempts at homemade coconut butter, I finally made a successful batch. It turns out, the food processor and a lot of coconut were the answer. Twelve minutes and a bit of scraping were all it took to turn the shreds into butter.
Otherwise, I didn’t deviate much from the batch I created seven months ago. But there were differences. This time, I wasn’t melting and pouring to escape reality and I didn’t really care if it was baking or cooking or not. Making the coconut butter turned into a project, and even though I’m low on time these days, I’m always hunting for a good project. And besides. When the end result is a good piece of chocolate, a baby who (typically) eats every three hours and a (mostly) potty trained kid, who cares what it’s called?
My loaf pan is 9.25" x 5.25" - however, feel free to use whatever size loaf pan you have. Your chocolates will just be a bit thicker or thinner, but still rewarding.
Lastly, you will have extra coconut butter. That's a good thing: put a dollop on a split and roasted sweet potato, spread it on toast or treat yourself to a spoonful as a reward for not eating all of these in one sitting.
- 1 bag (10 ounces) bittersweet chocolate morsels (I used Ghirardelli)
- 2 teaspoons coconut oil
- 20 ounces unsweetened shredded coconut
- 1 teaspoon maple syrup
- ½ teaspoon kosher salt
- Line a loaf pan with parchment paper.
- In microwave-safe bowl or double boiler, combine chocolate and coconut oil. In microwave, cook in 45 second increments, stirring well each time until completely melted.
- Pour chocolate into lined pan, tapping the pan on the counter to smooth and settle. Place in fridge; let chill at least 1½ hours, or until firm.
- Meanwhile, place coconut into the bowl of the food processor. Run the processor for 10-15 minutes, stopping every 2-3 minutes to scrape down the sides and check out the progress. The coconut will change from strands to wet sand to a paste and finally a liquid.
- Measure 1½ cups coconut butter (reserve remaining for another use). Stir in maple syrup and salt. Pour over firmed chocolate, again, gently tapping on the counter to settle, and smoothing the top with a spatula, if desired.
- Chill 3 hours, or until completely firm.
- Remove from fridge and pull parchment from loaf pan. Place on cutting board; let sit 10 minutes. Using a bench scraper or chef’s knife (and all your muscles), cut block into pieces. My recommendation is to go small - the size you would feel comfortable popping into your mouth. They're not incredibly sweet, but they are rich and a lot to try to bite into.
- Place in an airtight container and store in the fridge. I enjoy them cold, which makes them very firm. If you'd rather it a bit softer, 10 minutes out of the fridge should do the trick.
Leave a Reply